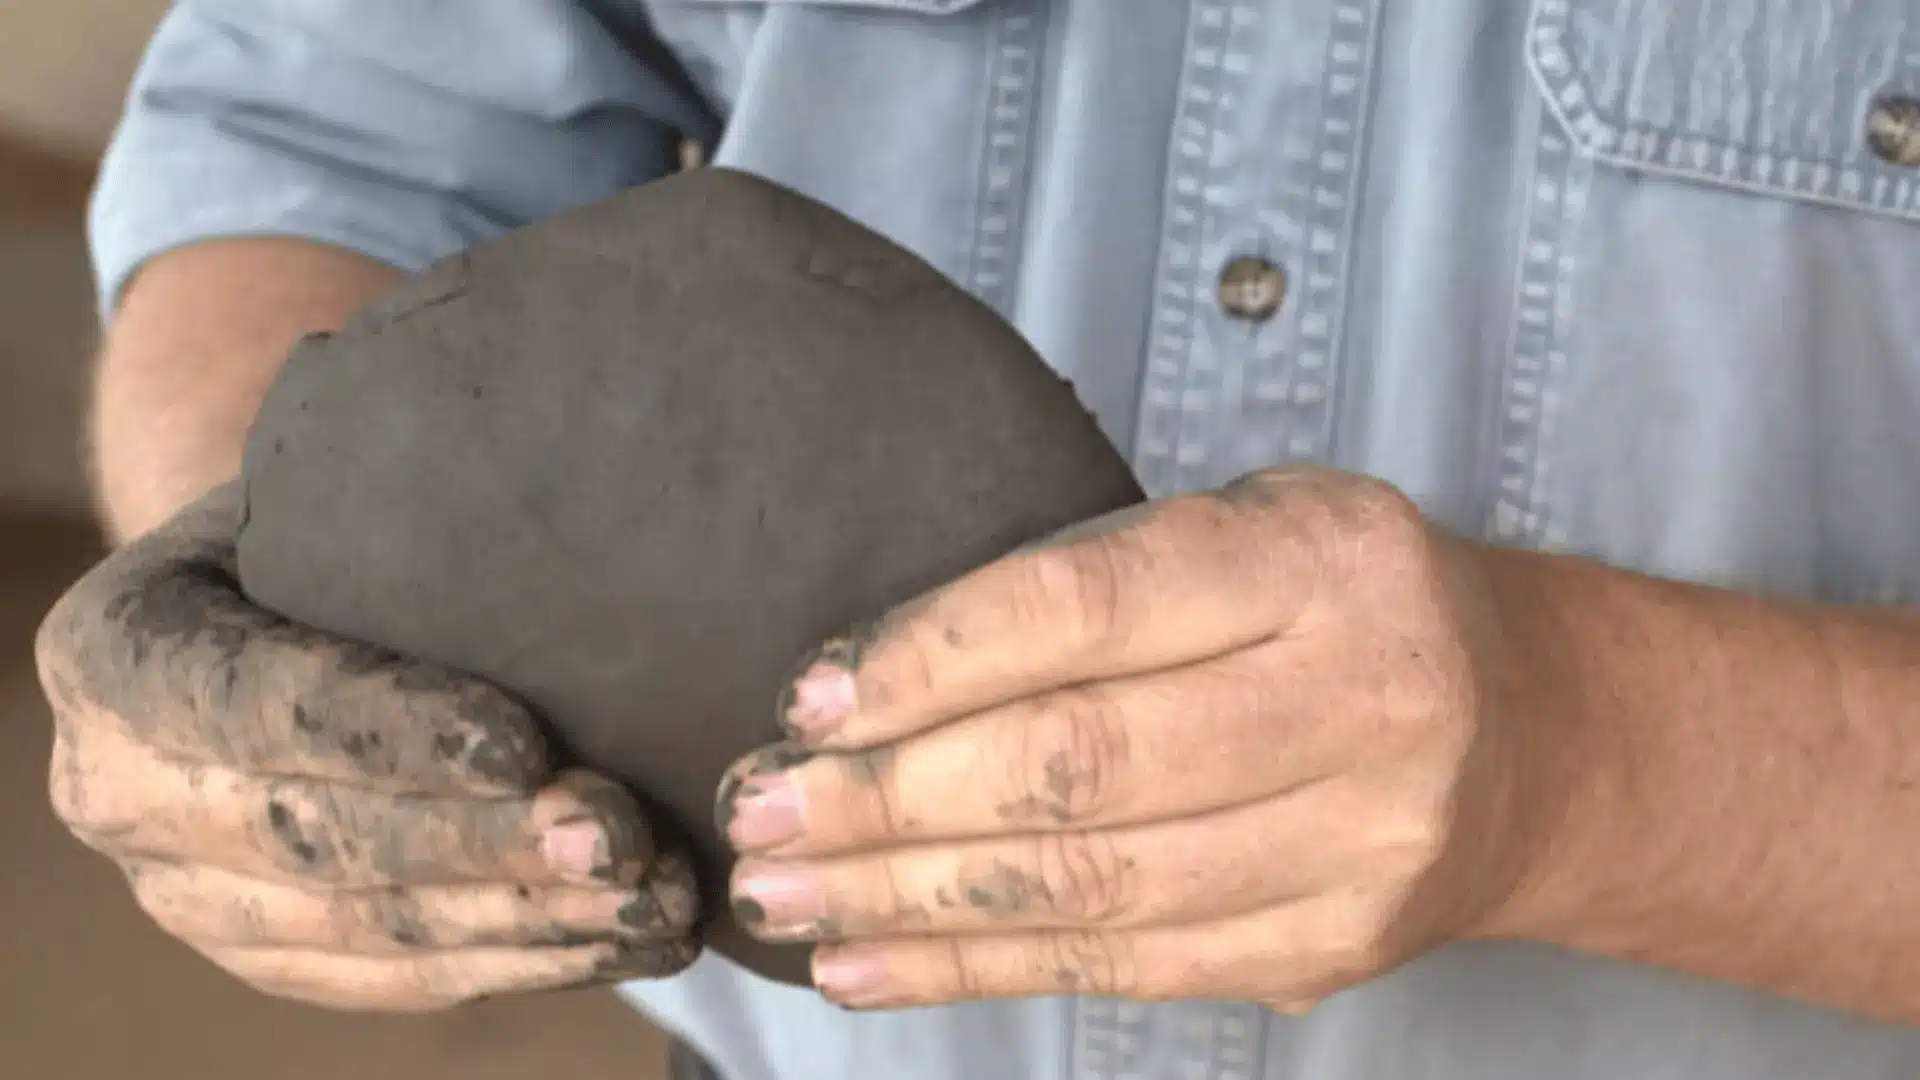
Hand-building clay is pure creativity, no wheel, no machines, just hands, tools, and a block of clay turning into something real. That’s the magic of clay techniques done the simple way.
Rolling coils, shaping slabs, and pinching forms into cups, bowls, and art pieces feels natural and satisfying. The process makes pottery accessible to everyone, even beginners, by focusing on simple steps and hands-on learning.
With just a few tools and a little patience, plain clay becomes textured surfaces, smooth curves, and strong shapes. From basic forms to more detailed builds, hand-building makes it easy to explore ideas, try new styles, and create pieces that feel natural, creative, and truly handmade.
What Is Hand Building In Clay?
Hand building in clay is all about shaping pottery without a wheel, using hands, fingers, and simple tools to create solid, functional pieces.
This method has been used for thousands of years, when people made pots, bowls, and storage containers with natural materials and basic skills. Its long history makes hand-building feel natural and easy to approach today.
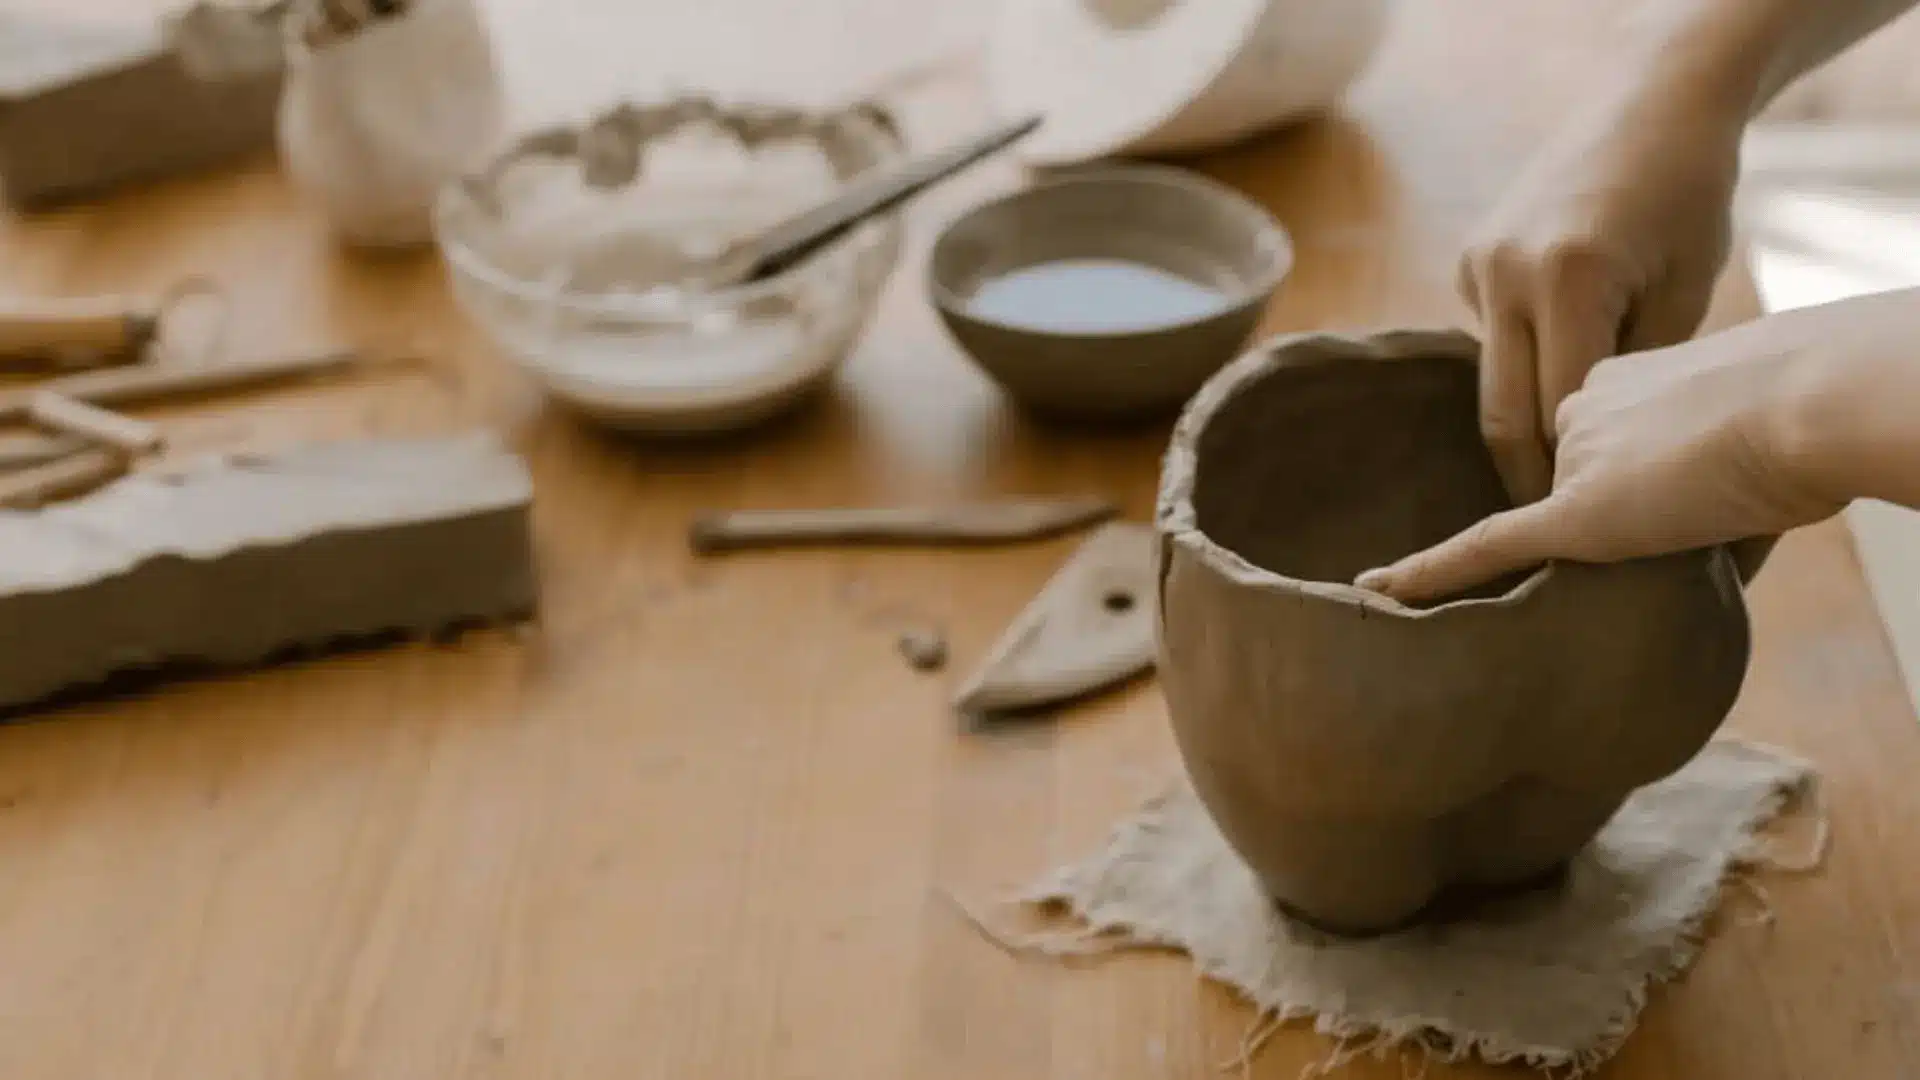
It’s ideal for beginners since no complicated setup or strict rules are needed, just simple steps and hands-on practice. With tools like a rolling pin, sponge, knife, and scoring tool, clay can be shaped into strong, smooth, and creative forms, making the process both fun and rewarding.
Hand-Building Clay Techniques
Here are a few techniques that make it easy to shape clay with simple movements, basic tools, and plenty of imagination.
1. Pinch Pot Method
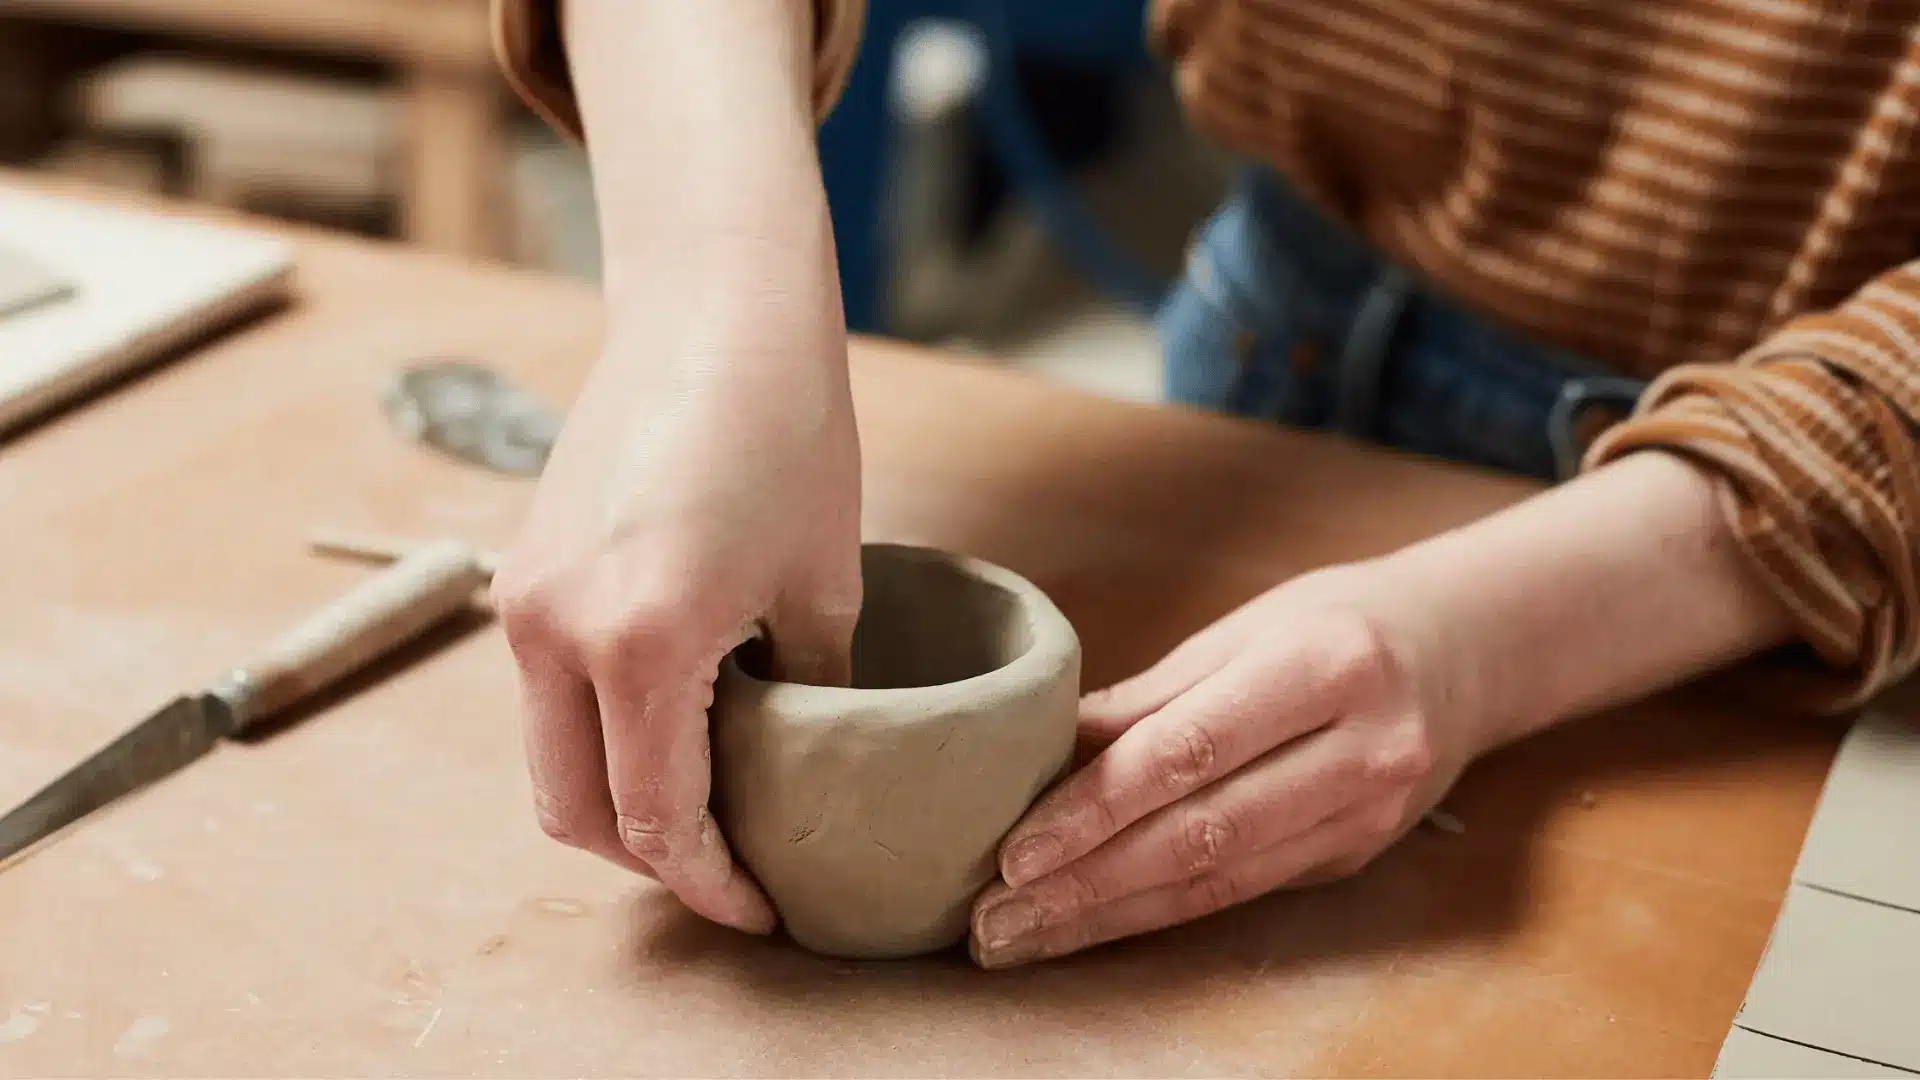
The pinch pot method is one of the easiest ways to start working with clay. A small ball of clay is gently pinched between the thumb and fingers to form cups, bowls, or small containers.
This technique feels natural, and shapes come together quickly. It’s ideal for beginners and works perfectly for creating small functional pieces or simple decorative pottery.
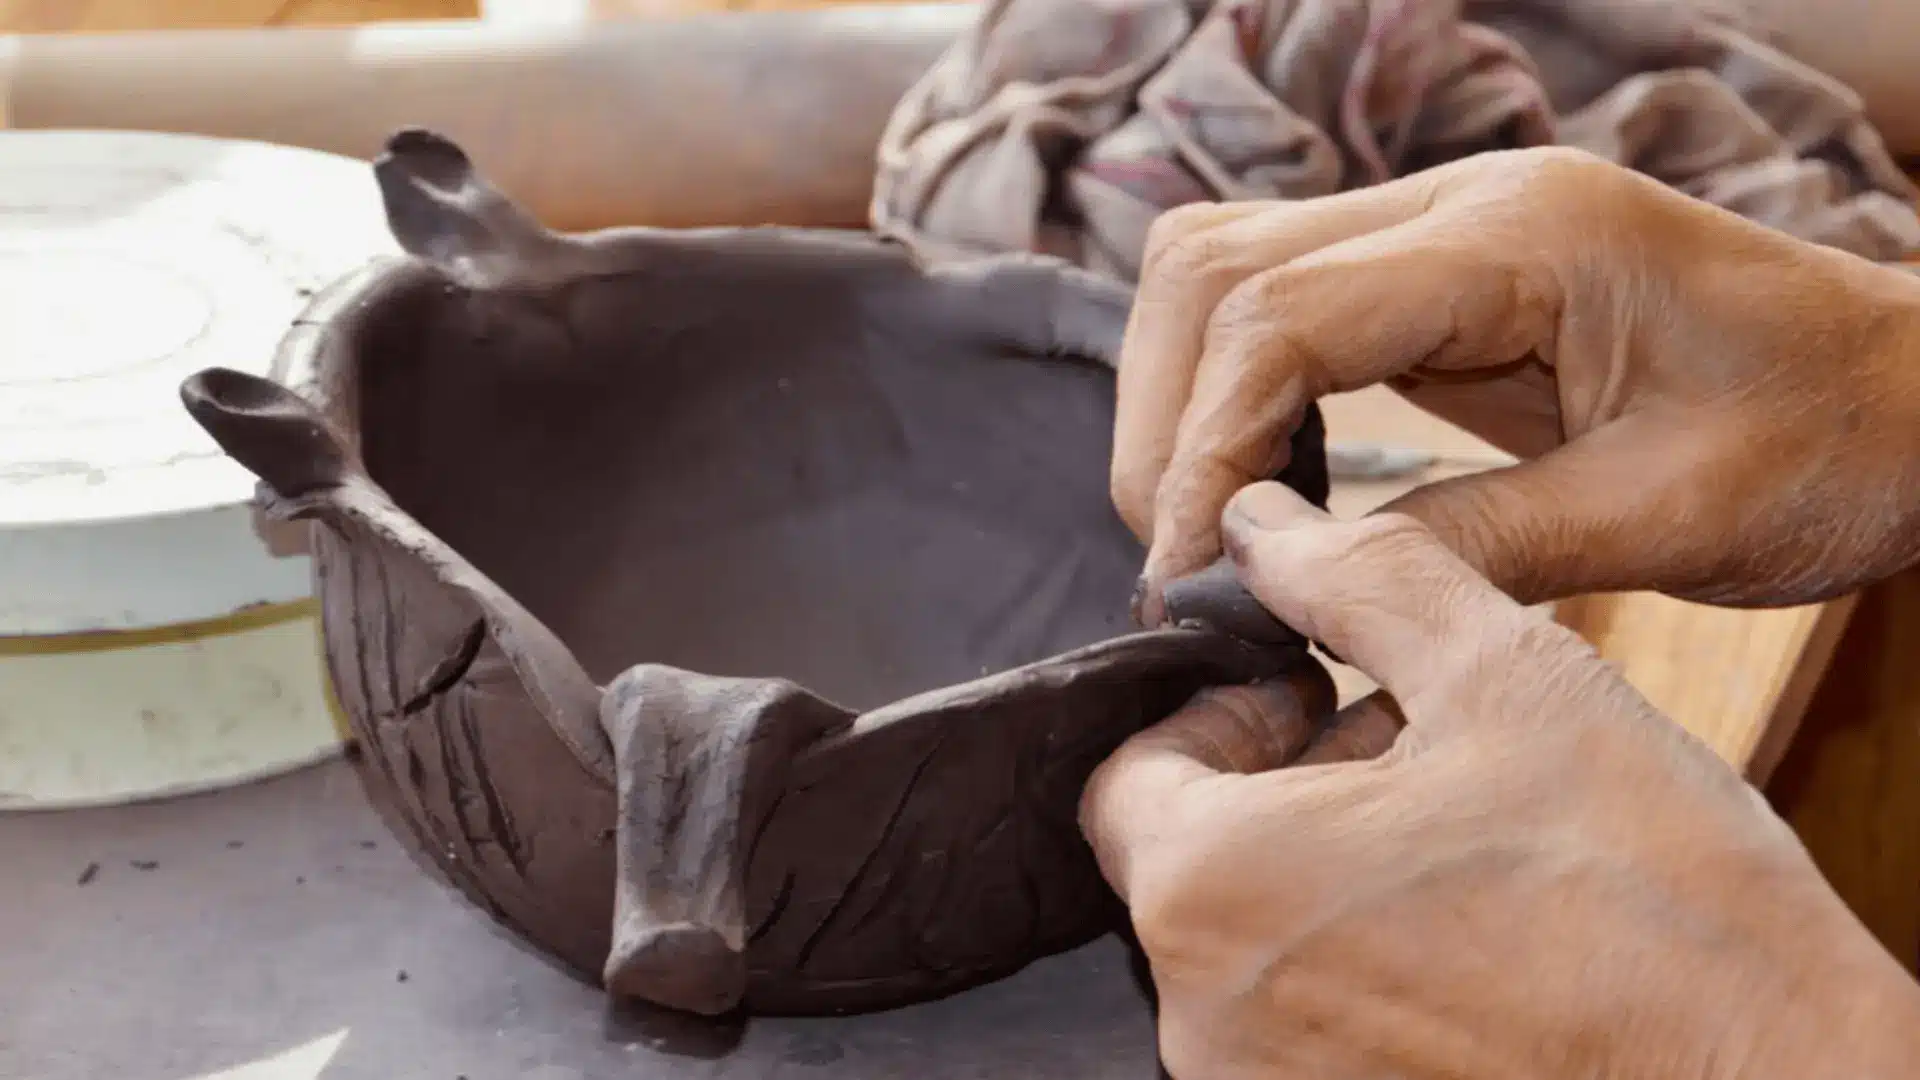
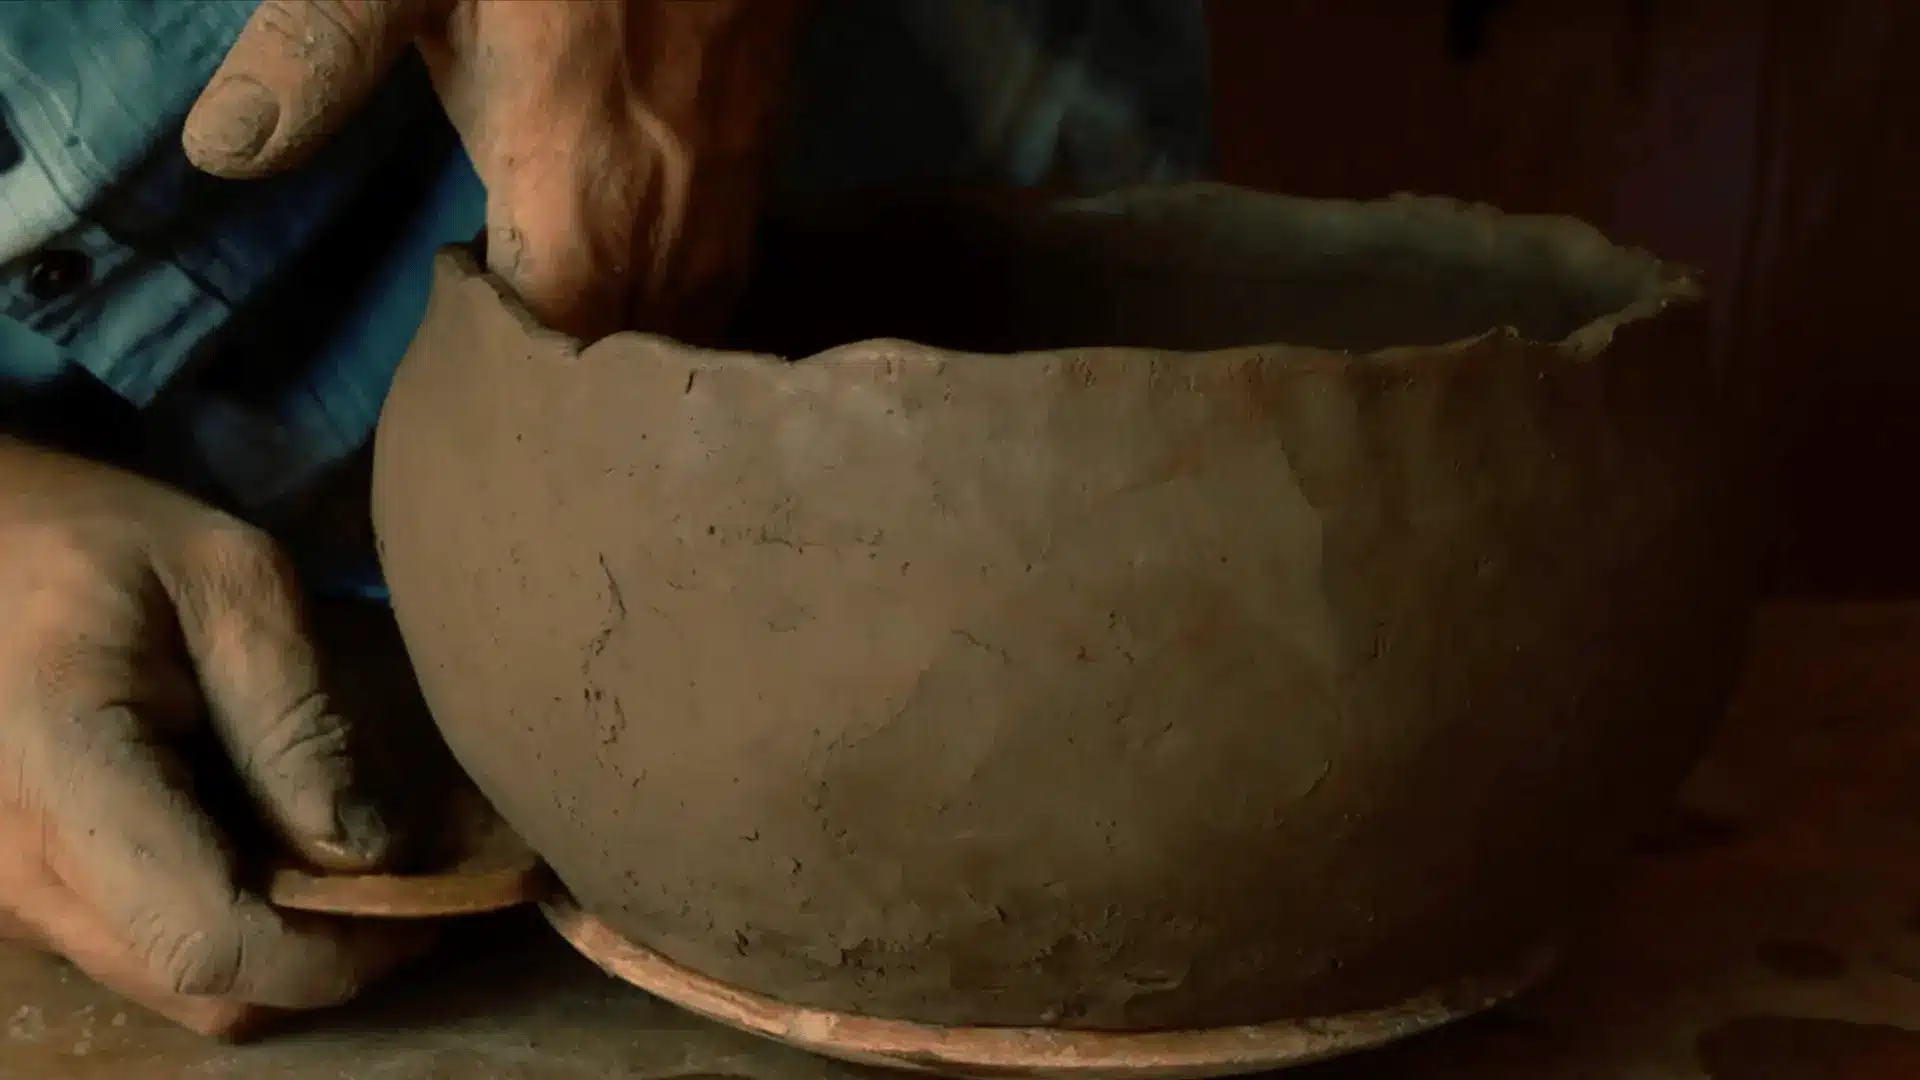
2. Basic Coil Building
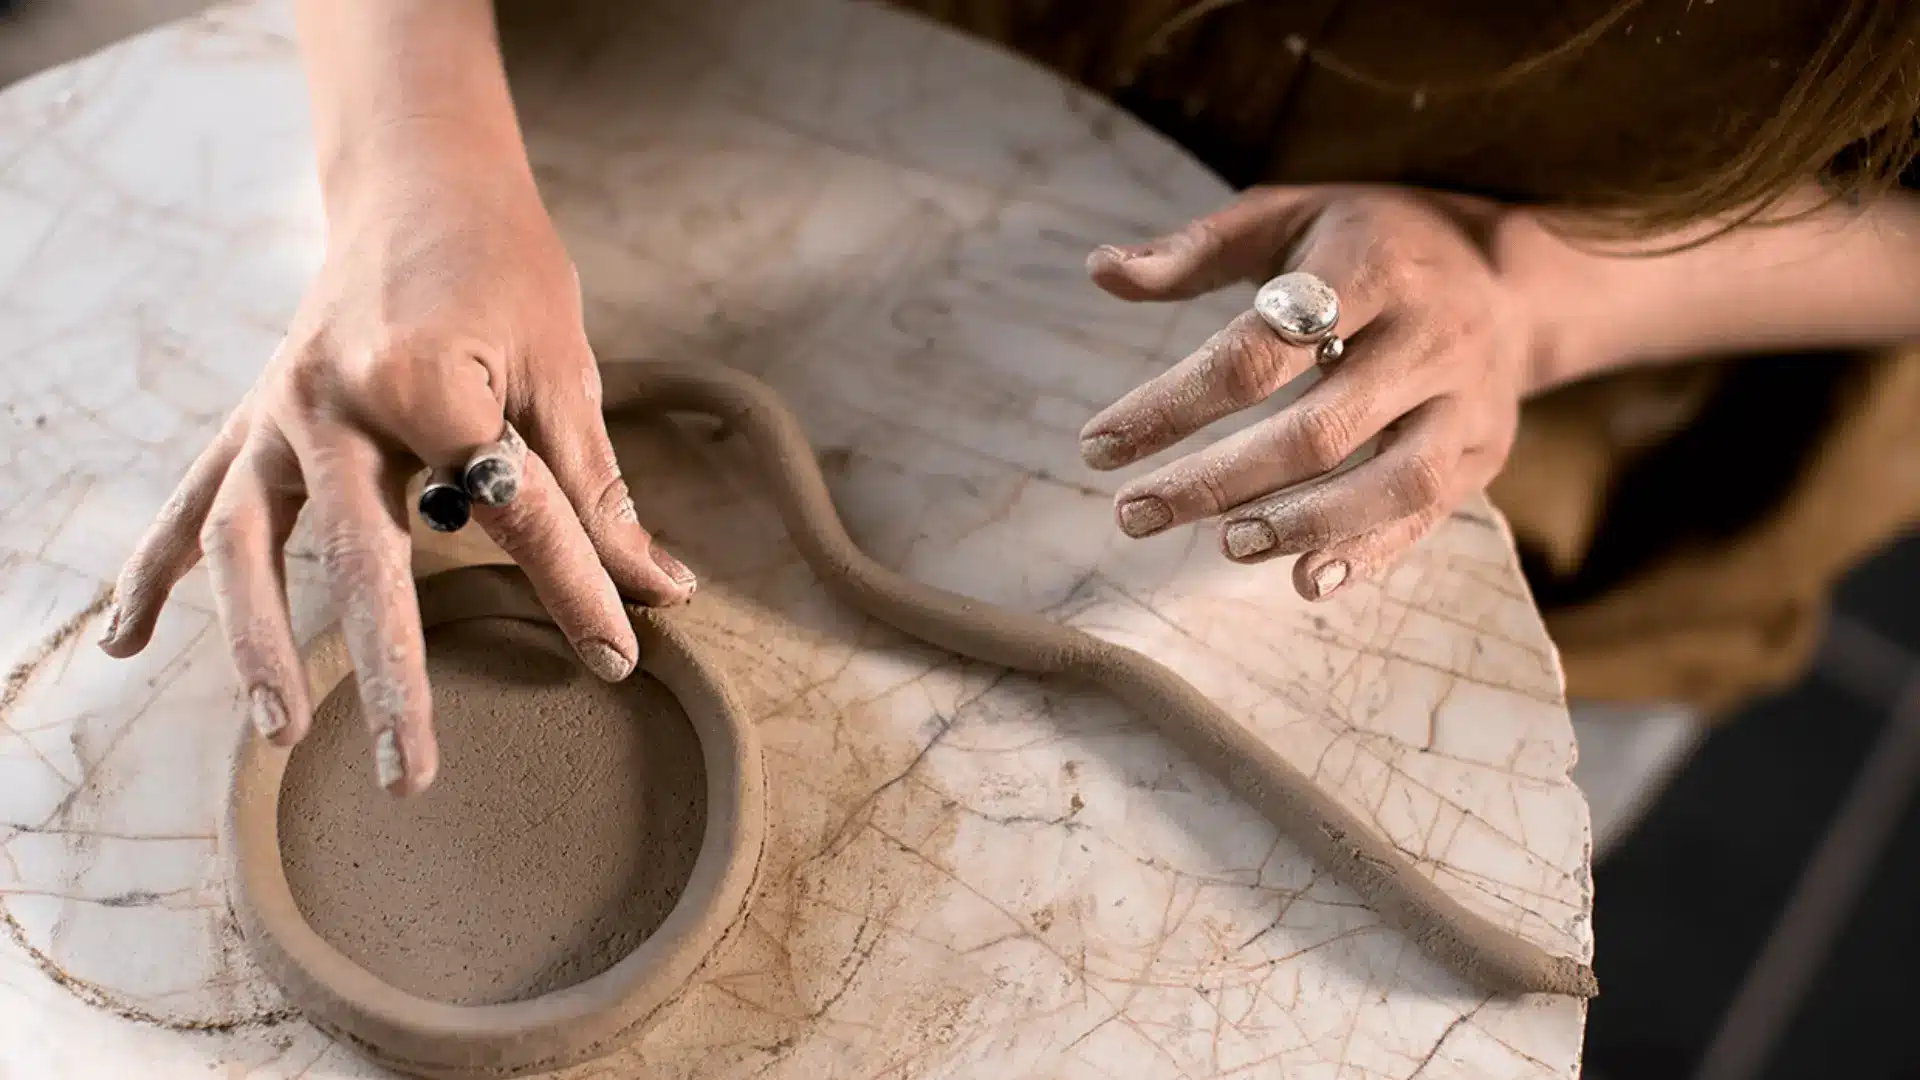
Coil building uses long ropes of clay stacked and blended together to create walls and shapes. This technique produces strong forms like vases, pots, and planters.
It offers a sense of freedom, allowing tall, wide, or curved designs without needing a wheel. Coil building is ideal for creating larger pieces while keeping the process hands-on, creative, and flexible.
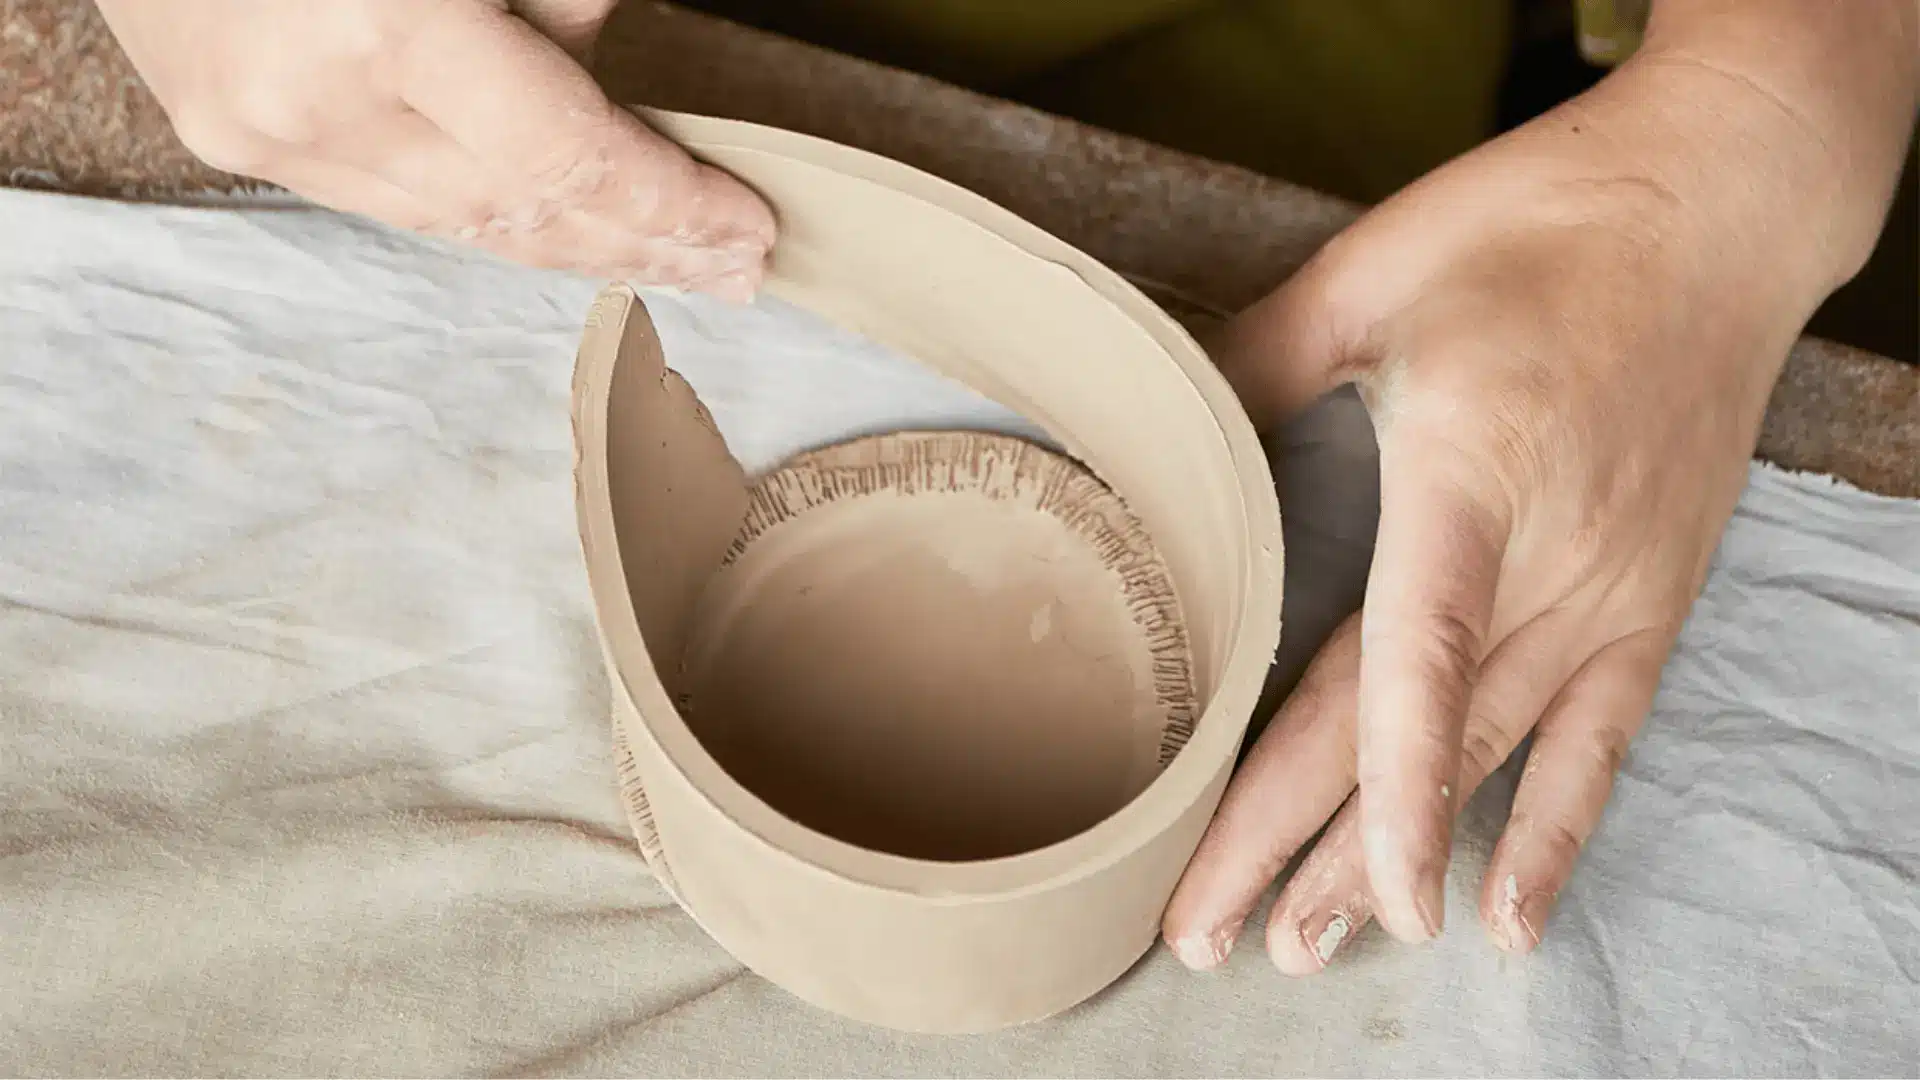
3. Slab Building
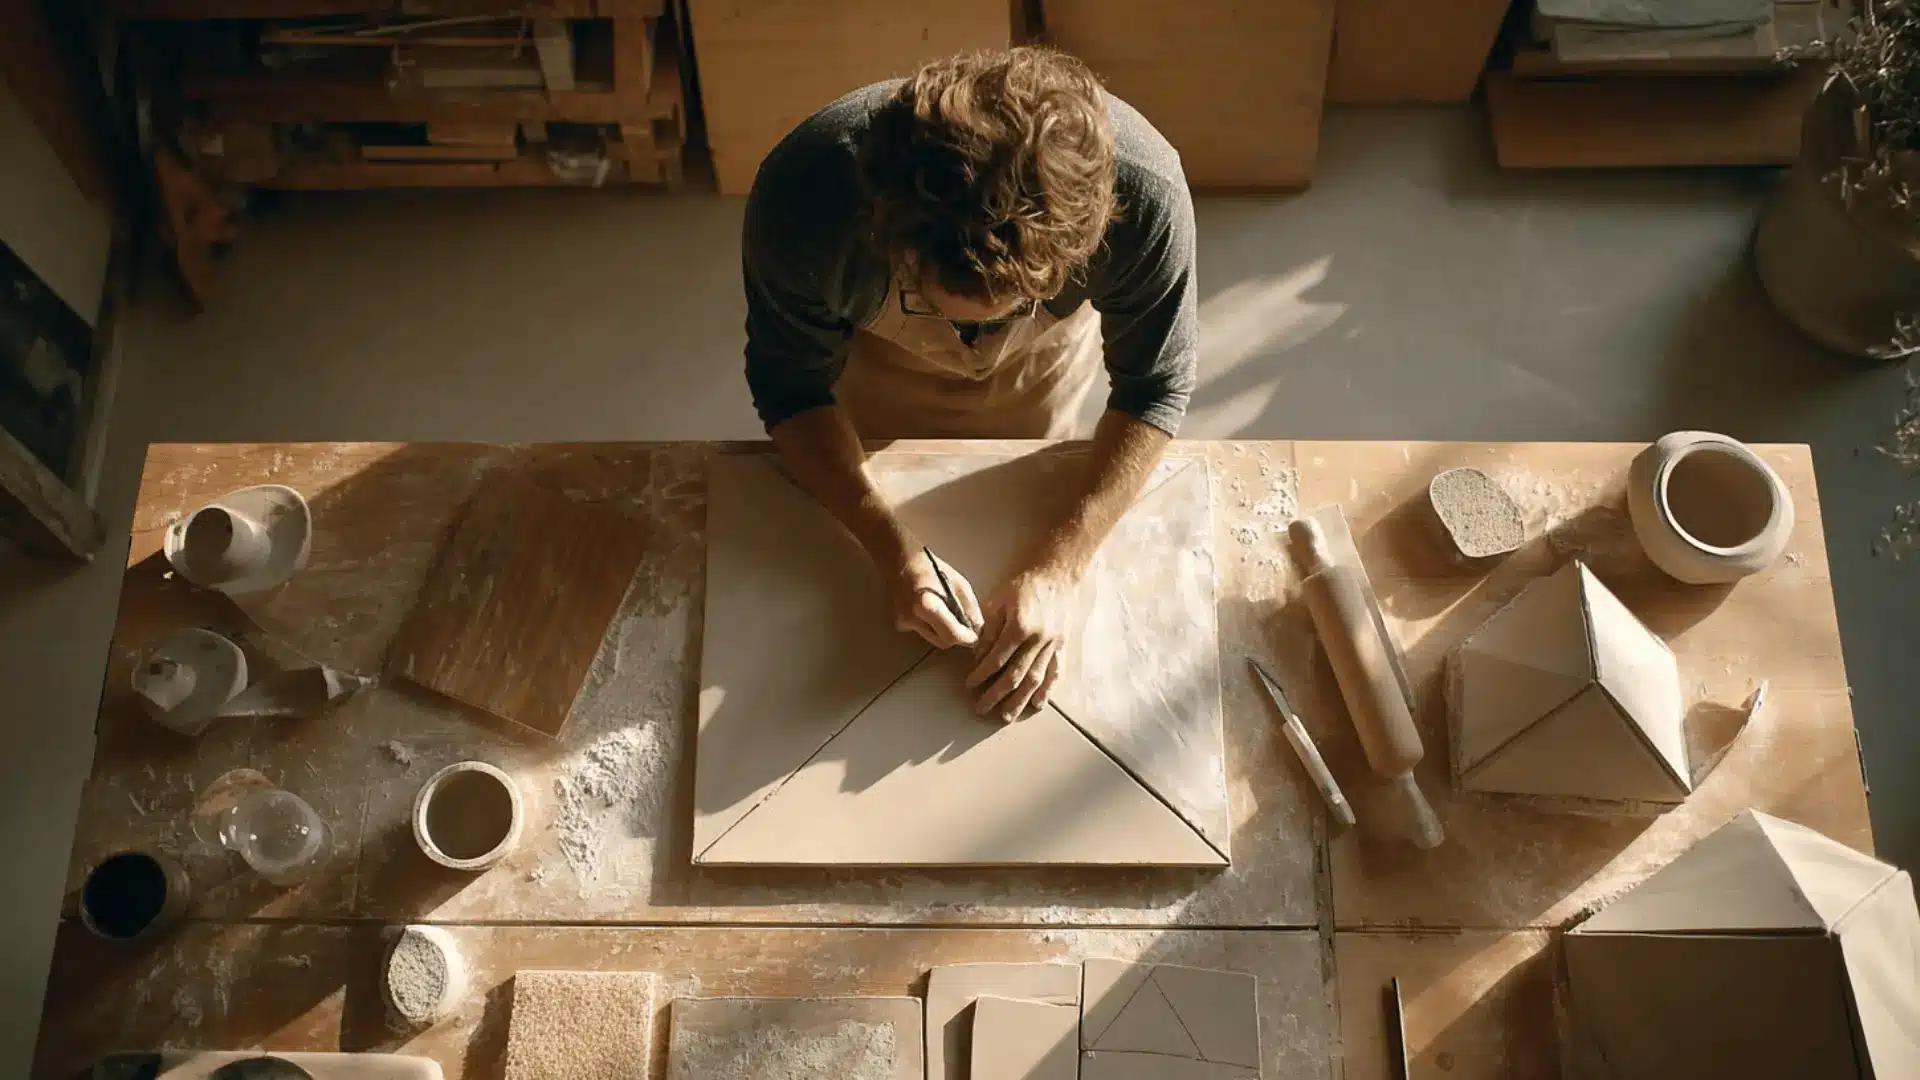
Slab building uses flat sheets of clay that are cut and joined to create boxes, plates, tiles, and other clean shapes.
This method feels structured and neat, making it ideal for simple designs with straight edges. It works well for creating modern forms and functional items like trays, containers, and decorative pieces, keeping the process easy and hands-on.
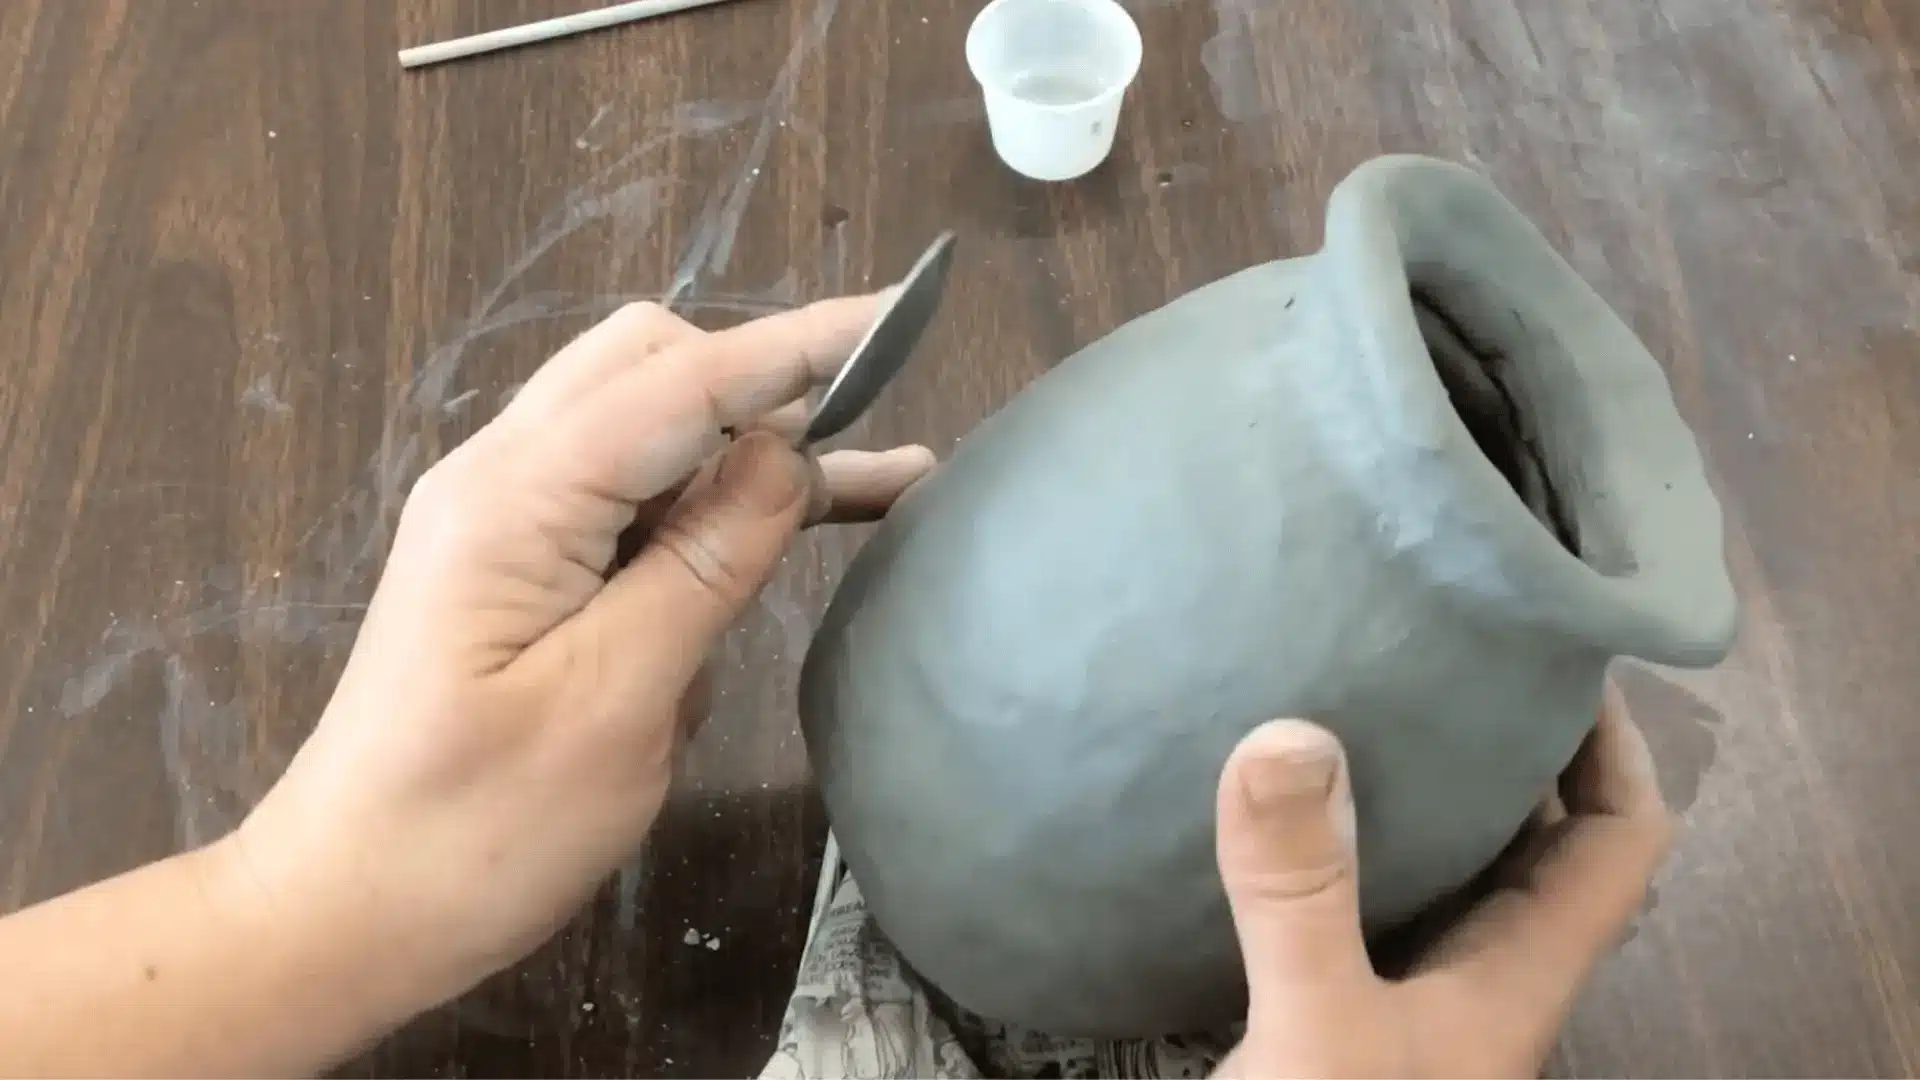
4. Score And Slip Joining
Score-and-slip joining is a technique that helps clay pieces stick together securely. Small scratches are made on both surfaces, and wet clay, called slip, is applied before joining them.
This method is essential for strong, stable builds, especially when working with slabs or coils. It prevents cracking and keeps pieces bonded while drying and firing, making the process more reliable and successful.
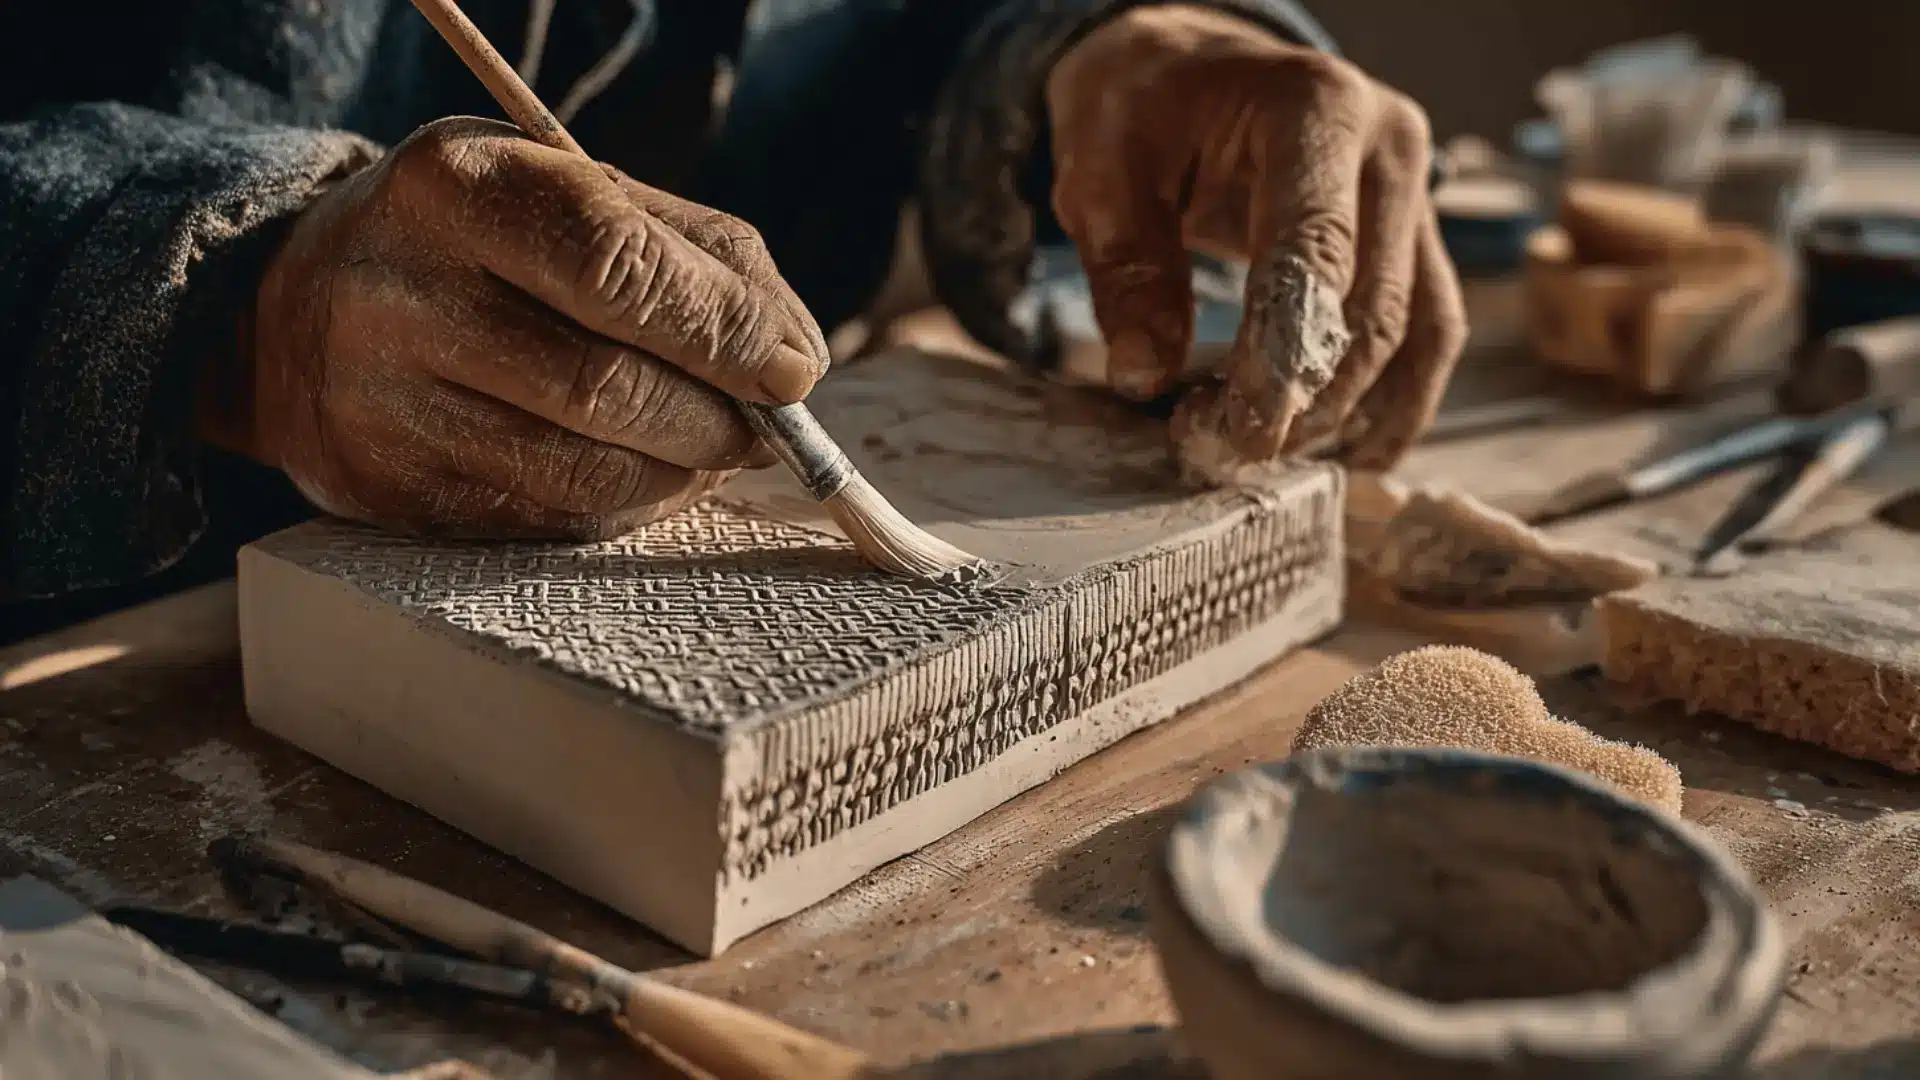
5. Textured Slabs
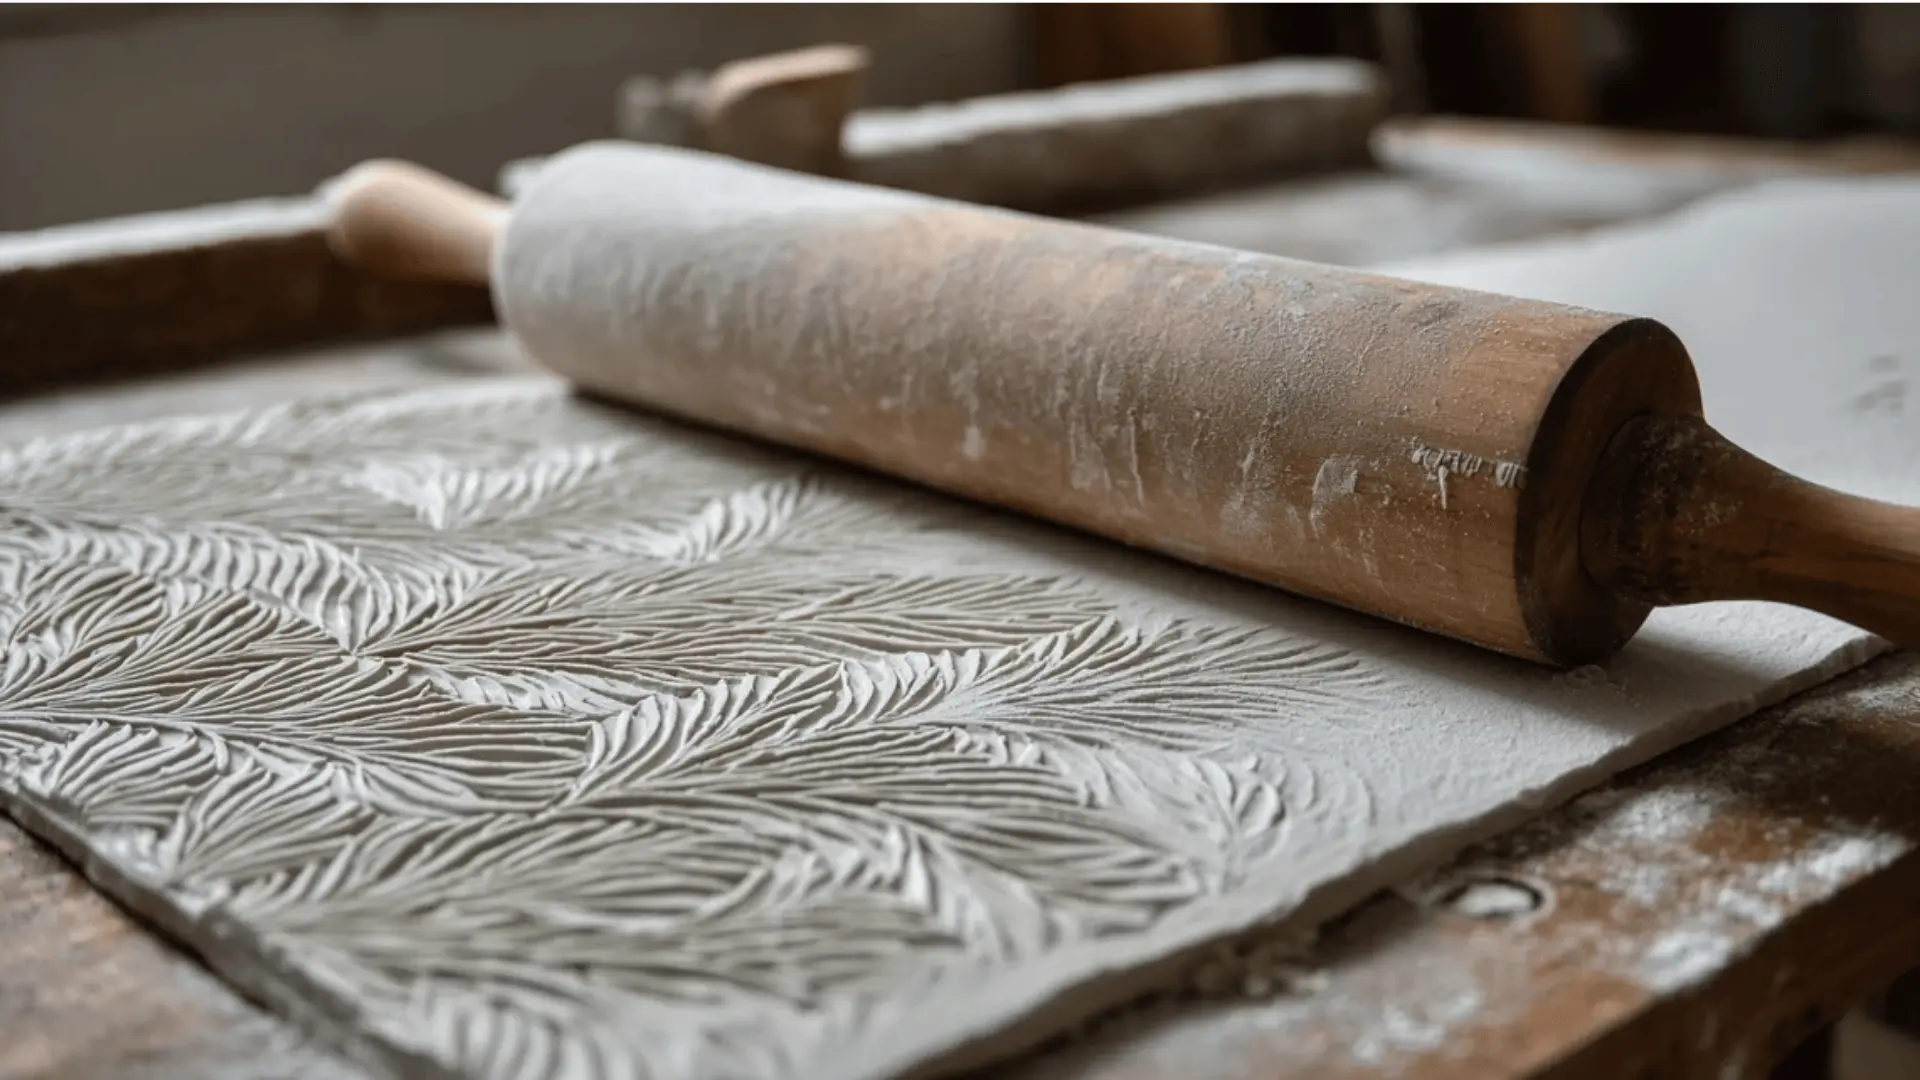
Textured slabs add character and detail to clay pieces. By pressing objects such as fabric, leaves, stamps, or simple tools into the clay, patterns and designs are easily created.
This method brings surfaces to life, making each piece feel unique and handmade. It works perfectly for decorative plates, wall art, and custom pottery, turning simple clay forms into visually interesting, creative pieces.
6. Compression Pinch
This technique shapes clay walls by pinching and gently pressing the clay inward to control thickness and form. It helps narrow openings and strengthen the structure at the same time.
This method creates clean shapes while keeping the form balanced. It works well for cups, vases, and small containers.
7. Flat Pinch Technique
Flat pinch focuses on evenly thinning and smoothing clay walls. The clay is gently pinched and spread outward to create wide, shallow forms.
This method keeps pieces light while maintaining strength. It’s great for plates, shallow bowls, and simple decorative pieces with smooth surfaces.
8. Pushing Out Forms
This method shapes clay by pushing from the inside outward, creating soft curves and rounded forms. It allows natural flow and smooth lines to form easily.
This technique is perfect for organic shapes like bowls and vases. It gives clay a soft, natural look that feels balanced and clean.
9. Bonding Pinch For Coils
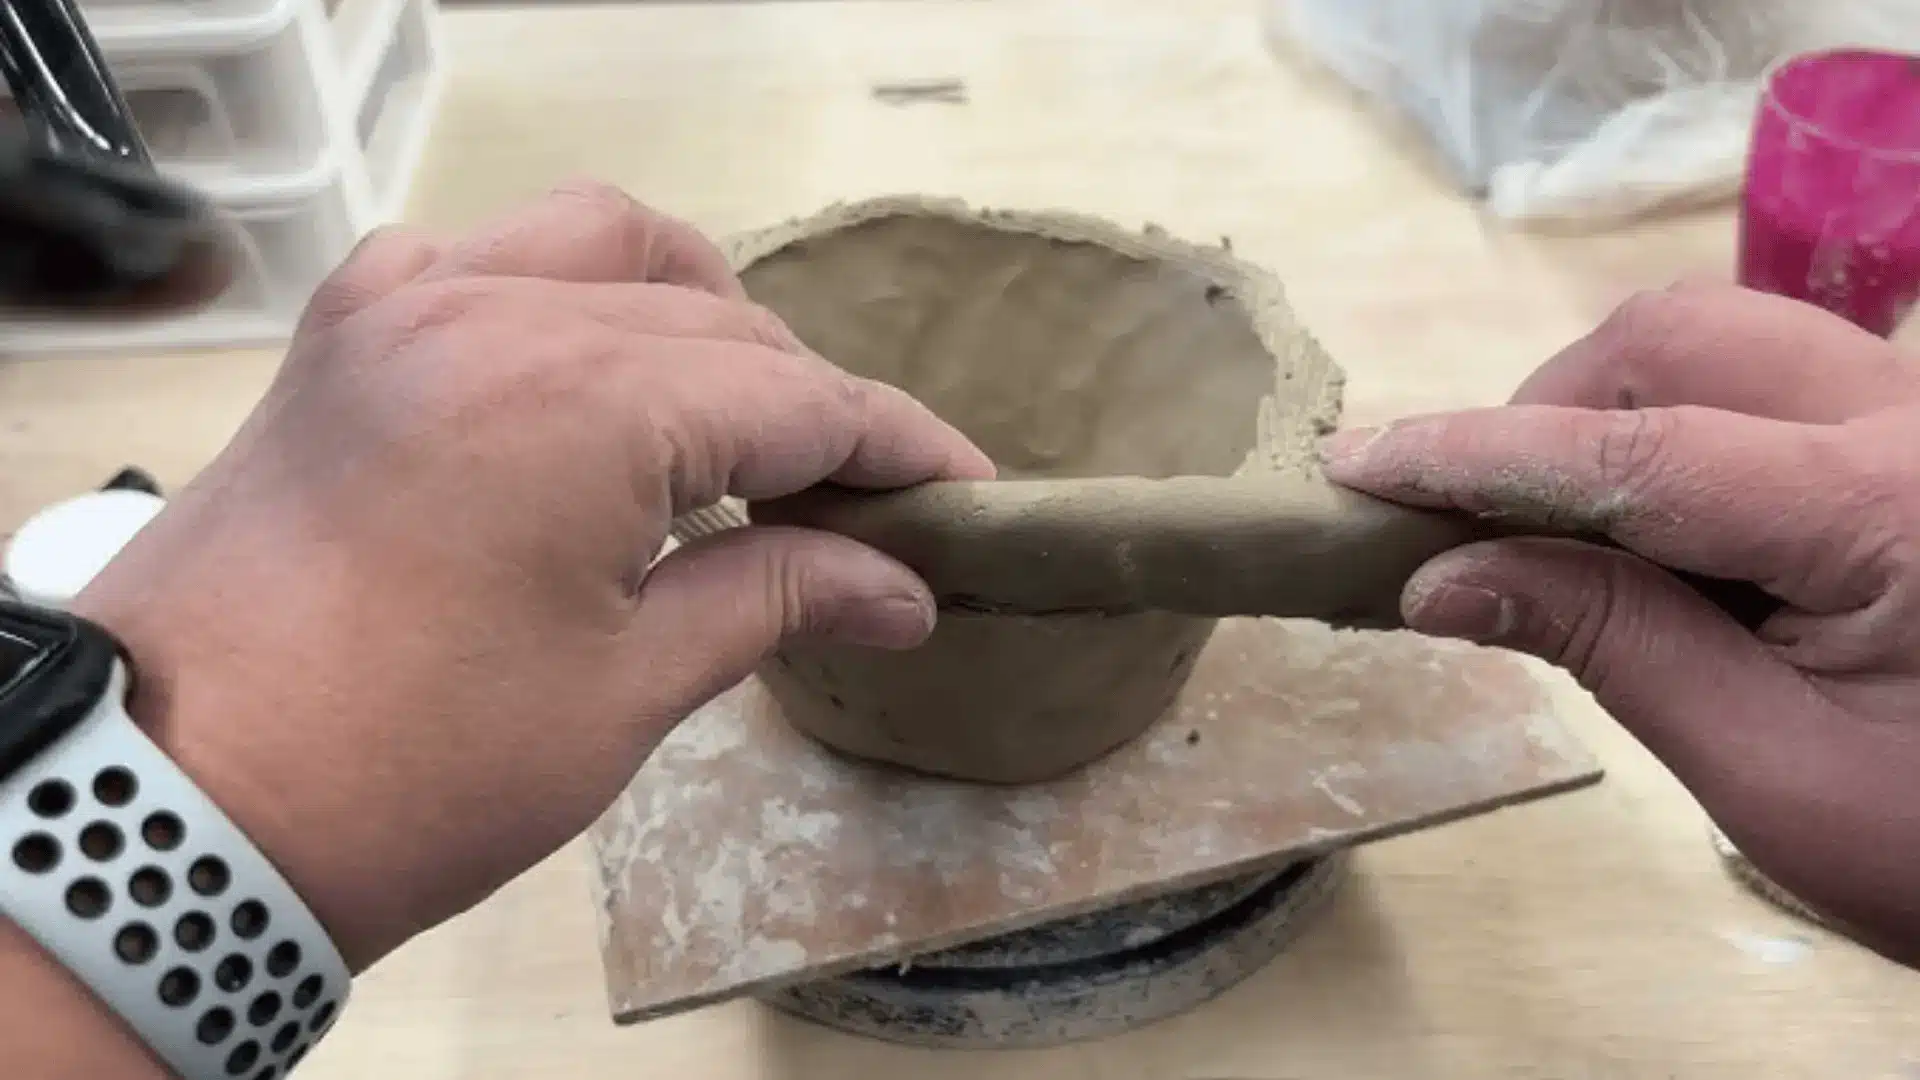
This technique strengthens coil-built forms by pinching coils together as they are stacked. It tightens the structure and reduces weak spots between layers.
This creates solid walls while keeping the build stable. It’s especially helpful for taller pieces that need extra strength and support.
10. Slump Molding With Slabs
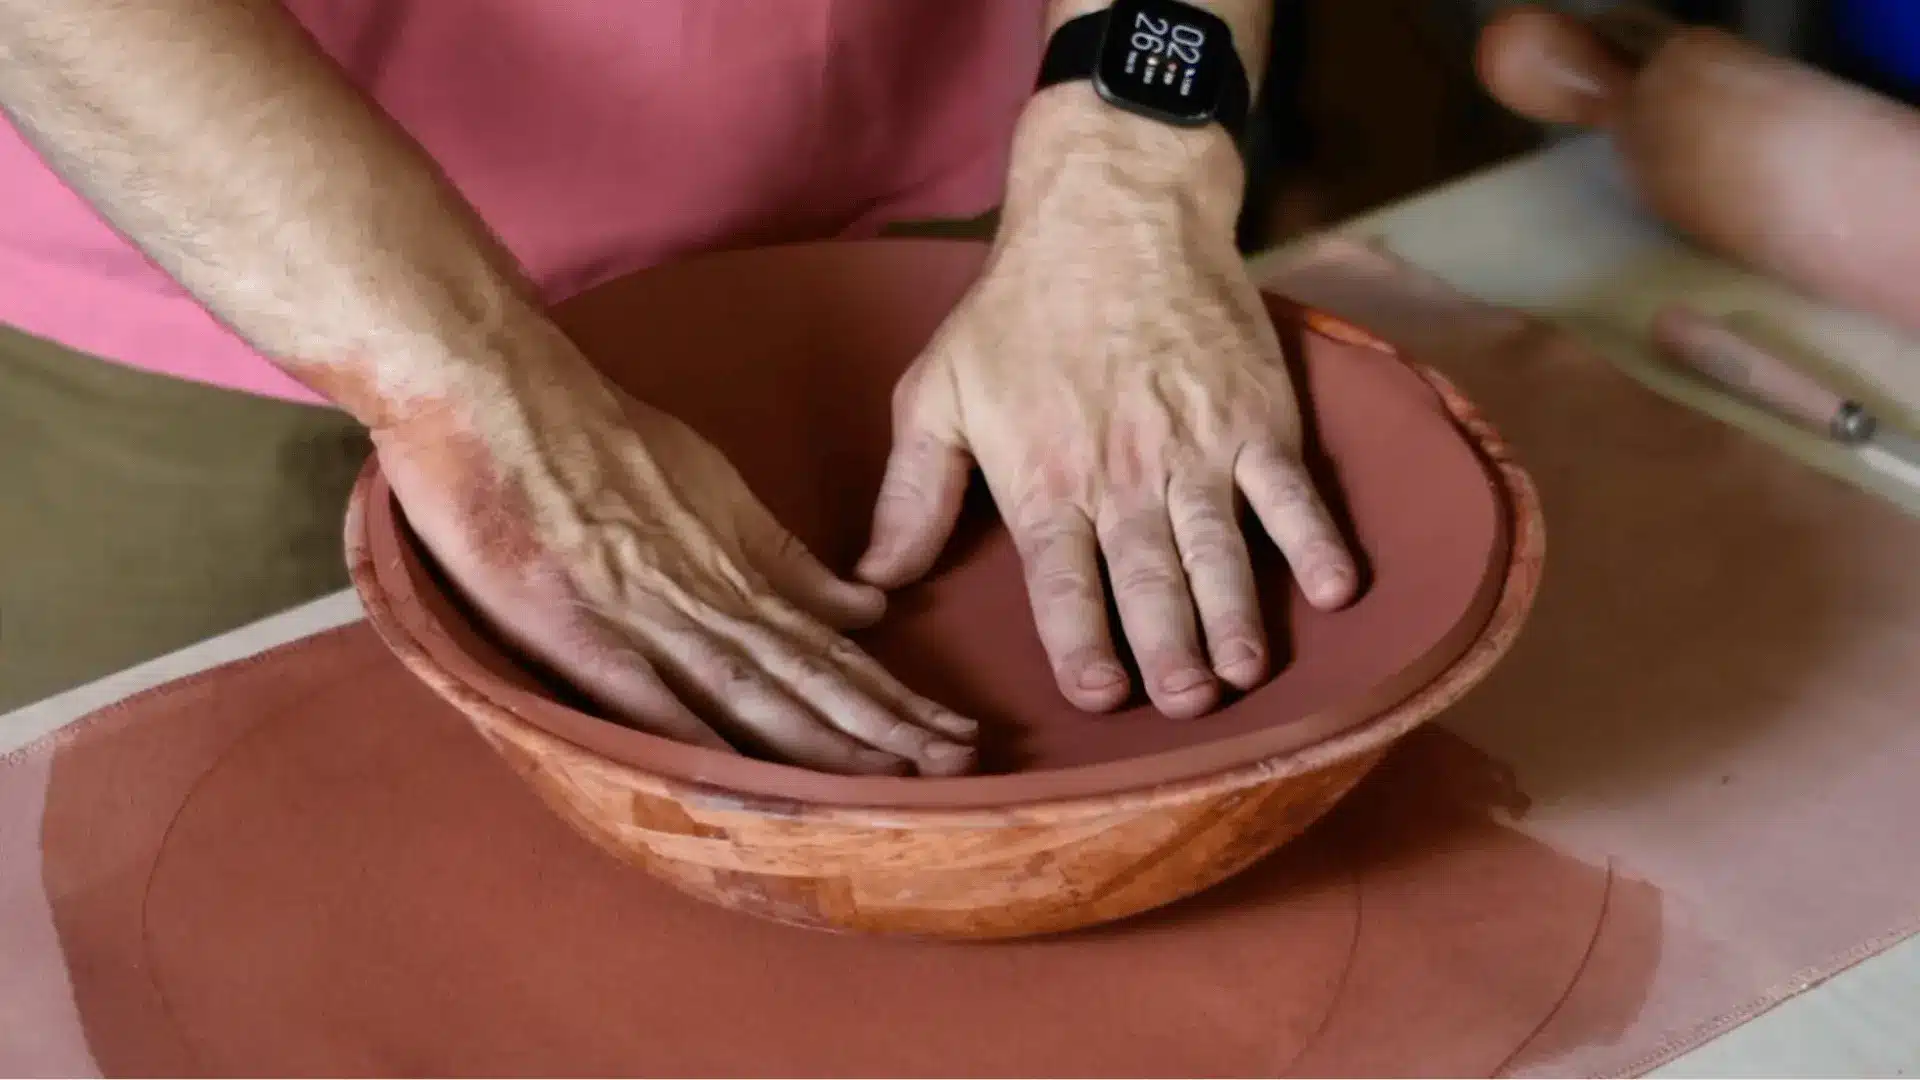
Slump molding uses flat slabs placed over molds so the clay naturally forms a shape as it settles. Bowls, plates, and curved forms come together easily with this method. It’s enjoyable and simple, delivering clean results. It’s great for smooth, even shapes without complex steps.
11. Layered Coil Texture
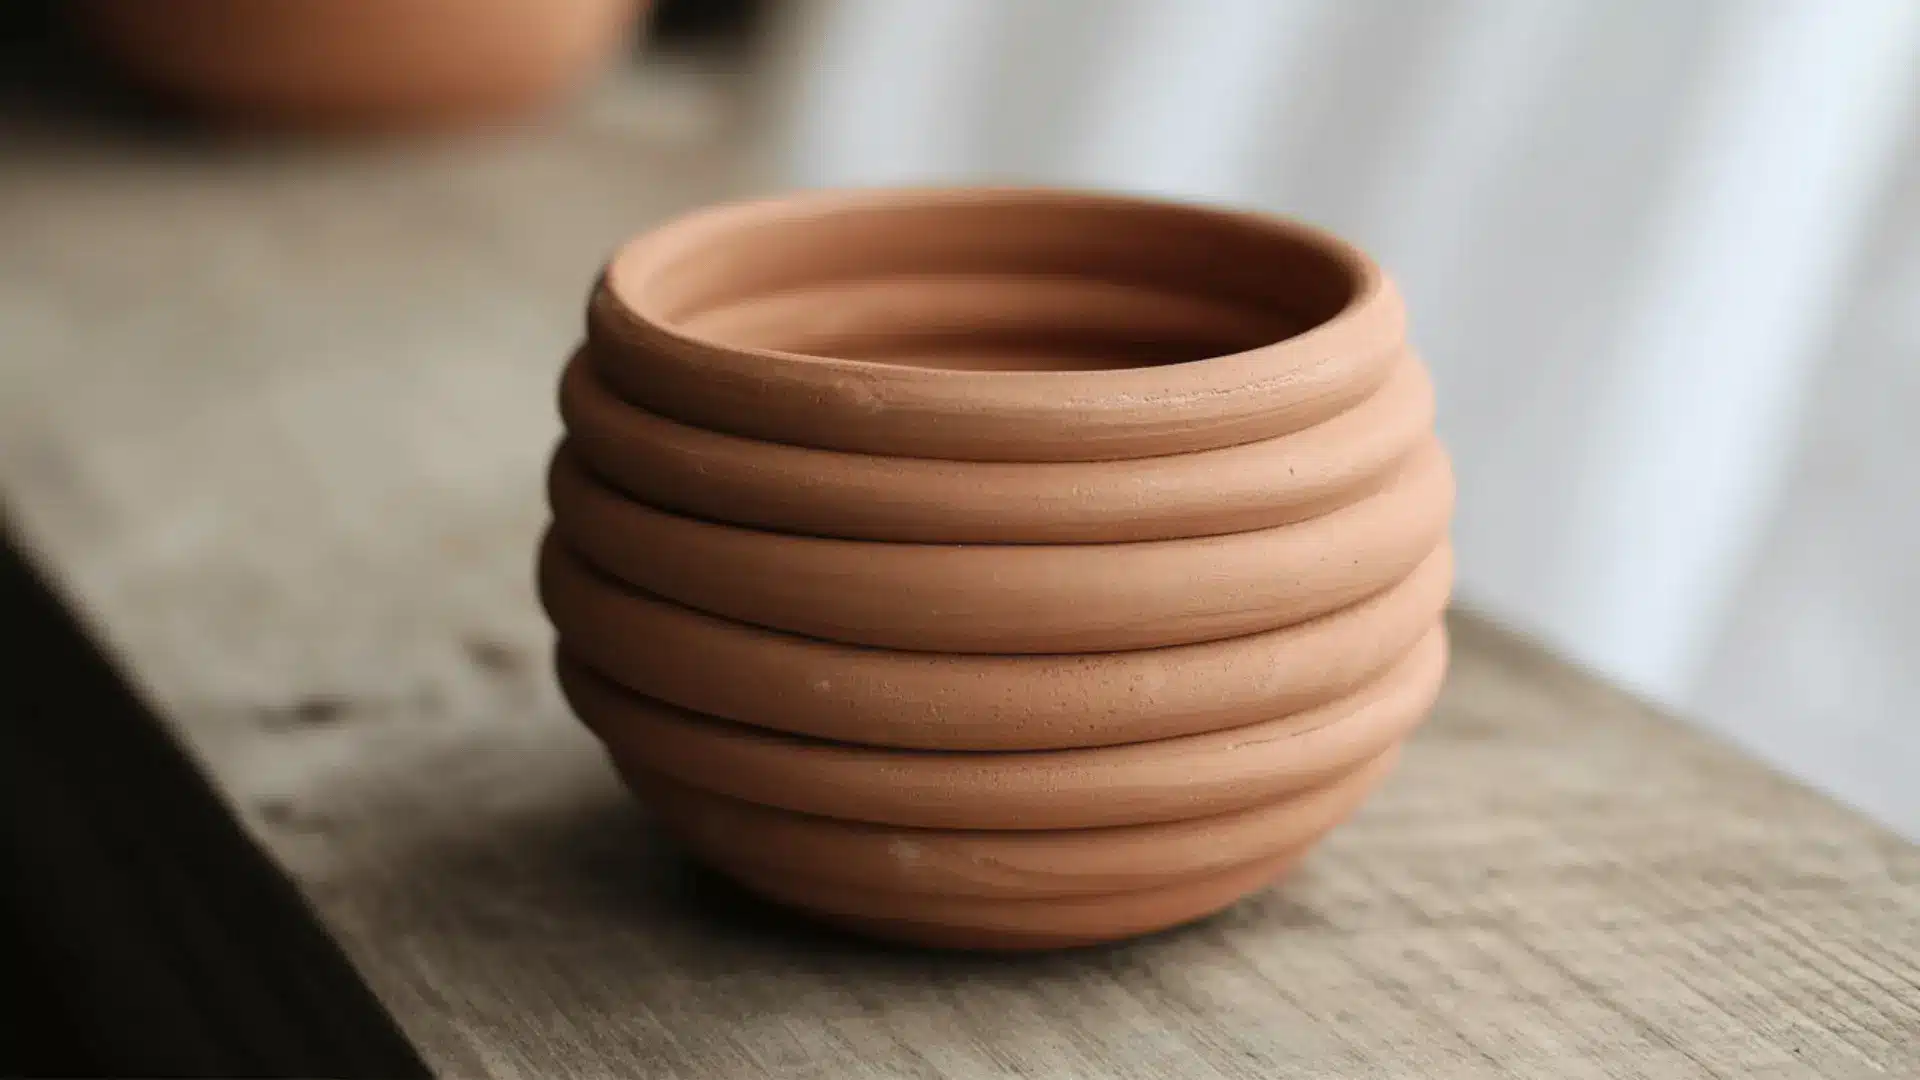
This method leaves coils visible rather than blending them, creating texture and visual detail on the surface. It adds a handmade look that feels bold and artistic.
Here, Simple coils can become design features. It’s perfect for decorative pottery and statement pieces with strong character.
12. Joining Slabs Into Boxes Or Tiles
This technique joins flat slabs to create structured forms like boxes, tiles, and geometric shapes. Clean edges and straight lines make the results look neat and balanced.
This method is pretty organised. It works well for planters, storage pieces, and modern clay designs.
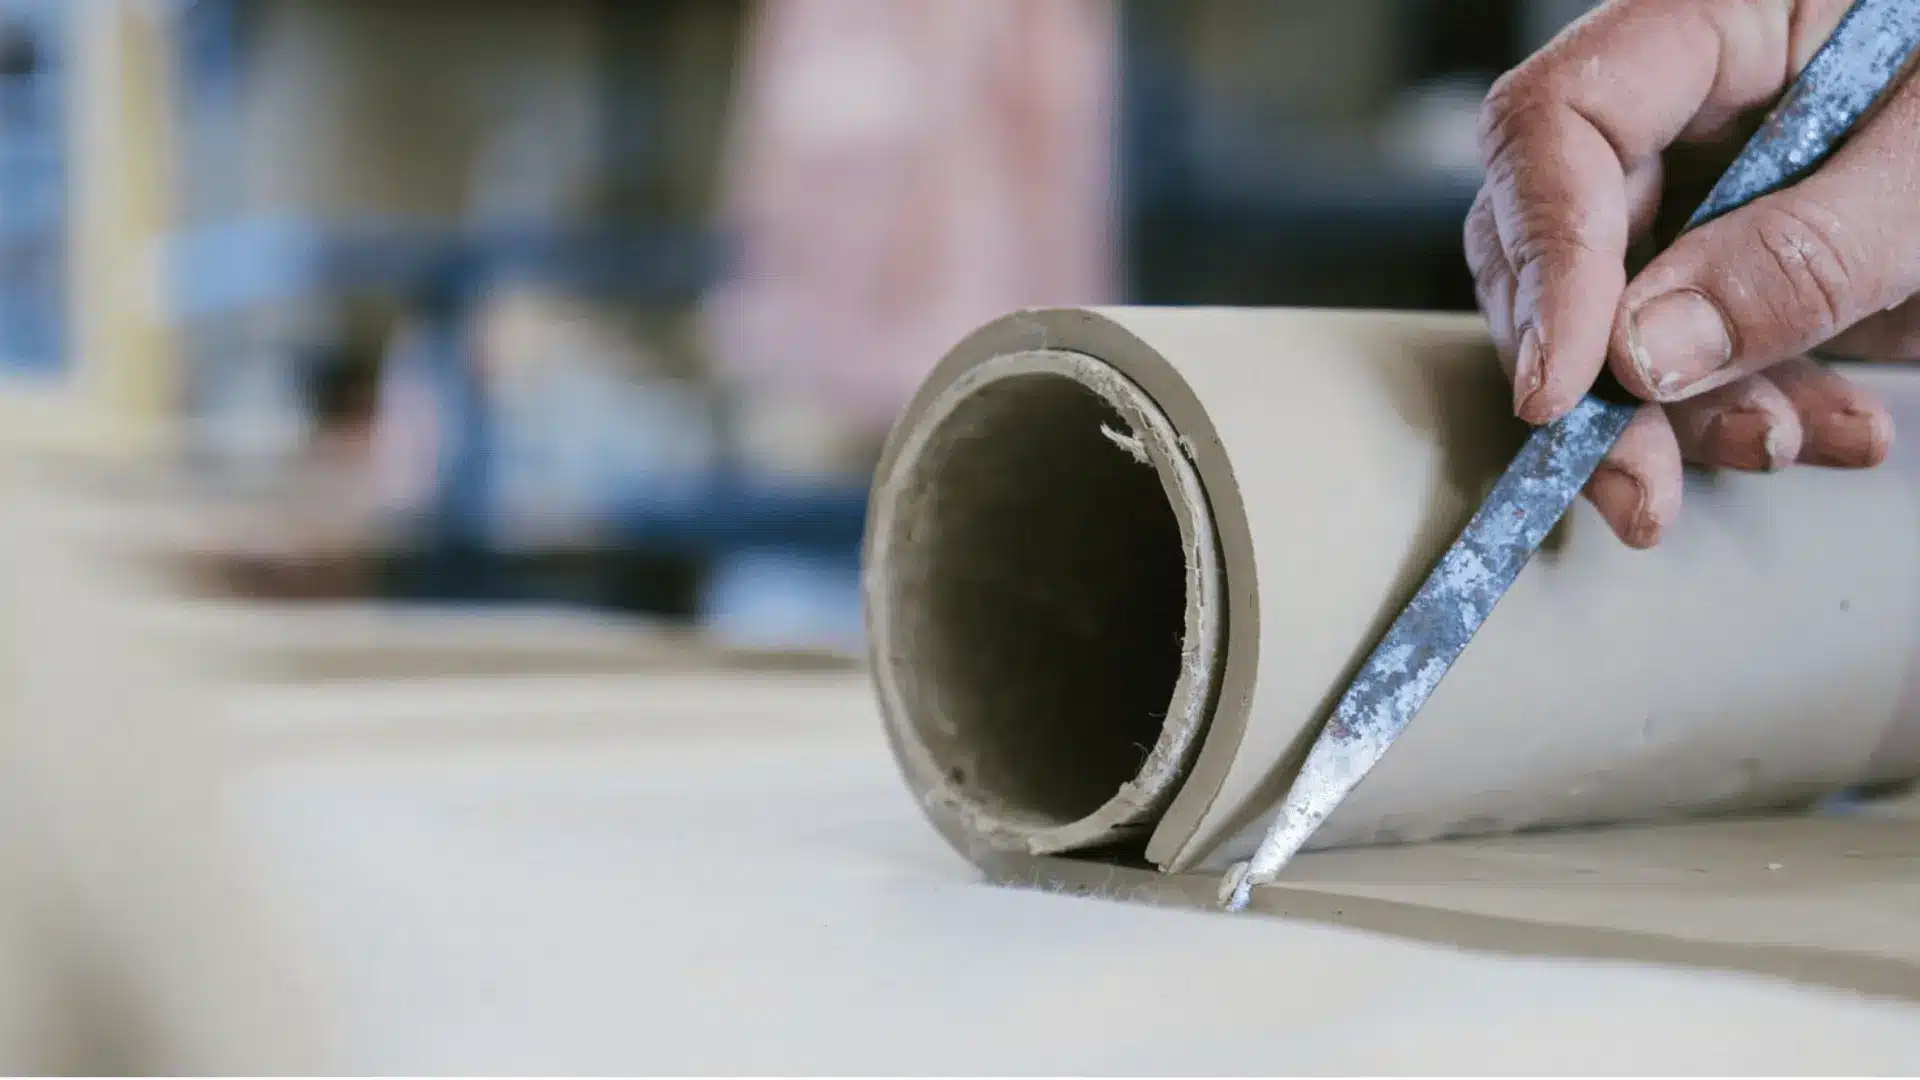
13. Scraping
Scraping is a simple but powerful technique used to refine clay forms after shaping. It smooths rough spots, evens wall thickness, and improves the overall shape of the pot.
This method cleans up lumps and creates a balanced surface. Scraping works best in stages, first after forming, then again as the clay firms and reaches leather-hard.
14. Sanding
Sanding creates a super smooth surface on bone-dry clay and helps hide small flaws. It’s useful for polishing pots and creating clean finishes.
It is helpful when a piece needs a refined look. Though it’s a later technique in pottery history, sanding can give clay a soft, even texture that feels clean and professional.
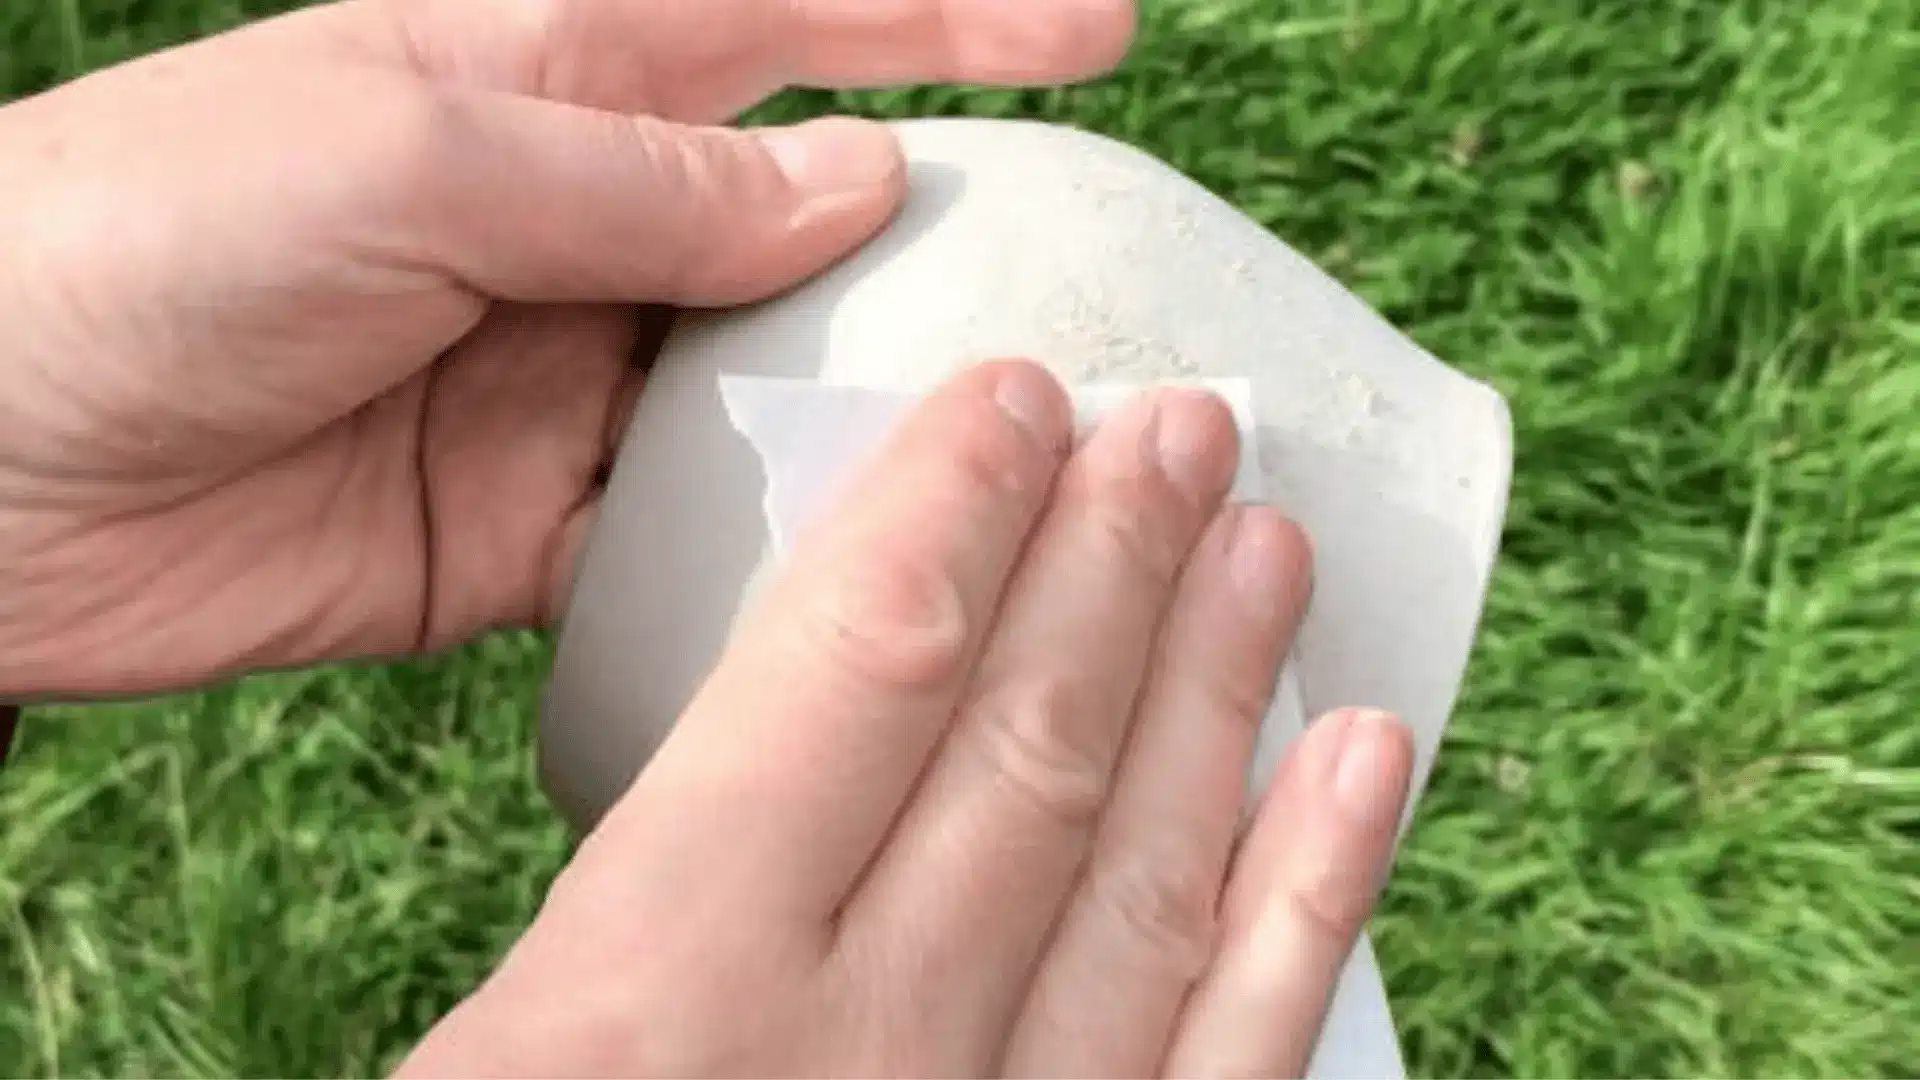
15. Stone Smoothing
Stone smoothing is done when clay is near leather-hard, using a damp stone to soften marks and smooth surfaces.
It removes lines from scraping and coiling, leaving a clean base for decoration. Stone smoothing feels like a natural method. It creates a smooth surface ready for slips, paint, and surface designs.
Tips to Get Started
Getting started with clay can be simple and fun with a few easy habits. These small steps make the process smoother, cleaner, and more enjoyable from the very first piece.
- Keep clay slightly moist to prevent cracks and make shaping smooth and easy.
- Let the clay firm before building tall forms to avoid sagging or collapsing.
- Cover unused clay to prevent drying and keep it workable longer.
- Dry pieces slowly to reduce warping and surface cracks.
- Turn pieces gently while drying to ensure even airflow and balanced shapes.
With patience and simple care, clay stays easy to shape, creative, and enjoyable to work with.
Common Mistakes & How To Avoid Them
Working with clay is a mix of learning and experimenting, and mistakes are a normal part of the process. Simple habit changes can prevent big problems and help every piece become cleaner.
| Mistake | Solution |
|---|---|
| Uneven walls | Compress and shape walls evenly while forming |
| Cracks in clay | Dry pieces slowly and maintain even moisture |
| Slumping shapes | Let the clay firm slightly before building upward |
| Weak joints | Score, slip, and compress seams firmly |
| Warping forms | Dry pieces slowly and allow even airflow |
Learning from mistakes makes clay work easier and more enjoyable.
Wrap-Up
Hand-building shows that creativity doesn’t need machines, just hands, patience, and imagination. These clay techniques make pottery feel open, fun, and easy to begin, even for beginners.
Simple methods can turn plain clay into cups, bowls, art pieces, and textured designs that feel personal and handmade. Every piece teaches something new, and every mistake becomes part of the learning process. Growth comes from trying, shaping, and experimenting without fear of getting it wrong.
Clay work isn’t about perfection; it’s about enjoying the process and building confidence with every form created. Start small, try new ideas, stay patient, and begin creating, let simple hands turn imagination into something real.