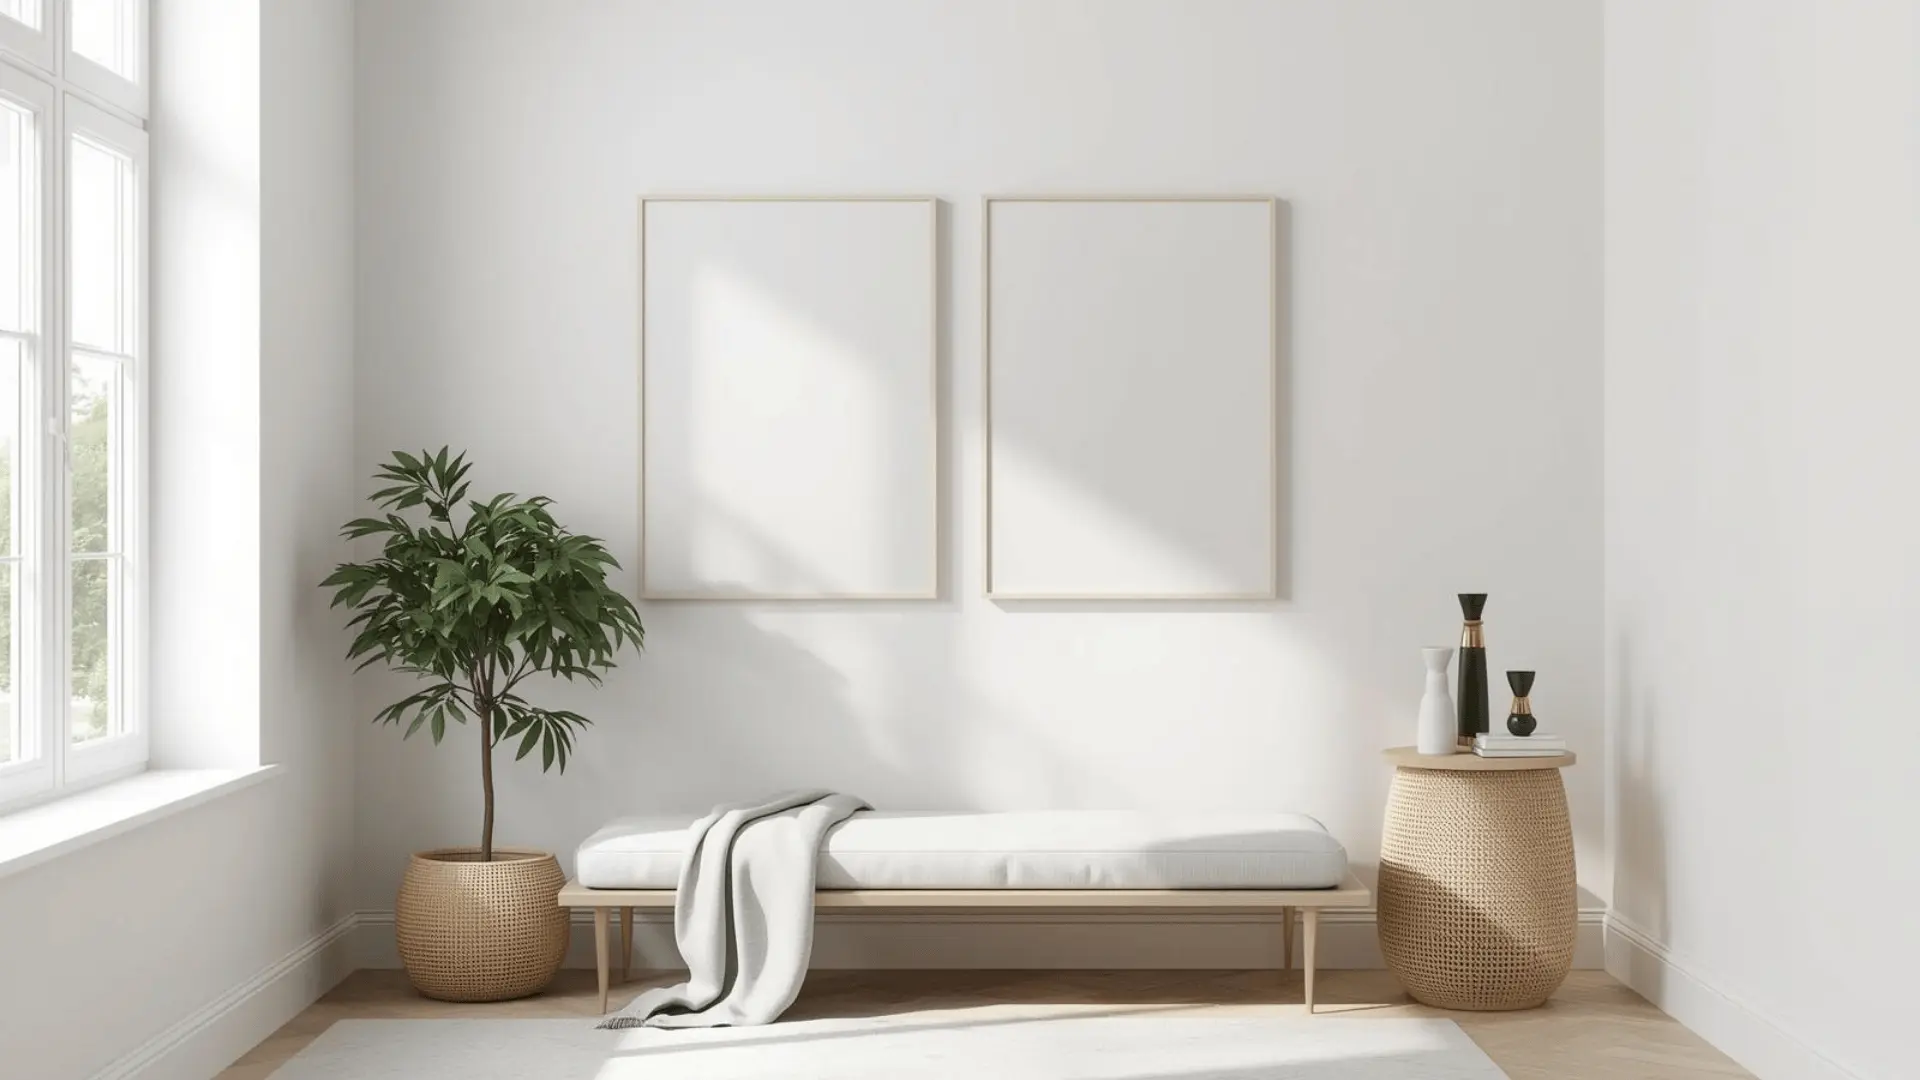
A blank wall can feel like an unfinished thought. Most people walk past it every day, unsure what to do with it. Some hang one frame and call it done. Others leave it empty for years.
There is a better way. A gallery wall turns that empty space into something that actually feels like home. It reflects real life, real memories, and real personality, all in one spot.
The best part? It does not require a big budget or a background in design. It just takes a little planning and the right steps.
Learning how to make a gallery wall is easier than most people think. With the right approach, any wall in the home can become a display worth stopping to look at.
What is a Gallery Wall?
A gallery wall is a grouped display of framed photos, artwork, prints, or decorative objects arranged together on a single wall. Instead of one lone frame, you get a full, layered look that feels intentional and personal.
Right now, gallery walls are hugely popular in interior design, and for good reason. They fill blank, empty walls. They show off your personality.
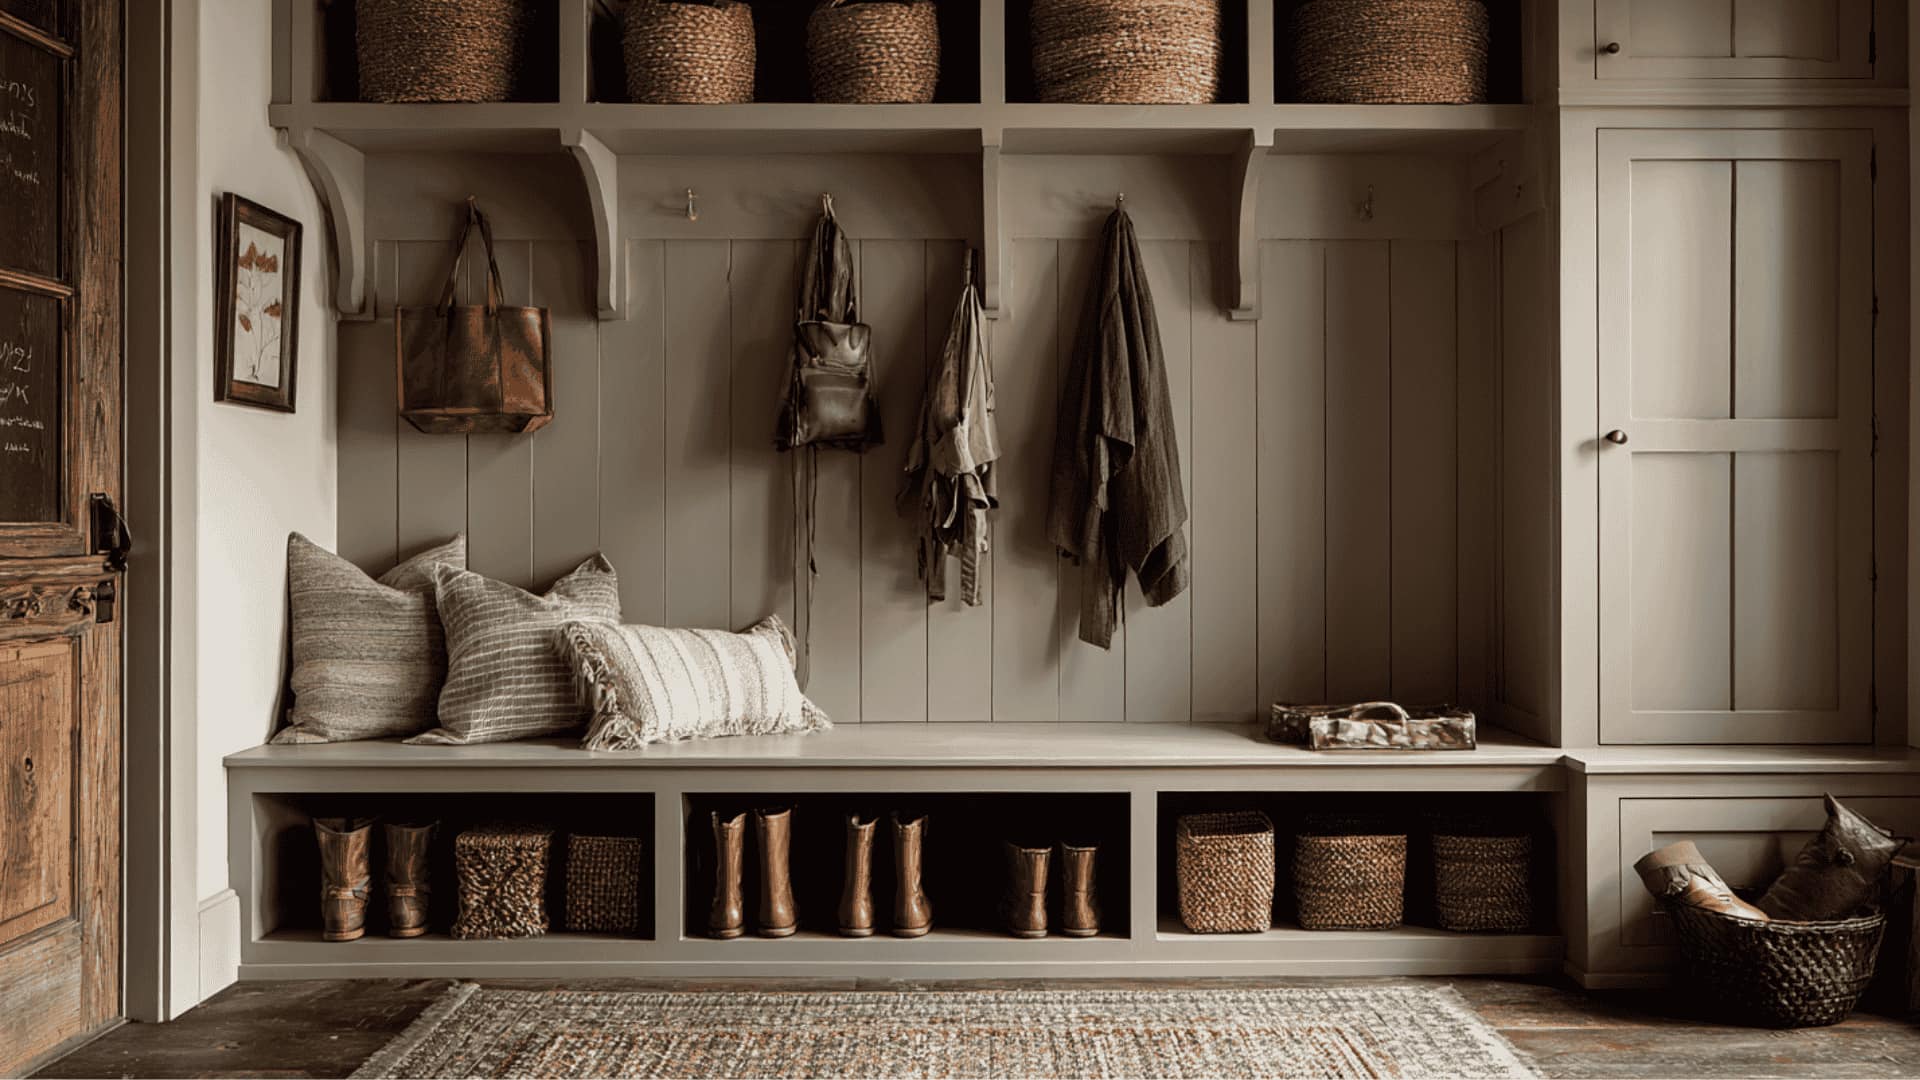
And they work on almost any budget, since you can mix thrifted finds with printed photos or new art. Gallery walls work well in many spots around the home: Above a sofa in the living room, along a staircase, in hallways and entryways, behind a bed in the bedroom, and in a dining room.
No matter the space, a well-placed gallery wall can make a room feel complete.
Gallery Wall Styles
Before you learn how to make a gallery wall, it helps to know which style speaks to you. Here are five popular looks to help you find the right fit for your space.
1. Modern Gallery Wall
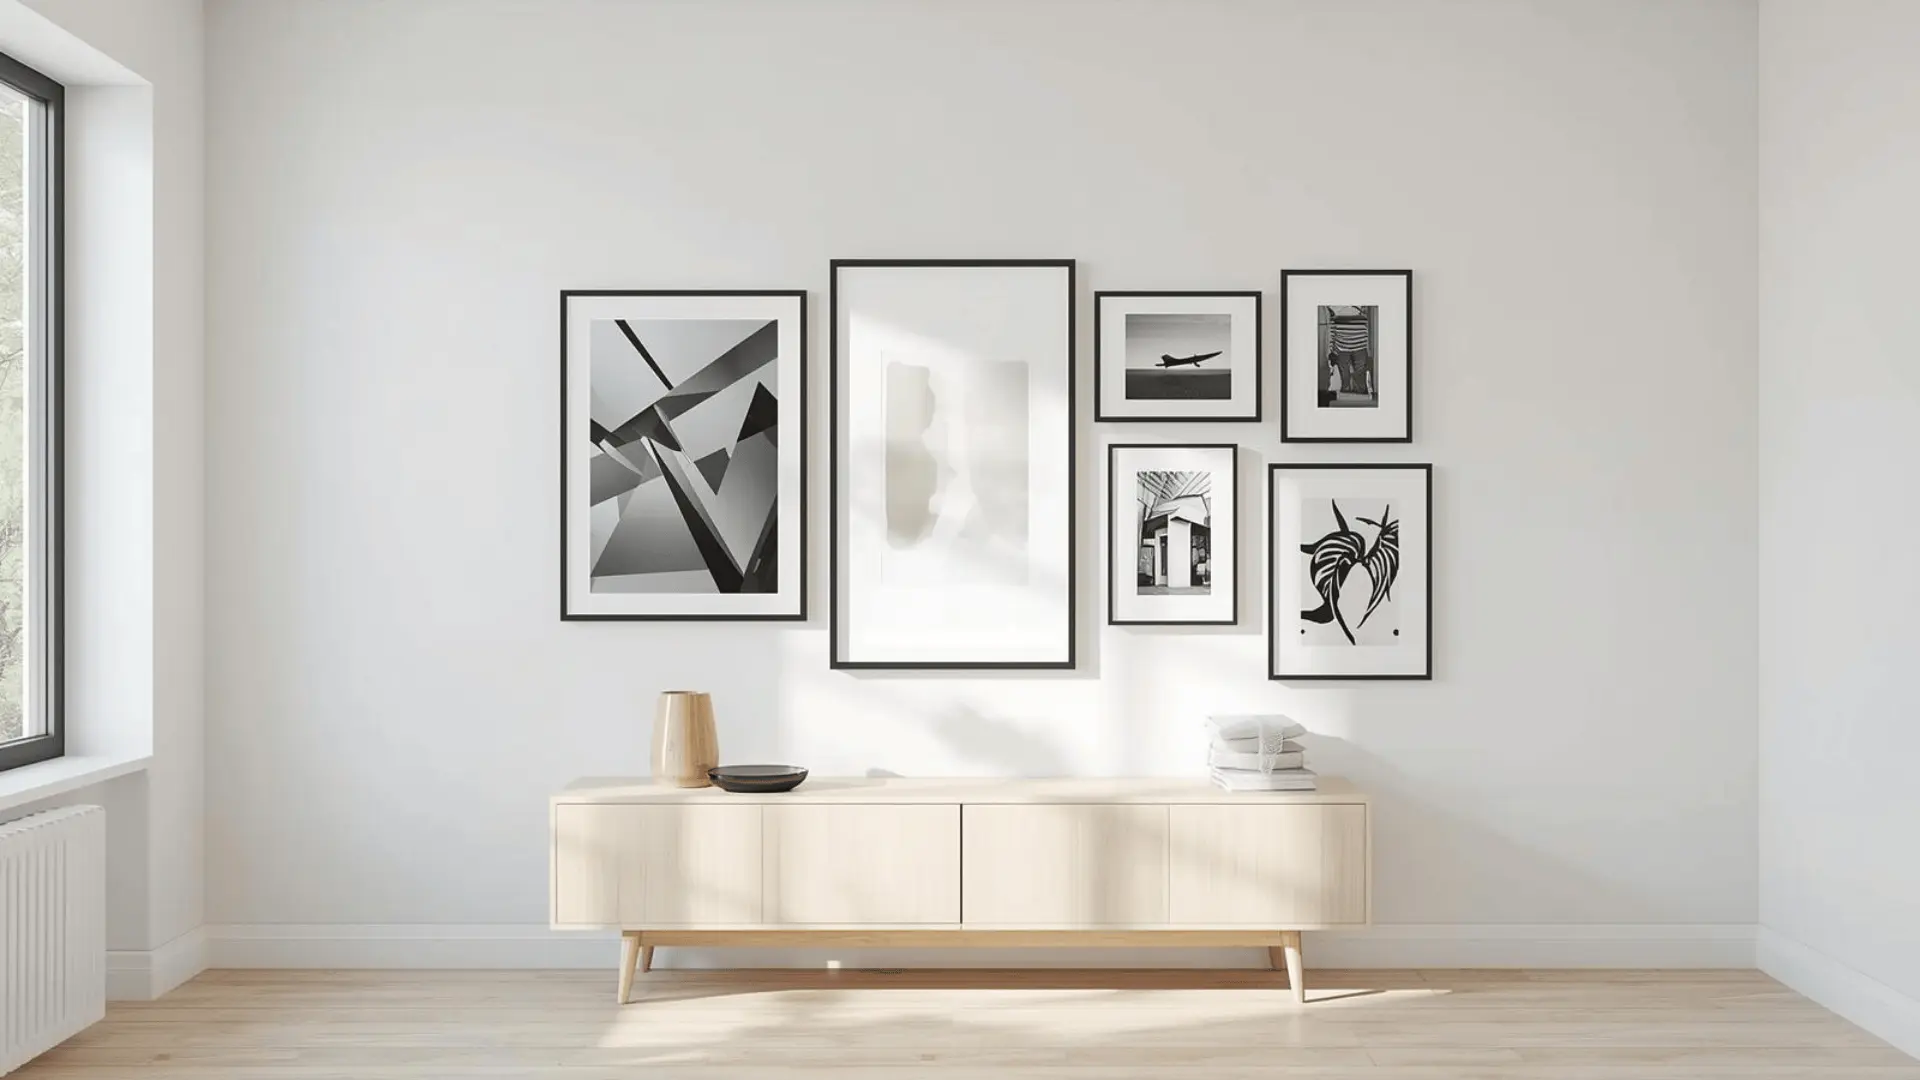
A modern gallery wall keeps things clean and simple. Think matching black frames, crisp white matting, and a limited color palette. Bold graphic prints or black-and-white photography work well here.
There is no clutter, just a few strong pieces placed with purpose. This style fits well in contemporary living rooms and home offices.
2. Vintage or Eclectic Gallery Wall
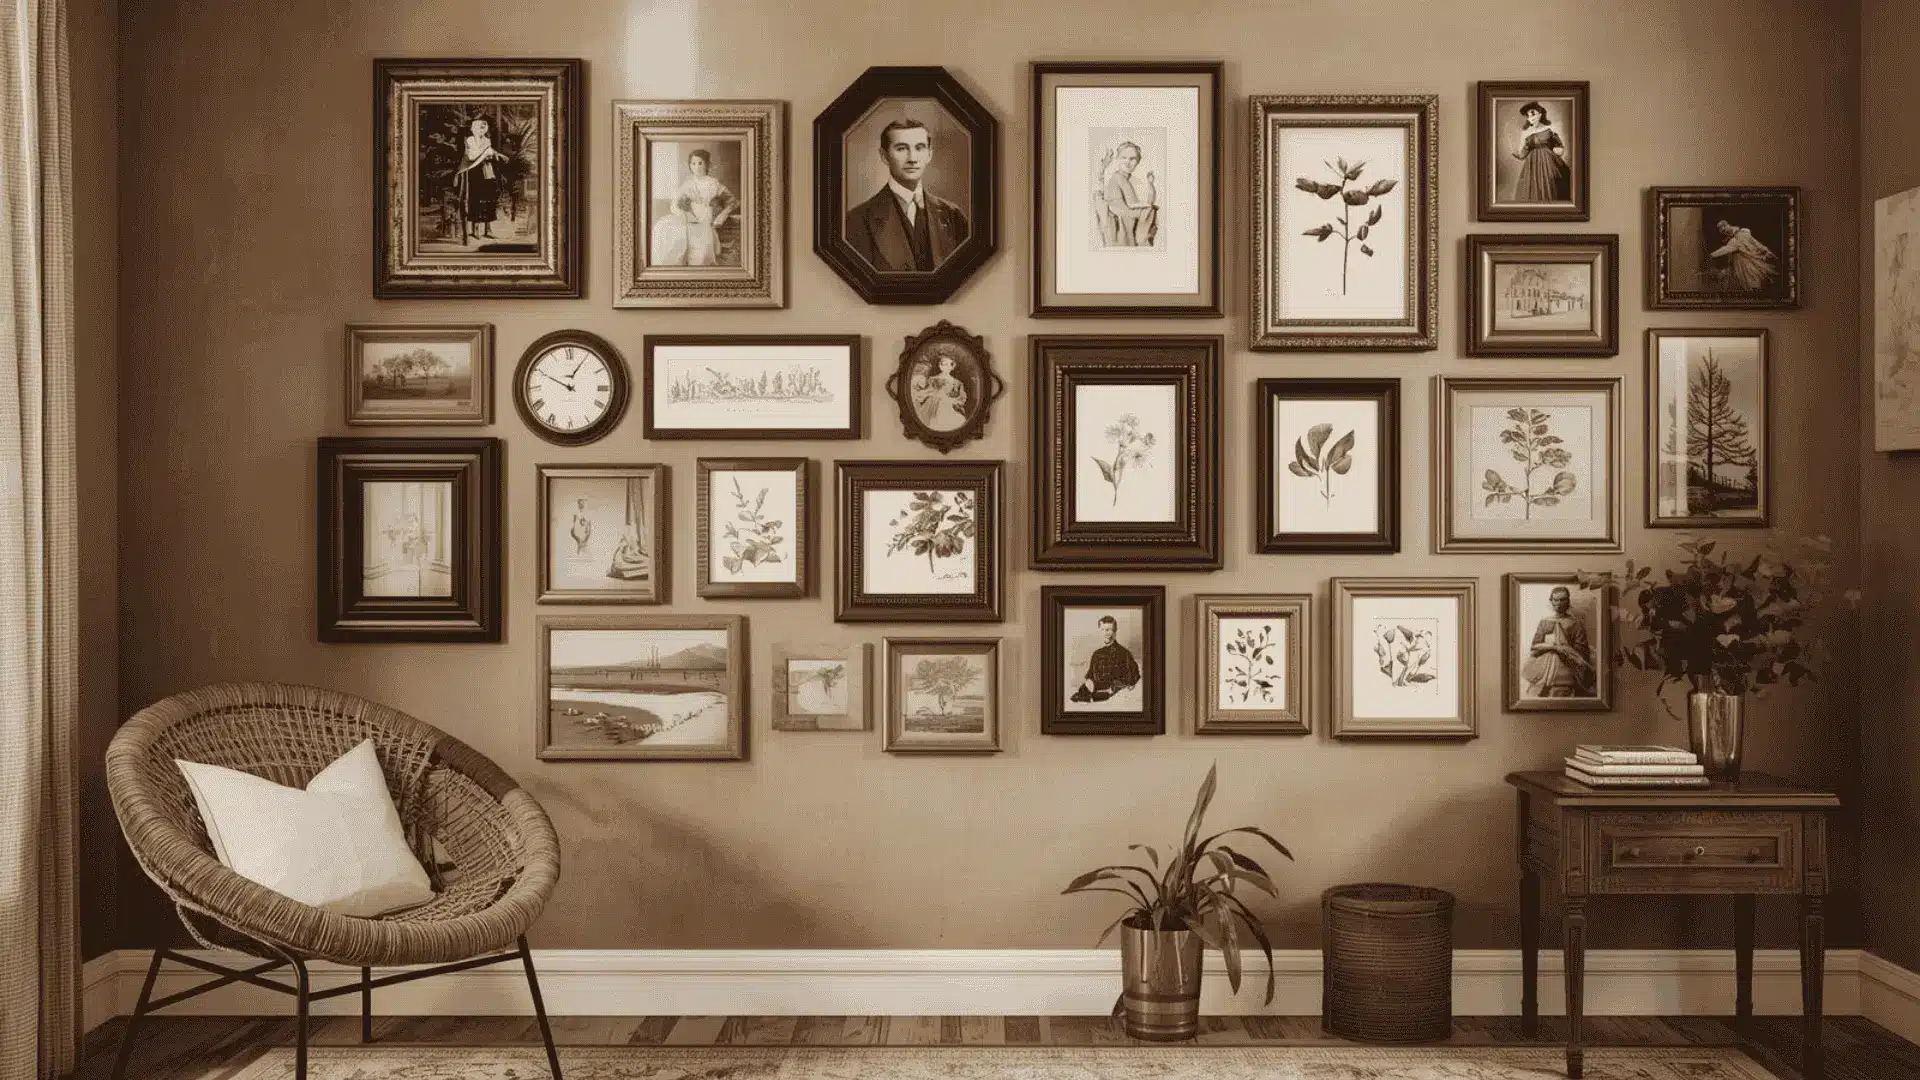
This style is relaxed and full of character. Mix antique frames in different finishes, gold, wood, or painted white. Combine old family photos with flea market finds and hand-drawn sketches.
No two frames need to match. The variety is what makes it work. This look suits older homes or rooms with a lot of texture and warmth.
3. Classic Grid Gallery Wall
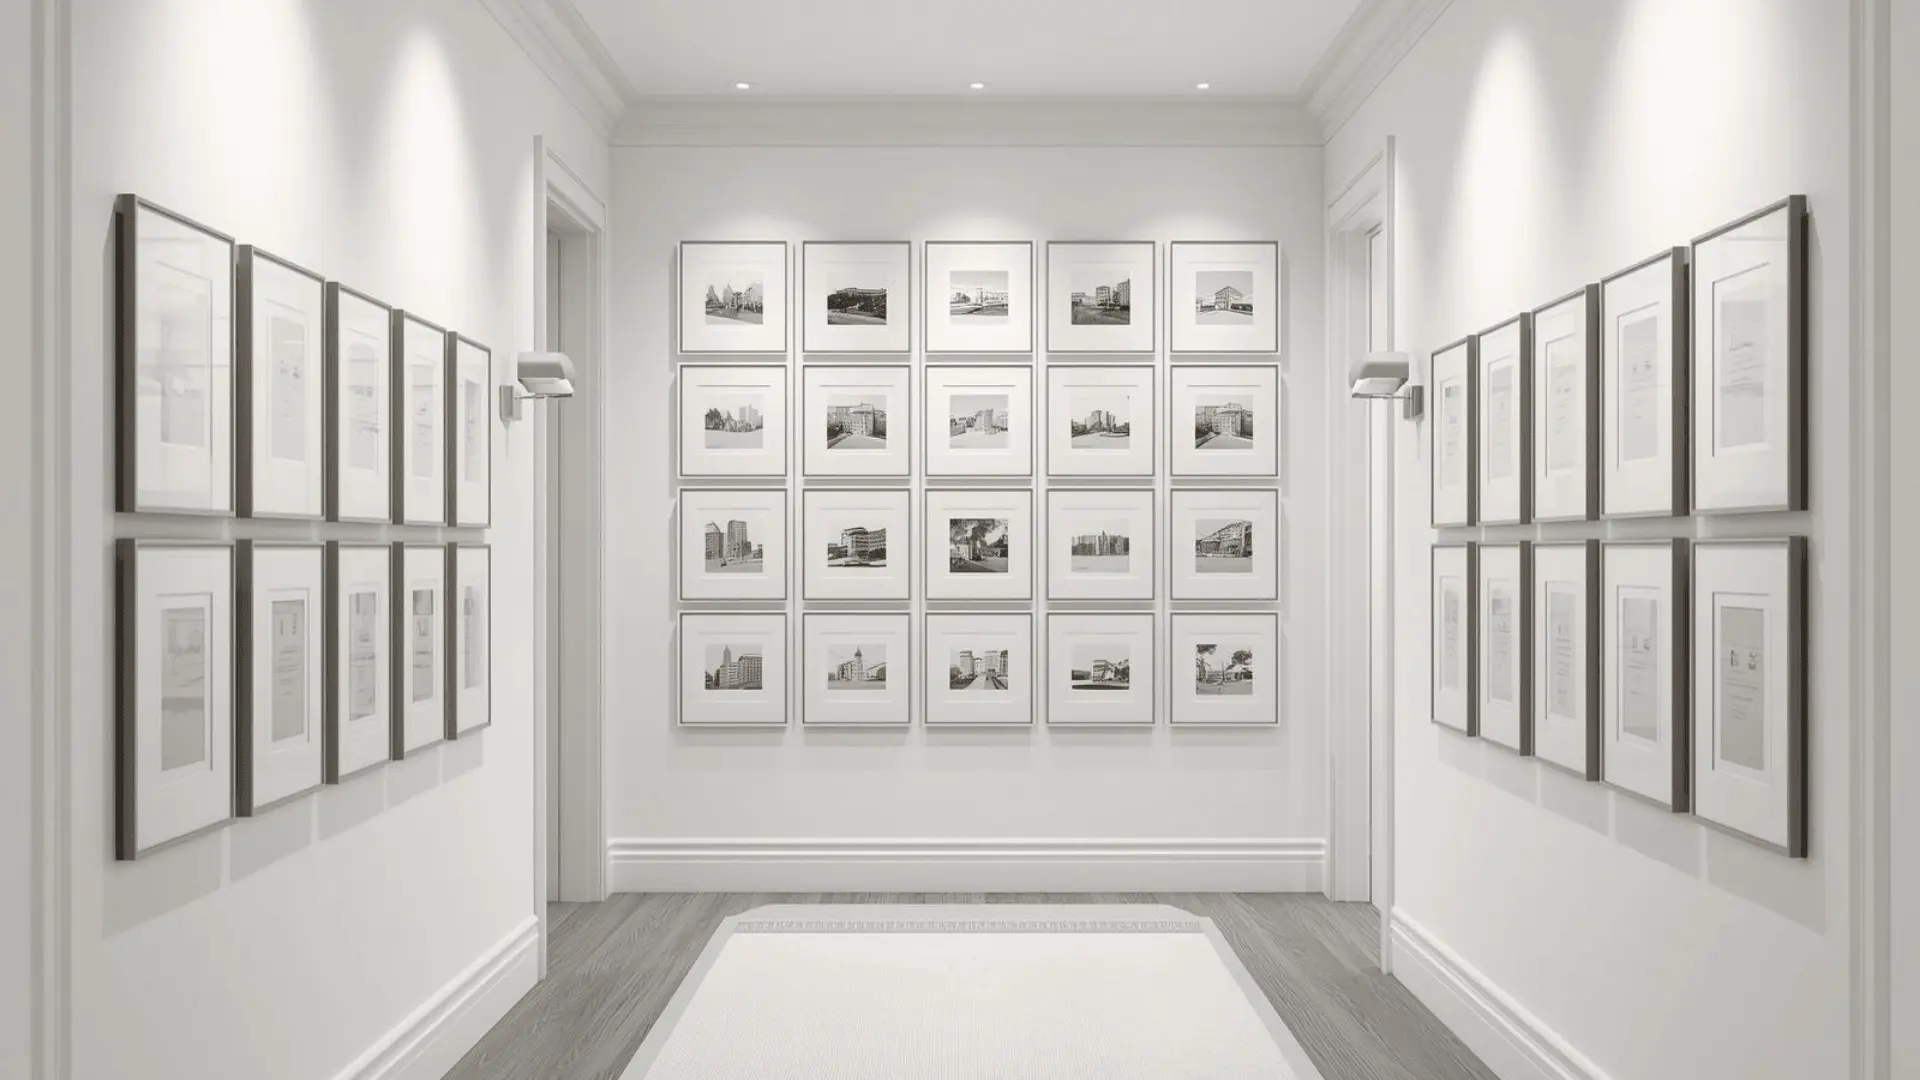
A grid wall is one of the most structured ways to hang art. Frames are all the same size and spaced evenly in neat rows and columns. It looks tidy and organized.
This works well in dining rooms, hallways, or any space where you want order. Choose matching frames and similar-toned prints for the cleanest result.
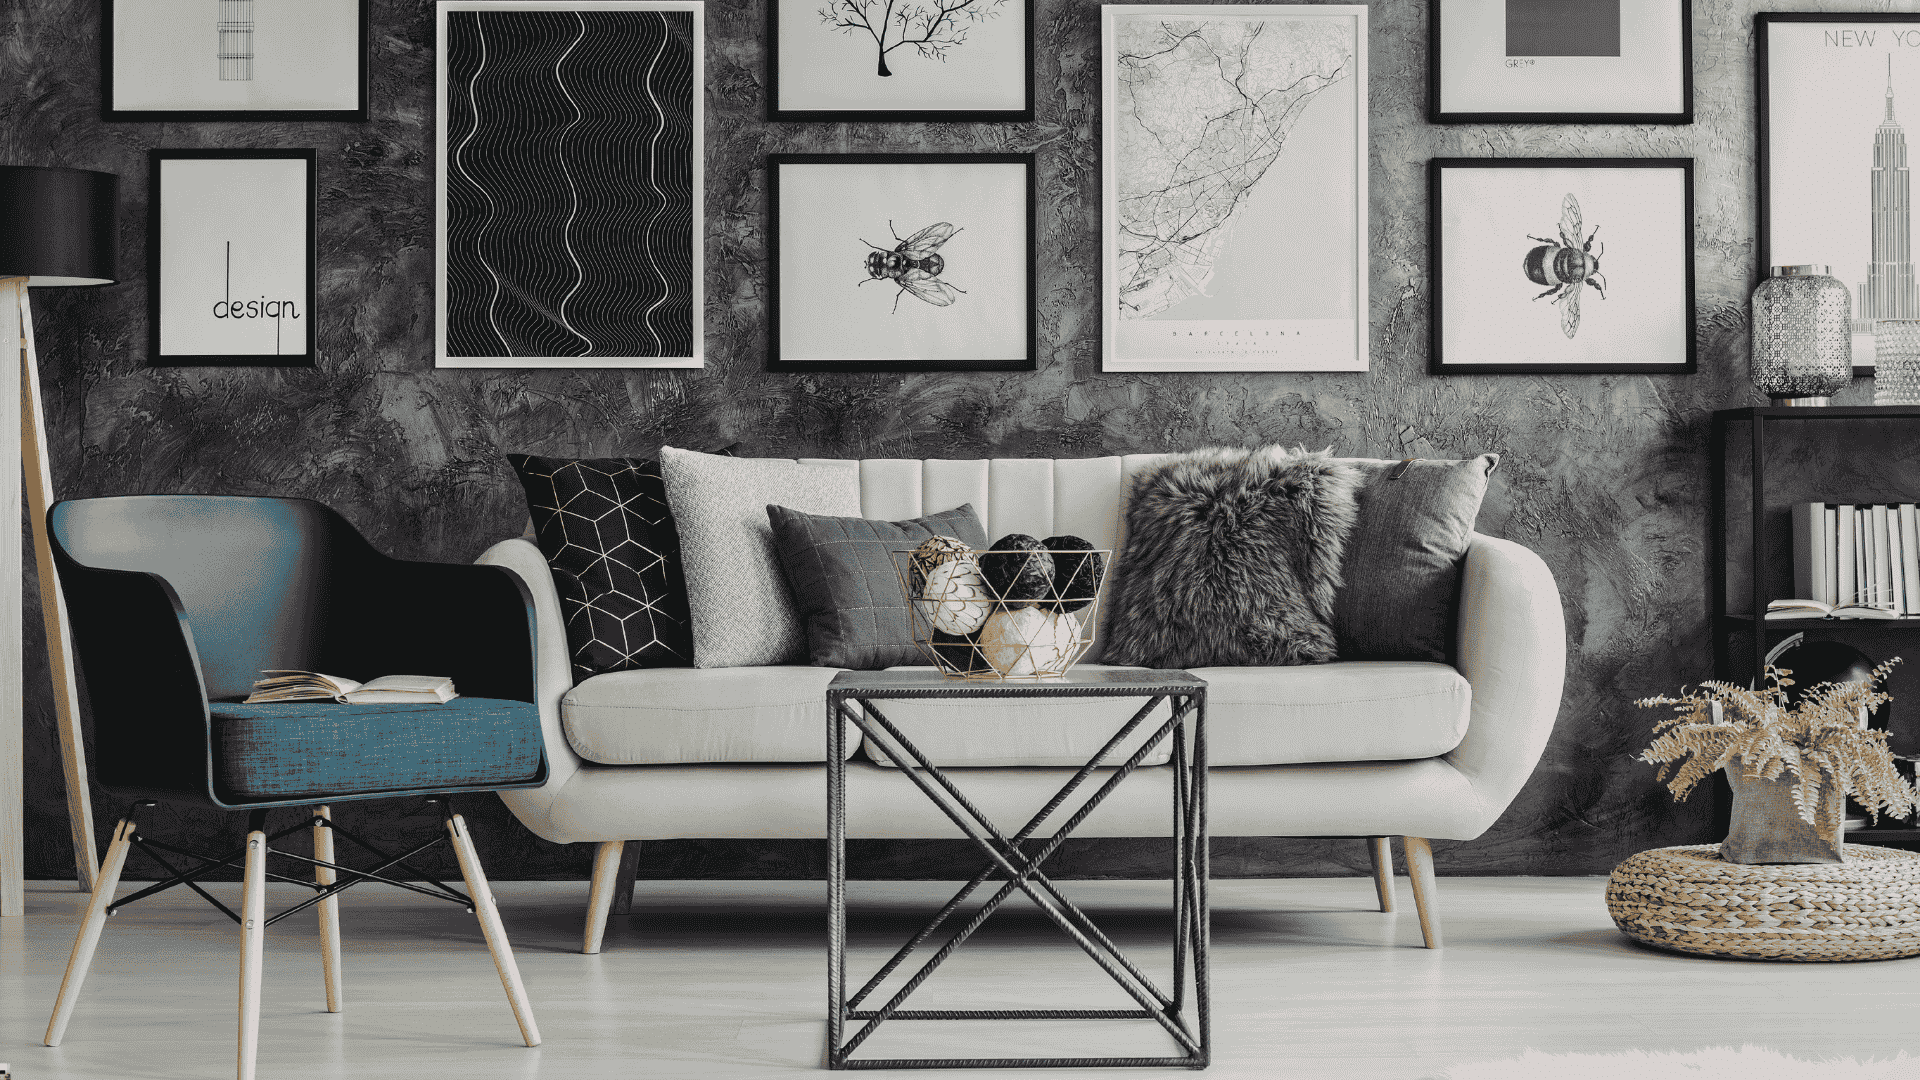
4. Salon-Style Gallery Wall
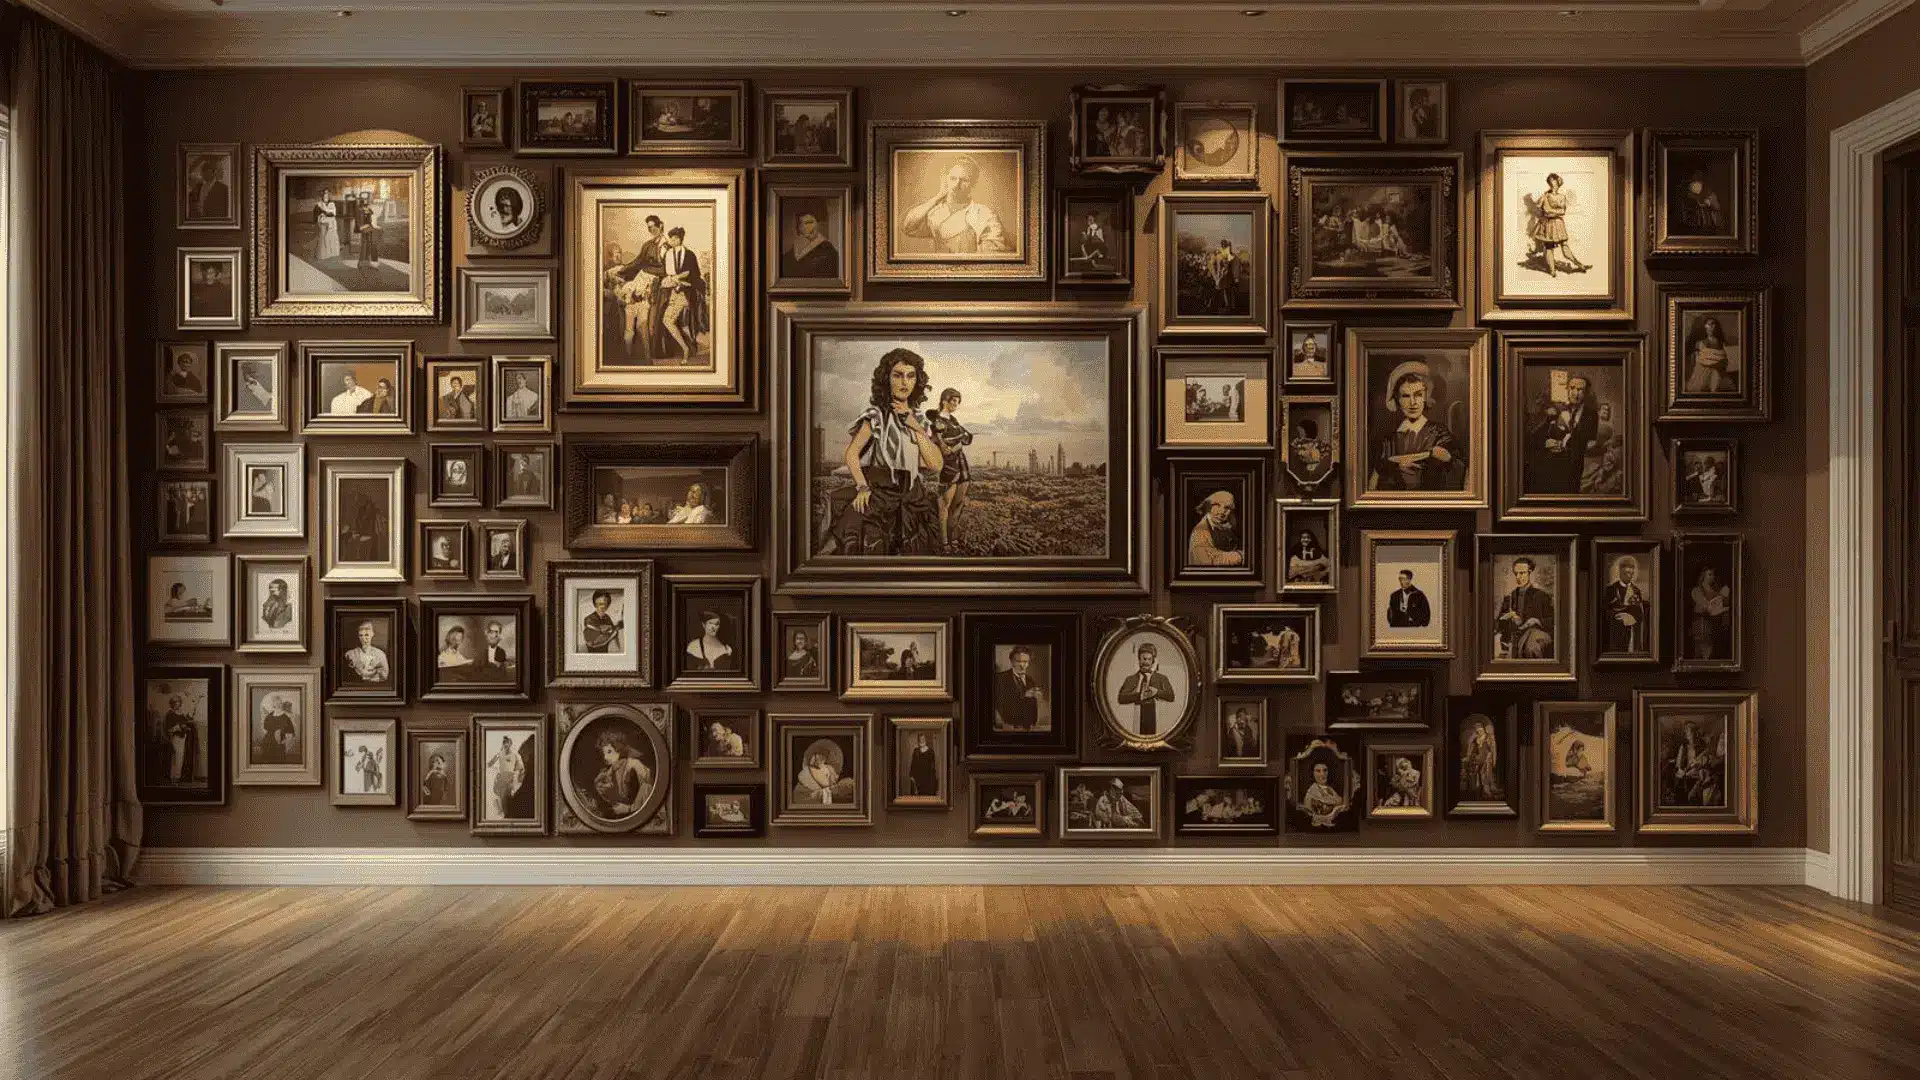
Salon style is bold and layered. Frames go from floor to ceiling, mixing a range of sizes and shapes. There is no strict pattern, just a full, gallery-like feel.
This style makes a strong statement in large living rooms or stairwells. Start with your largest piece at the center and build outward from there.
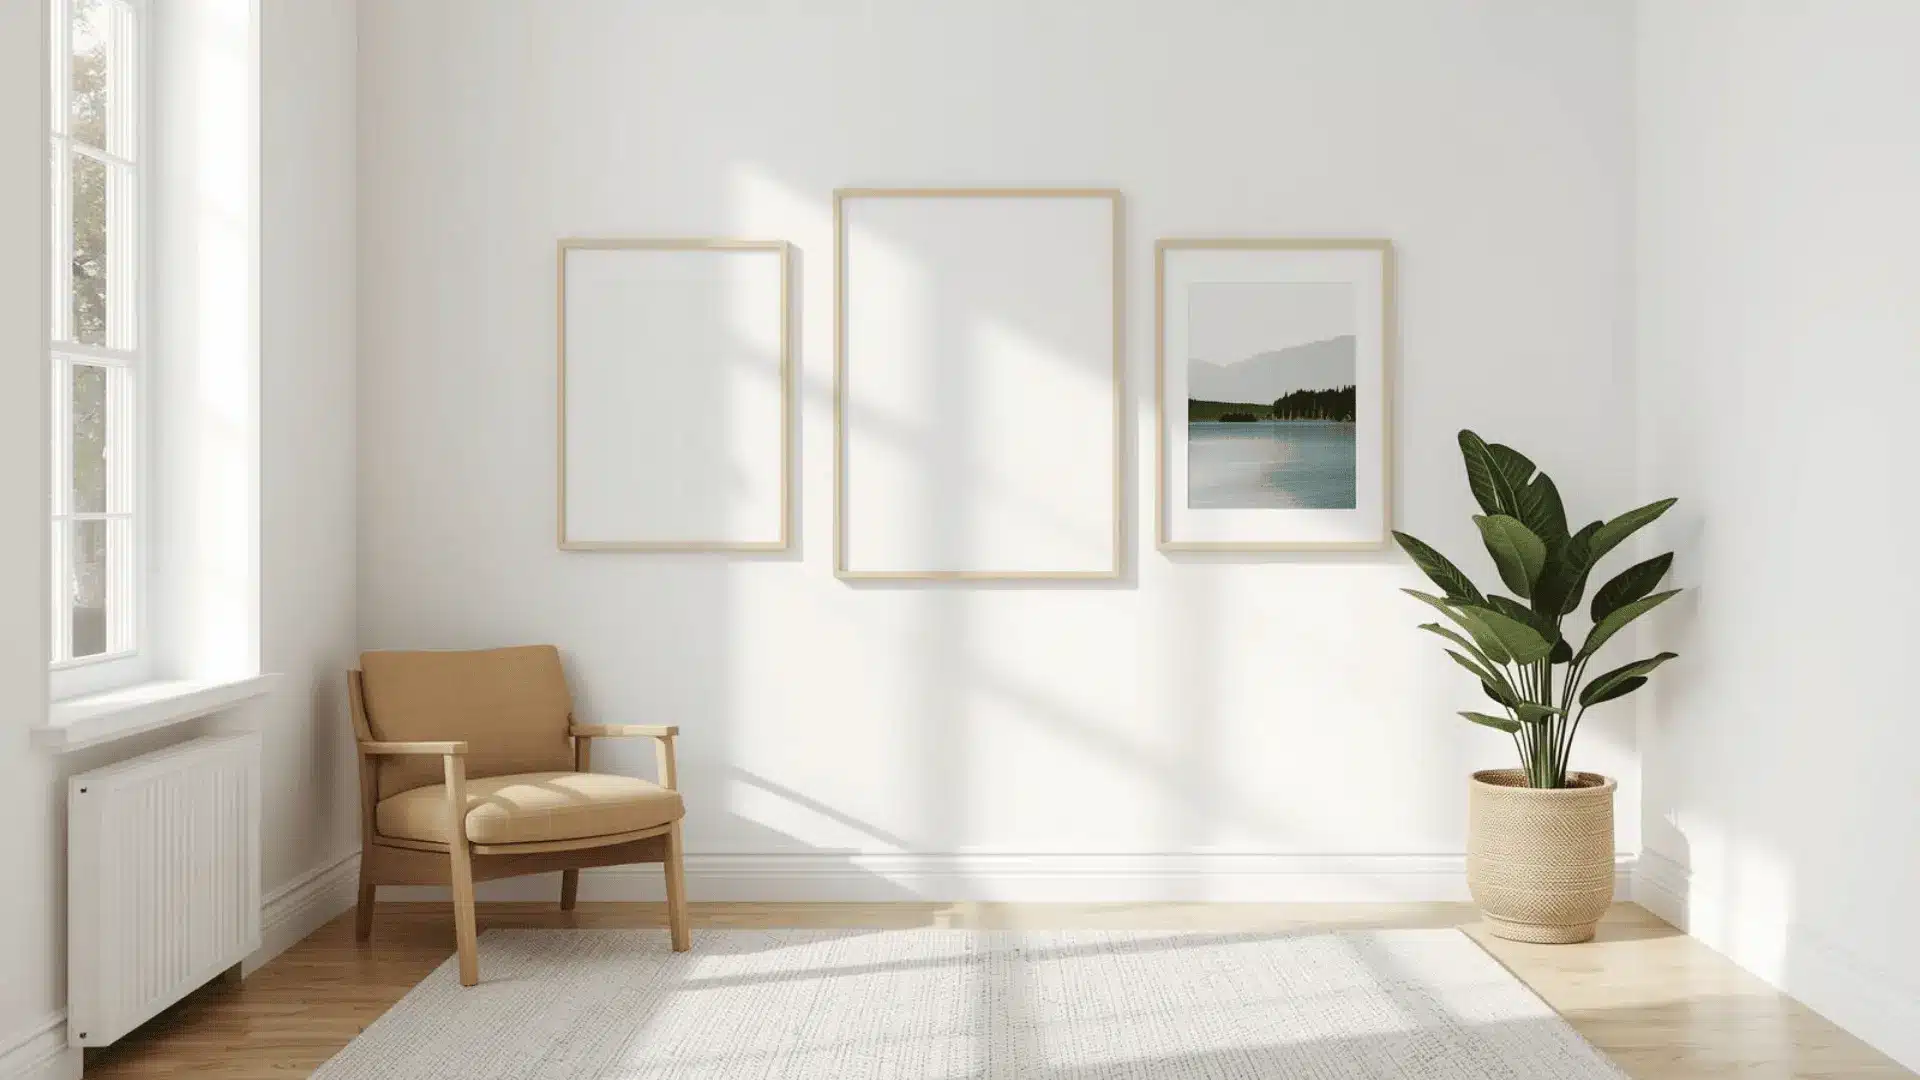
5. Minimalist Gallery Wall
Less is more with this approach. Choose two to four pieces, space them farther apart than usual, and let the wall breathe. Simple frames and neutral tones keep things calm.
This style works in small rooms or spaces that already have a lot going on. It is low-effort and easy to change over time.
From a clean, symmetrical grid to an eclectic, salon-style arrangement, there’s a gallery wall style to suit every space and personality. Choose the look that reflects your story and transform your blank wall into a stunning focal point.
Materials Required
Before you start hanging frames, gather everything you need. Having the right tools on hand makes the whole process faster, cleaner, and far less stressful.
| Material | Qty |
|---|---|
| Measuring tape | 1 |
| Pencil + eraser | 1 each |
| Paper sheets (templates) | 15 |
| Scissors | 1 |
| Painter’s tape | 1 roll |
| Marker | 1 |
| Level | 1 |
| Hammer | 1 |
| Nails + anchors | 25 nails and 10 anchors |
| Frames/art | 10 |
| Wall filler + putty knife/card | 1 each |
These supplies cover planning, spacing, hanging, leveling, and quick repairs, so the wall can be finished in one session.
How to Make a Gallery Wall
Creating a gallery wall is a simple way to add personality and visual interest to any room. Follow these step-by-step instructions to design, arrange, and hang a display that feels balanced and uniquely yours.
Step 1: Set the Wall Plan and Key Measurements
Choose the wall section and decide the focal point, such as a TV. Place the cabinet first if used. Keep the TV about 20 to 30 cm above the cabinet, and aim for the TV width to be about two-thirds of the cabinet length. For a single large piece, target 140 to 160 cm from the floor to the center.
Step 2: Create a Simple Spacing and Layout Rule
Pick one spacing rule and keep it consistent across the wall. Keep artwork about 10 to 20 cm apart so pieces feel connected without crowding.
Build the arrangement sideways and upward from the focal point to maintain balance. Keep the whole group inside an invisible boundary so it does not spread too wide.
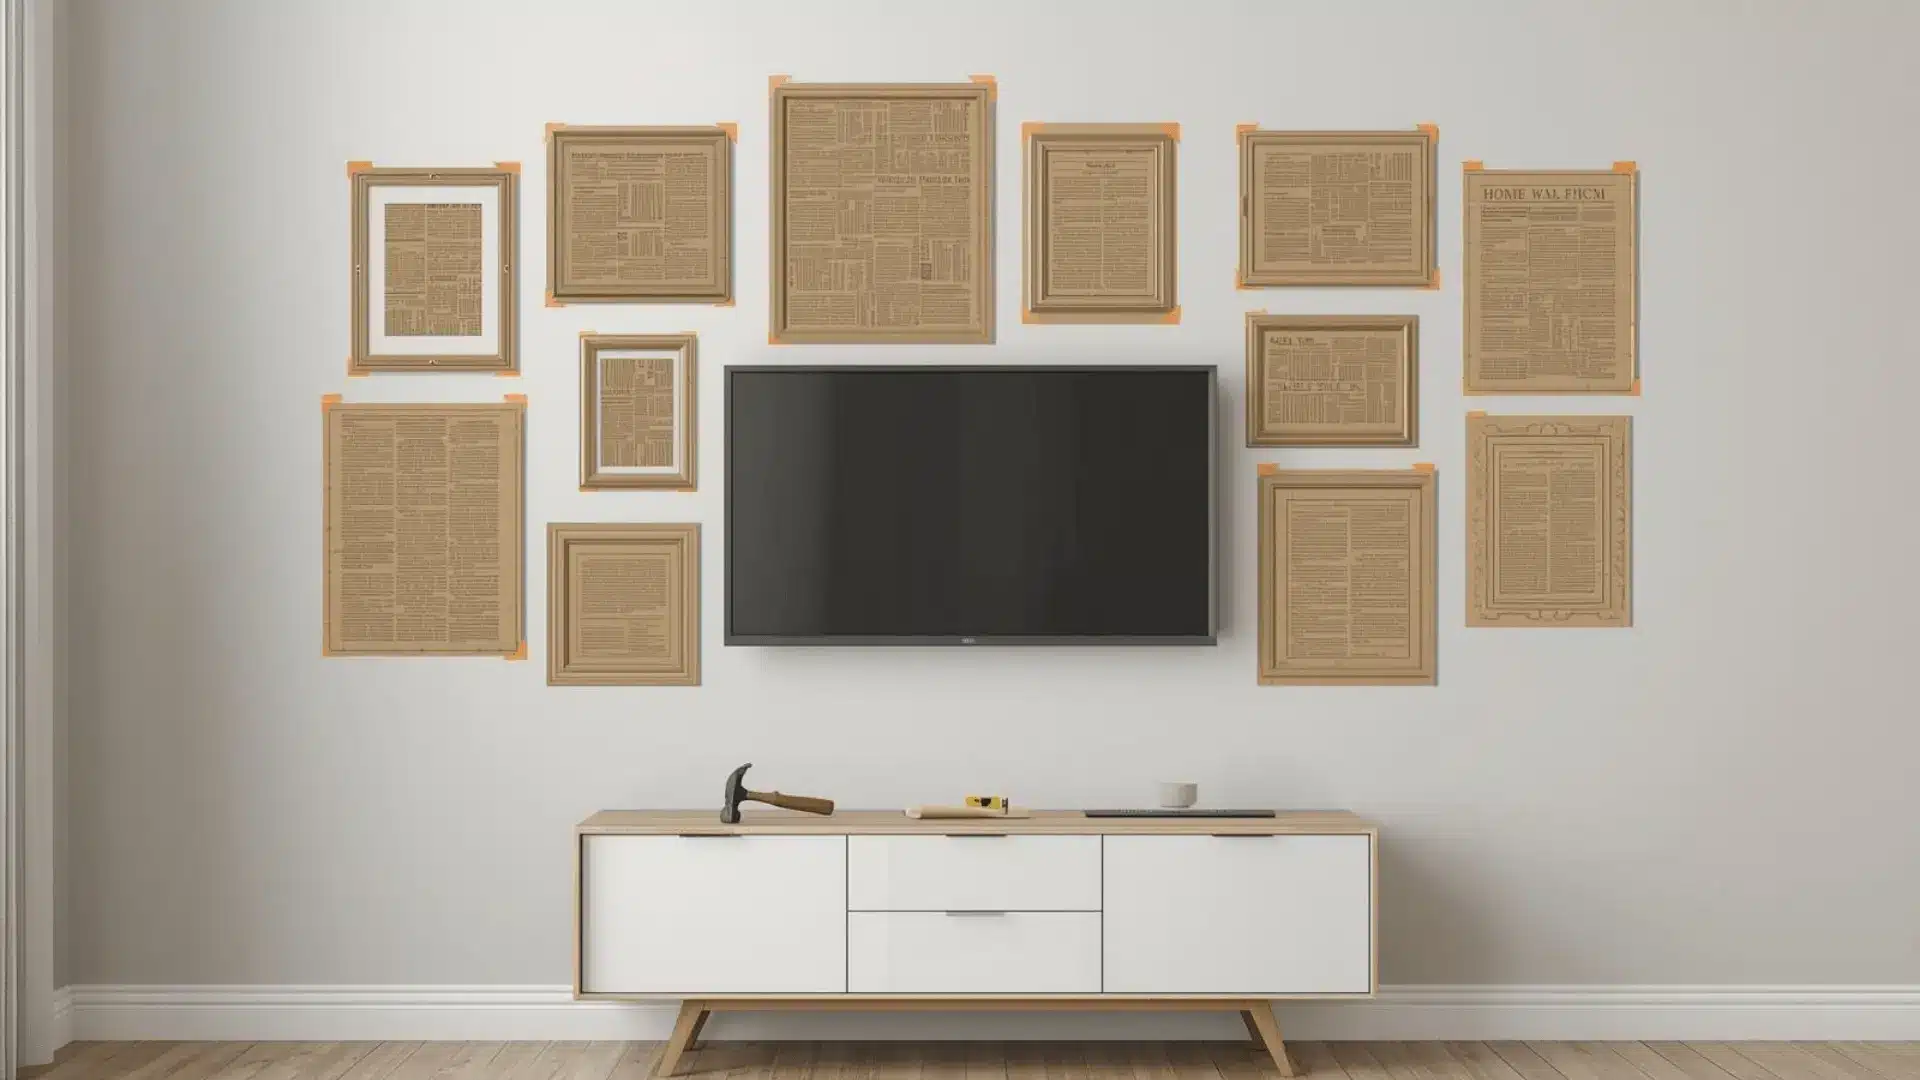
Step 3: Make Paper Templates and Test the Full Arrangement
Trace each frame on newspaper or kraft paper, cut it out, and mark which side is up. Mark the nail point based on the hanger position on the back of each frame.
Tape the templates to the wall and move them until spacing and balance look right. Step back often, then finalize positions.
Step 4: Mark Nail Points and Hang in A Stable Order
Transfer each template nail mark to the wall with a pencil. Remove one template at a time to avoid losing placement.
Hammer nails in at about a 45-degree angle, leaving enough head exposed to catch the hanger. Start hanging at the focal point, then work outward. Level each frame before moving to the next.
Step 5: Correct Mistakes and Patch Holes
If a placement is wrong, pull the nail out and rehang it in the correct spot. Fill the old hole with a small amount of toothpaste or wall filler, then smooth it with a card or putty knife.
Continue hanging and leveling. Recheck spacing after every few frames so the overall grouping stays even.
Step 6: Finish the Area Below for Visual Balance
Check the look above the cabinet once everything is hung. If the cabinet feels too short compared to the wall grouping, extend its look by placing decor or plants at both ends to widen the base. Add small items only where stable and safe, and keep vents, screens, and sound paths clear.
By following these simple steps, you can confidently plan, arrange, and hang a gallery wall that feels cohesive and well-balanced. Take your time with the layout, and enjoy watching your space come to life.
For more detailed instructions, refer to the YouTube video by NEVER TOO SMALL below:
Gallery Wall Tips
A few simple habits can save you time and wall damage. These tips help you get a cleaner, more put-together result when creating a gallery wall.
- Use Painter’s Tape Paper Templates: Trace each frame on paper, cut it out, and tape it to the wall before you hammer anything.
- Repeat Colors or Frame Finishes: Sticking to two or three finishes, like black, wood, and gold, keeps the whole display looking pulled together.
- Mix Frame Sizes and Orientations: Combine portrait and landscape frames in different sizes to keep the arrangement from looking flat or repetitive.
- Hang One Frame at a Time: Put up one piece, step back, and check the placement before moving on to the next frame.
- Use Finishing Nails: Finishing nails leave smaller holes than regular nails and hold most standard frames securely against the wall.
With these tips in mind, your gallery wall will look more balanced, intentional, and visually polished. Take a final step back, make small tweaks, and enjoy the finished focal point.
Gallery Wall Ideas for Every Room
Gallery walls are not one-size-fits-all. Each room has its own layout and purpose, and the right placement can make a real difference in how the space feels.
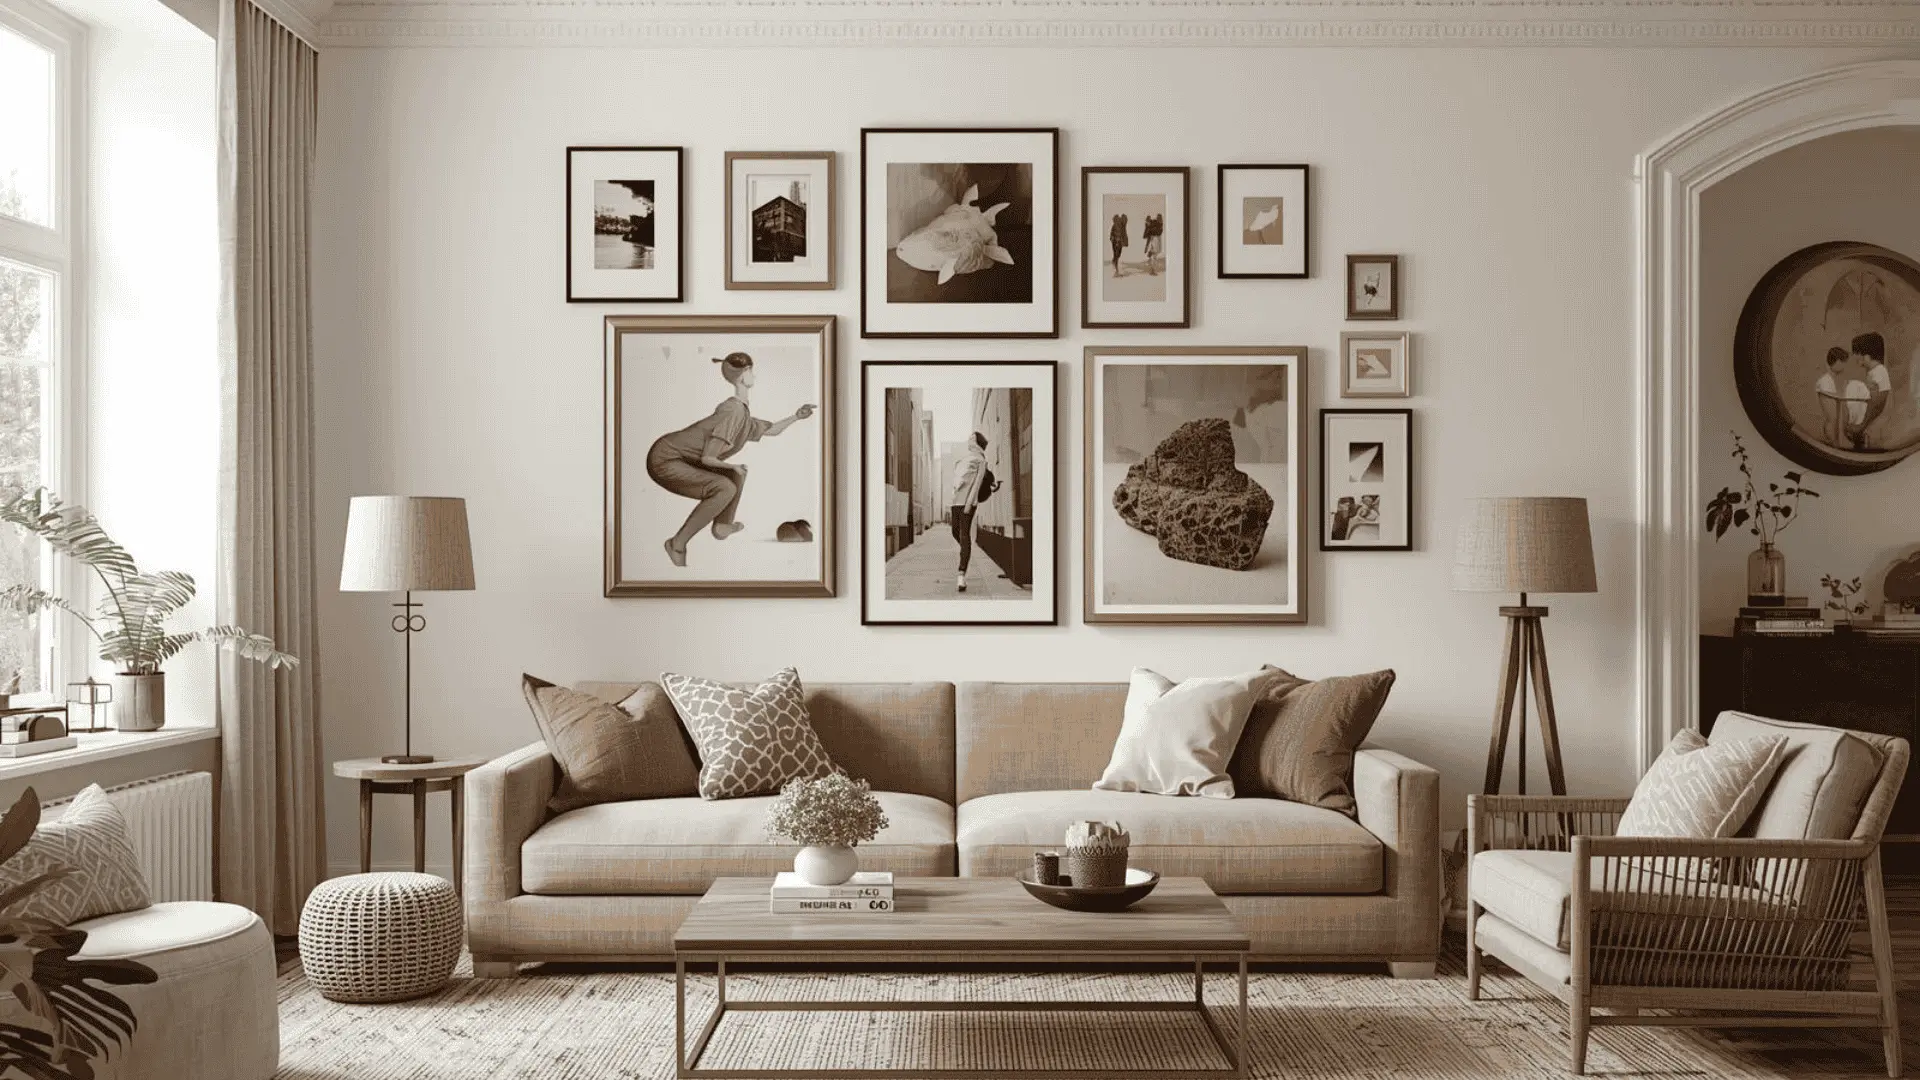
1. Living Room Gallery Wall
The wall above your sofa is one of the best spots in the house for a gallery wall. Keep the arrangement roughly the same width as the sofa below it. This creates a balanced, grounded look.
A mix of frame sizes works well here. Aim for the bottom of the arrangement to sit about 6 to 8 inches above the sofa back.
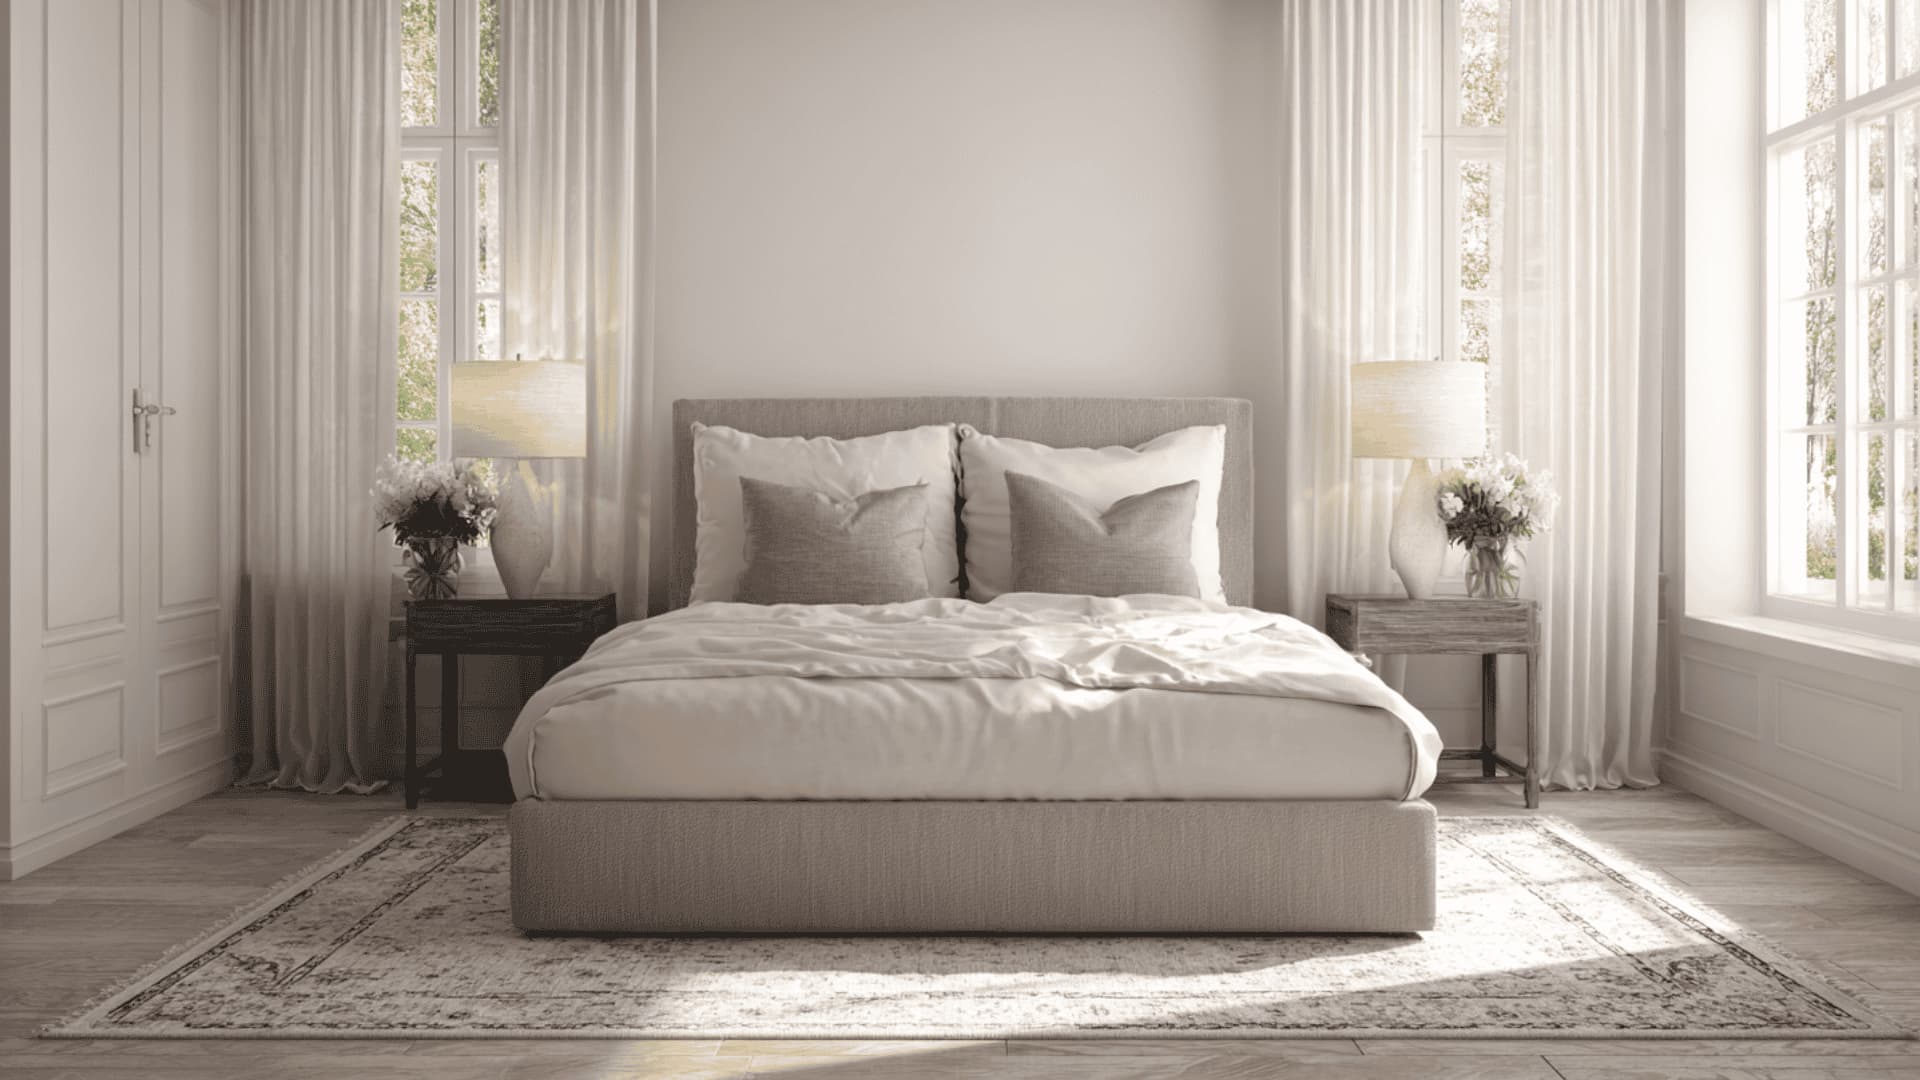
2. Bedroom Gallery Wall
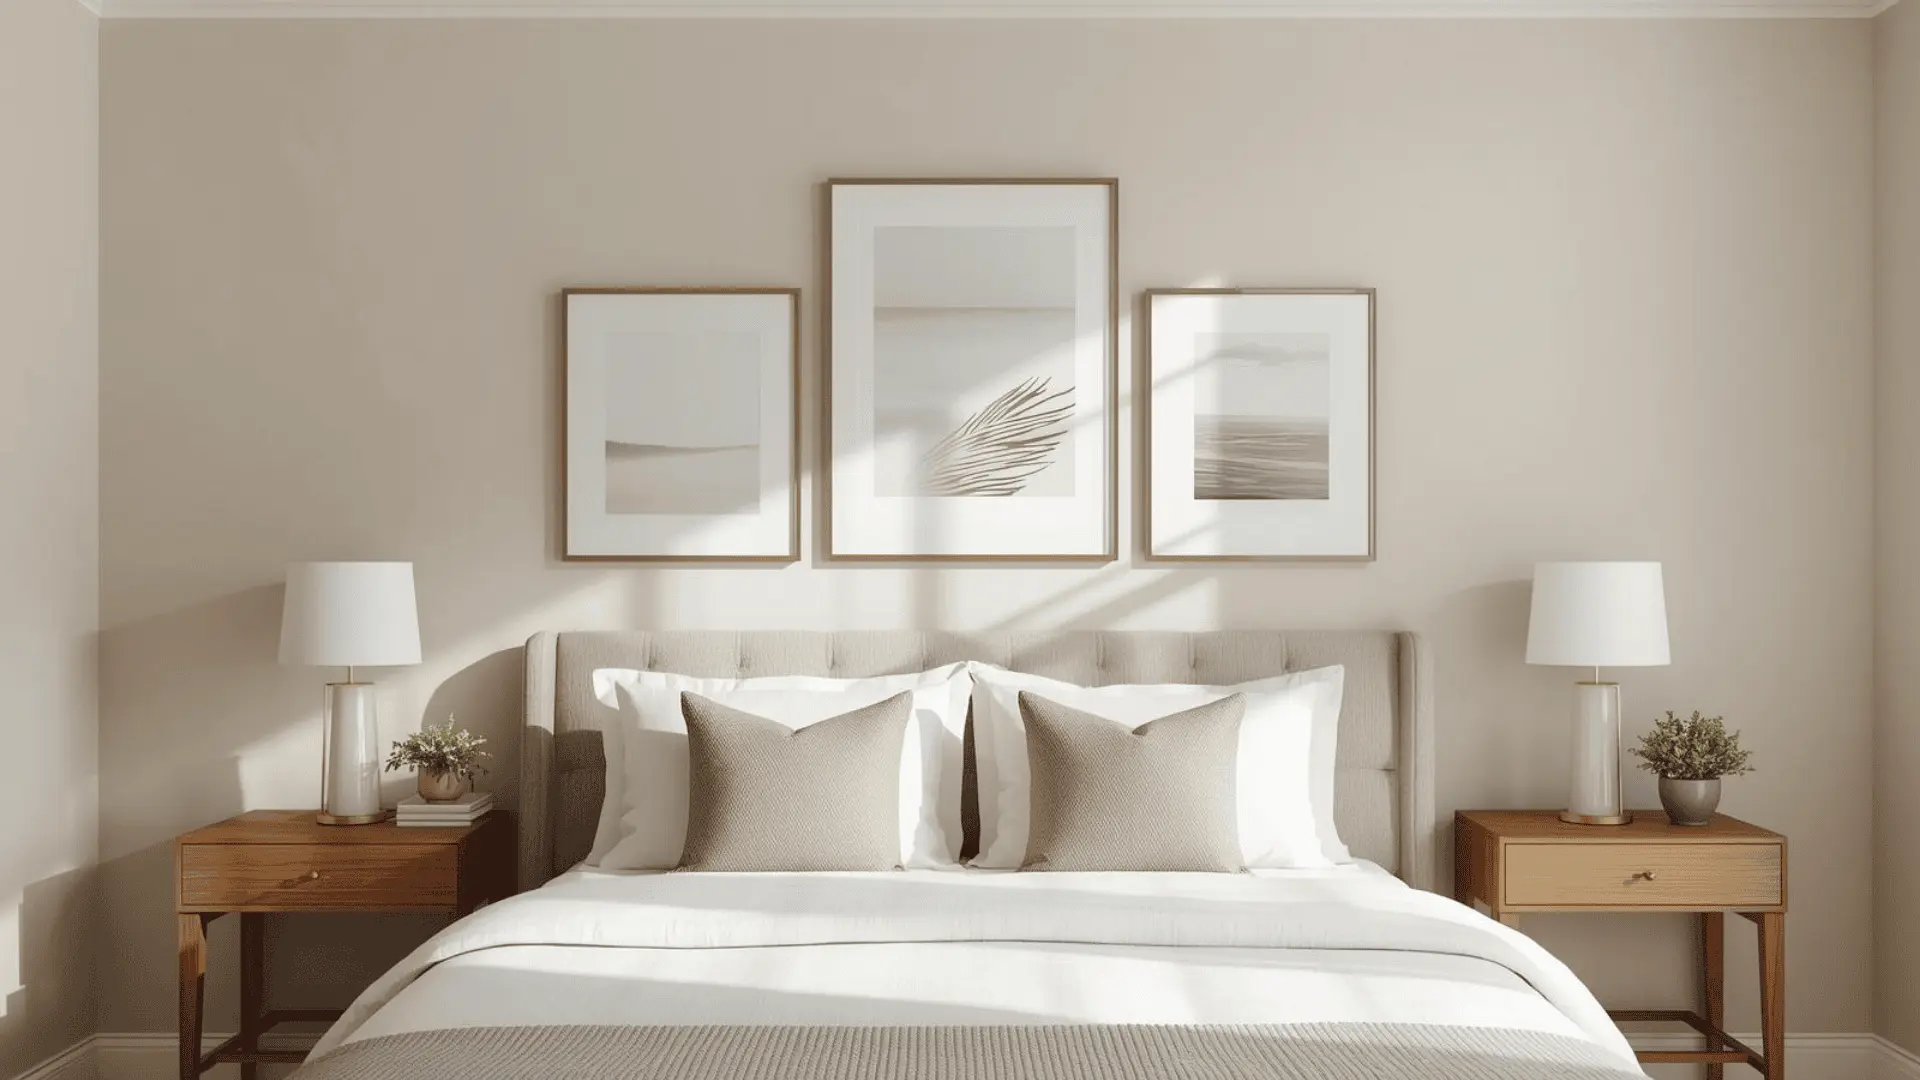
A gallery wall behind the headboard adds warmth without overwhelming the room. Stick to soft tones and simple frames to keep the space calm and restful. Avoid anything too busy or colorful.
Center the arrangement over the bed, just as you would with a single piece of artwork. Keep it low enough to feel connected to the bed frame.
3. Staircase Gallery Wall
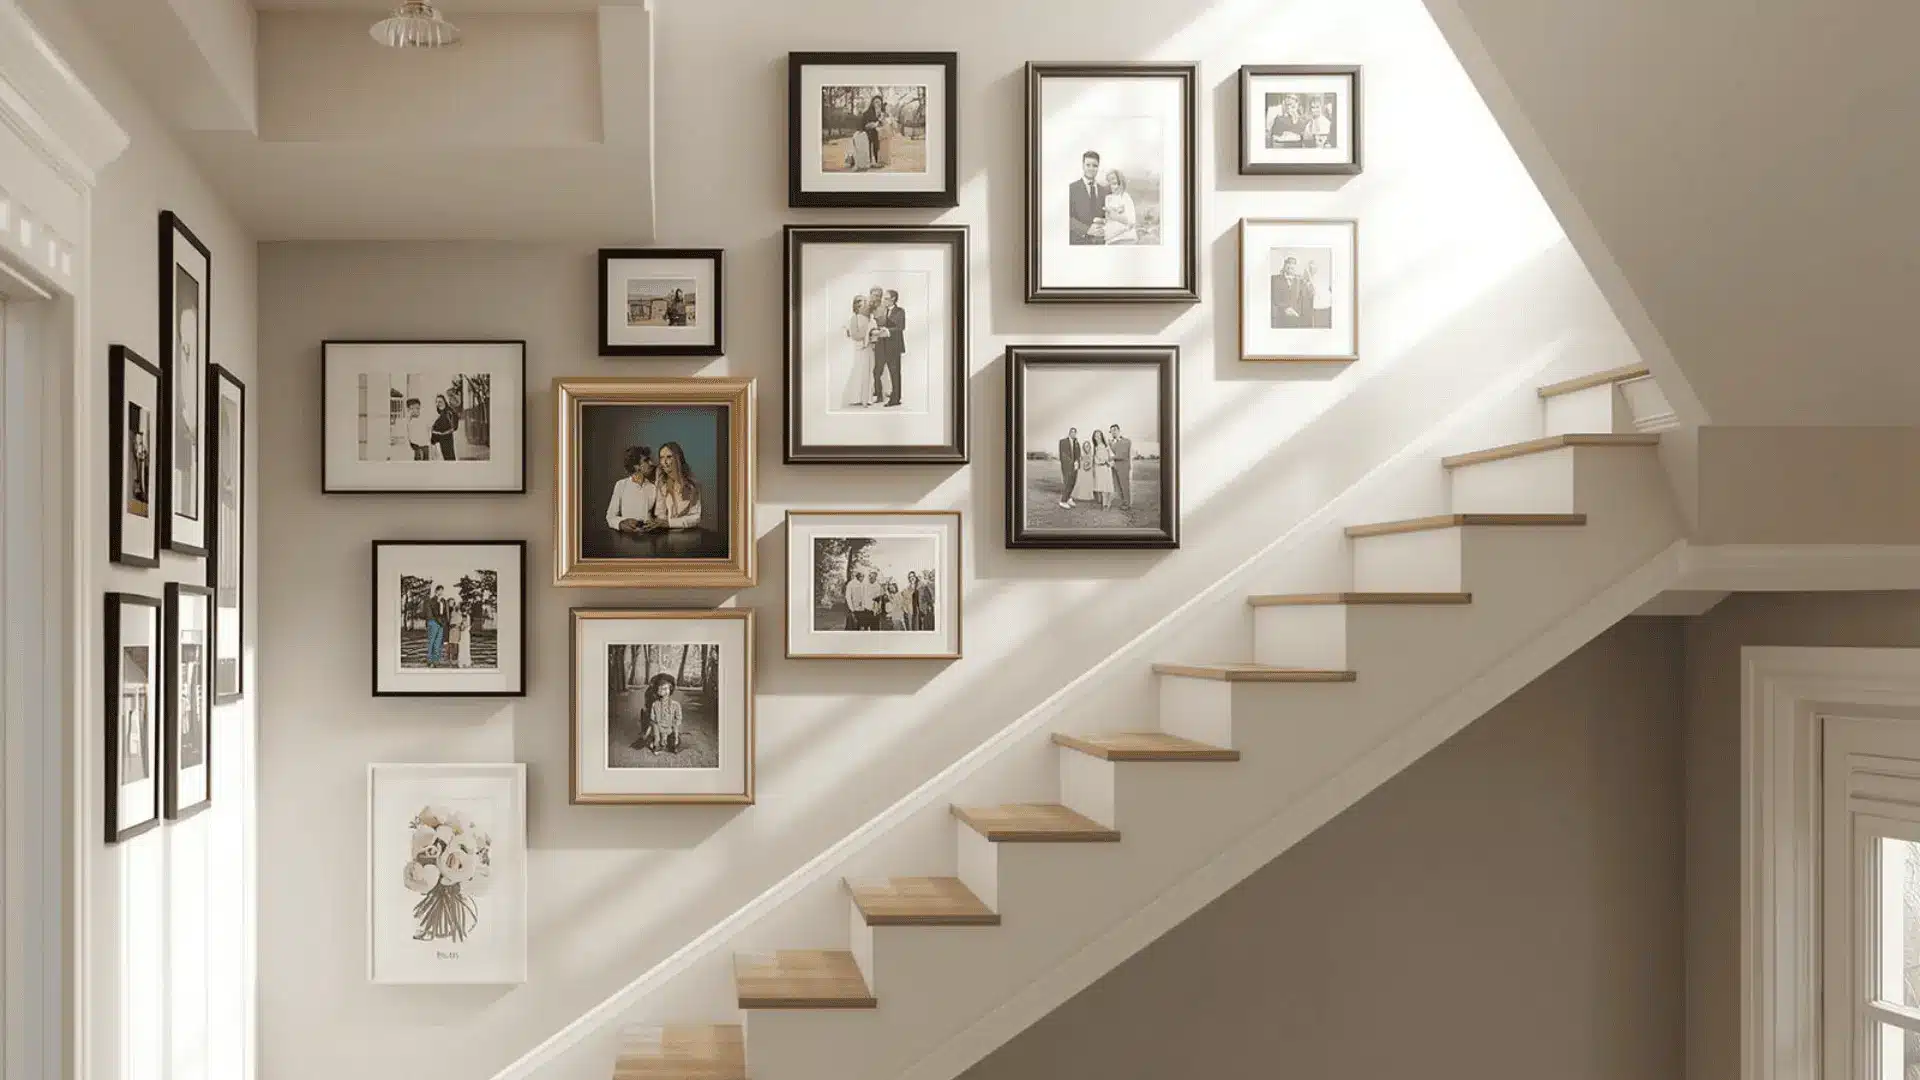
A staircase wall is a natural fit for a gallery wall because of its diagonal shape. Follow the angle of the stairs as you hang your frames. Keep the center of each frame at a consistent height above each step.
Mix portrait and landscape orientations to keep things from feeling too rigid. This is a great spot to display family photos over time.
4. Hallway Gallery Wall
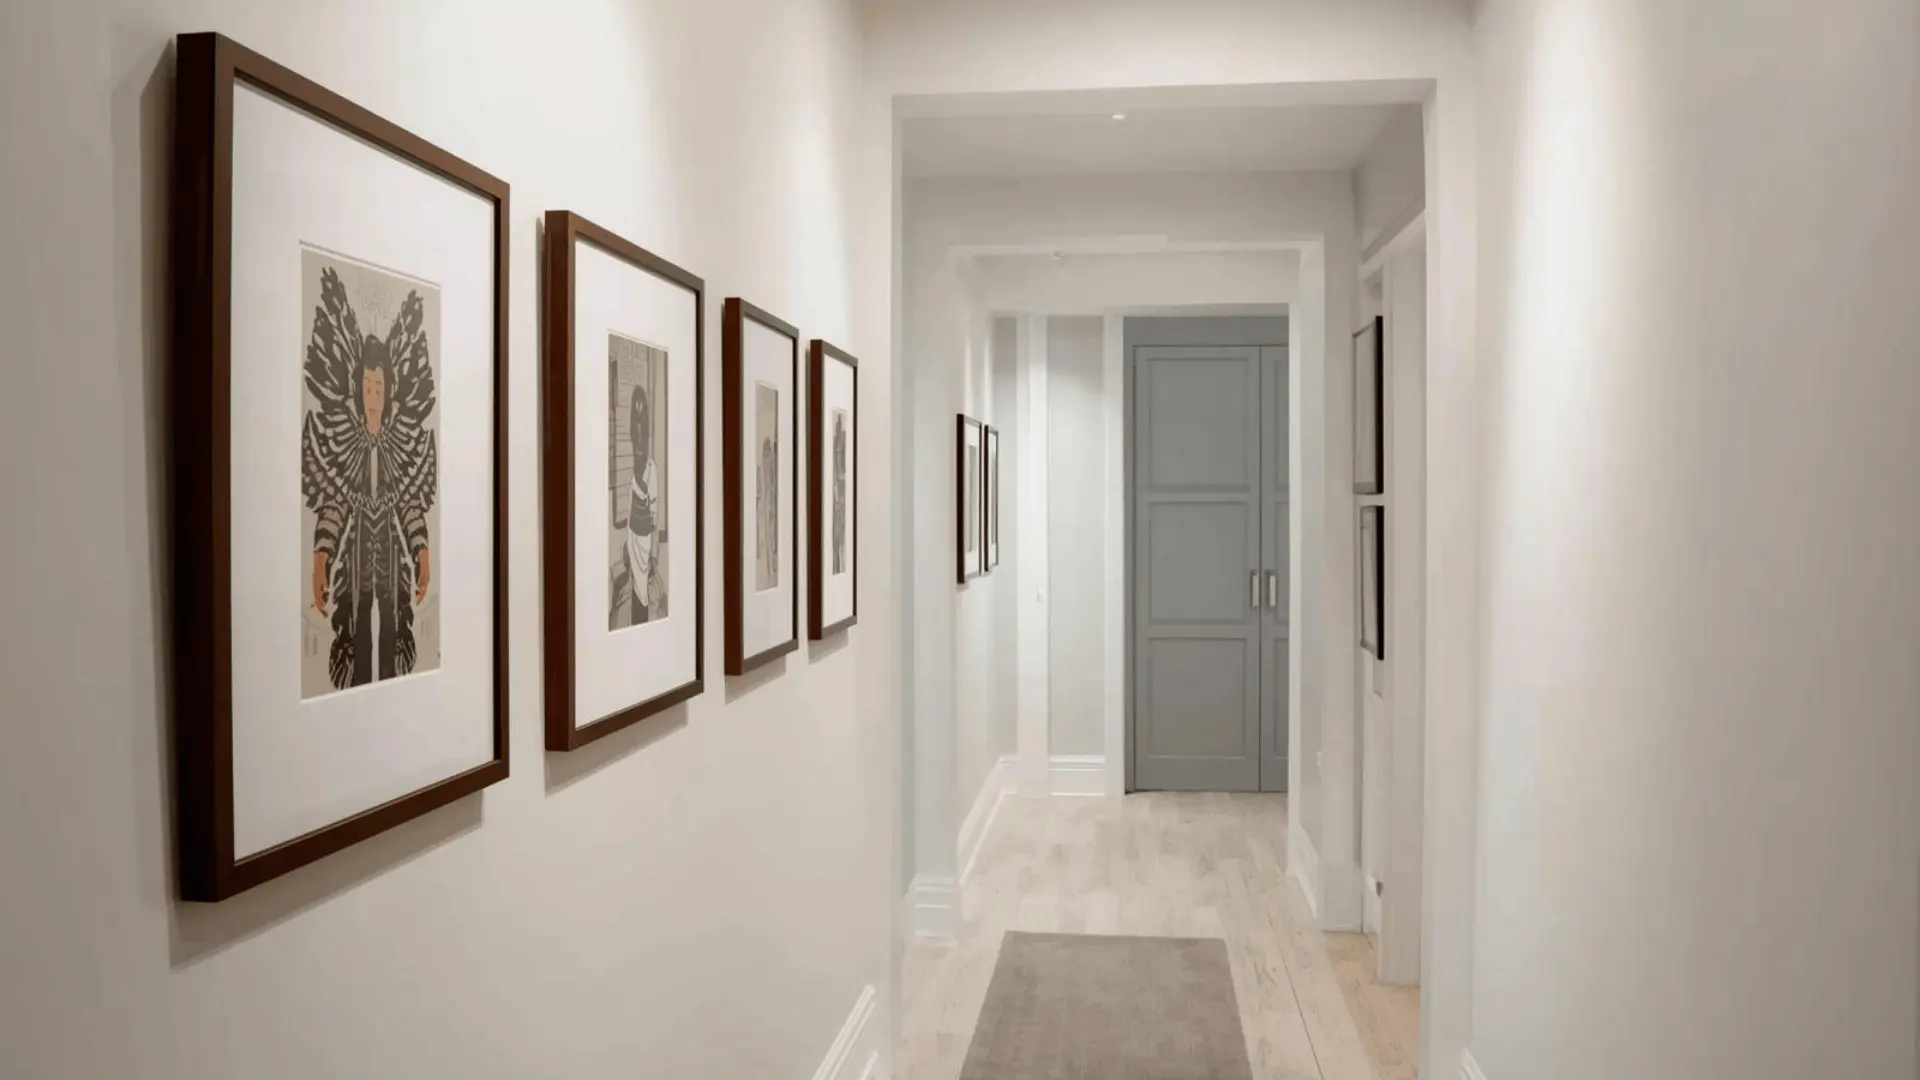
Hallways are narrow, so keep things simple and shallow. Stick to one side of the wall to avoid a crowded feeling. Choose frames that do not stick out too far from the wall.
A single row of matching frames works well in tight spaces. Keep the arrangement at eye level so it is easy to take in as you walk past.
5. Dining Room Gallery Wall

Place your gallery wall on the wall that faces the seating area. This gives people something to look at and talk about during meals.
A mix of art prints, travel photos, or meaningful pieces works well here. Keep the overall tone consistent so the wall does not compete with the rest of the room.
6. Small Space Gallery Wall
In a small room, less goes a long way. Choose three to five pieces instead of a large spread. Space them farther apart than you normally would.
Lighter frames in white or natural wood keep things from feeling heavy. A focused, well-spaced arrangement will do more for a small wall than a crowded one ever could.
From living rooms to hallways, every space offers an opportunity to showcase your style. Let each gallery wall reflect the personality and purpose of the room it’s in.
Common Gallery Wall Mistakes to Avoid
Even small missteps can throw off the whole look. Knowing what to avoid makes the process of creating a gallery wall much smoother and less frustrating.
- Do Not Center Your Anchor Piece: Placing your largest frame dead center pulls too much focus and throws off the overall balance.
- Do Not Leave Uneven or Excessive Spacing: Keep gaps between frames consistent, somewhere between 2 and 5 inches, for a tidy, well-organized display.
- Do Not Hang All Frames at Once: Putting everything up in one go makes it harder to catch alignment issues before they become a problem.
- Do Not Skip the Floor Planning Stage: Laying frames on the floor first lets you test arrangements without putting a single nail in the wall.
- Do Not Neglect the 57-Inch Eye-Level Rule: The center of your arrangement should be 57 inches from the floor, which is the standard gallery-hanging height.
Avoiding these common mistakes will help your gallery wall look polished instead of cluttered. A little extra planning can make all the difference in the final result.
Wrapping It Up
A gallery wall is one of the most personal touches a room can have. The steps are straightforward. Pick a style, gather materials, plan the layout on paper, and hang one frame at a time.
Avoid common mistakes like uneven spacing or skipping the floor planning stage, and the result will look intentional and put-together.
Every room has a wall that could use it. Above a sofa, along a staircase, or behind a bed, the options are wide open. Now that the full process for making a gallery wall is laid out, the hardest part is just getting started.
Bookmark this page for reference when ready to begin, and feel free to share it with someone who has been staring at a blank wall for far too long.