Every artist you admire started with a blank page and no idea what to do next. Drawing feels overwhelming at first. The hand does not cooperate. The shapes look wrong. Nothing comes out the way it looks in your head.
That is where drawing techniques come in. These are not complicated rules. They are simple methods that help you build control, see better, and put down what you actually mean to draw.
I have put together this guide for anyone starting from zero. If you are picking up a pencil for the first time or trying to get past the beginner stage, this covers the core drawing techniques that make a real difference.
No guessing. No jumping ahead. Just a clear, step-by-step path forward.
What Are Drawing Techniques?
Drawing techniques are the methods I use to create lines, shapes, shadows, and textures on paper. They form the foundation of all visual art.
Each technique serves a purpose. Some help me build structure. Others add depth or create the illusion of light.
For drawing beginners, these methods act as a starting point. They give you a clear path to follow instead of guessing where to begin.
Common drawing techniques include hatching, blending, contour drawing, and gesture drawing. Each one builds a specific skill.
Learning these techniques takes practice, but the process is straightforward. I start with one method, study it, and move to the next when I feel ready.
Drawing Techniques for Beginners
These drawing techniques build the core skills every artist needs. They develop hand control, sharpen observation, and create the confidence to move forward with more complex methods.
1. Line Drawing
Clean lines are the foundation of every drawing. Practicing different line types, straight, curved, thick, and thin, trains the hand to move with intention rather than hesitation.
- Materials Needed: HB pencil, sketchbook, ruler (optional)
- How To Do: Fill a page with lines in different directions and weights. Work slowly at first, then build speed. Repeat daily.
- Pro Tip: Pull the pencil toward you instead of pushing it. This gives more control over the stroke.
2. Contour Drawing
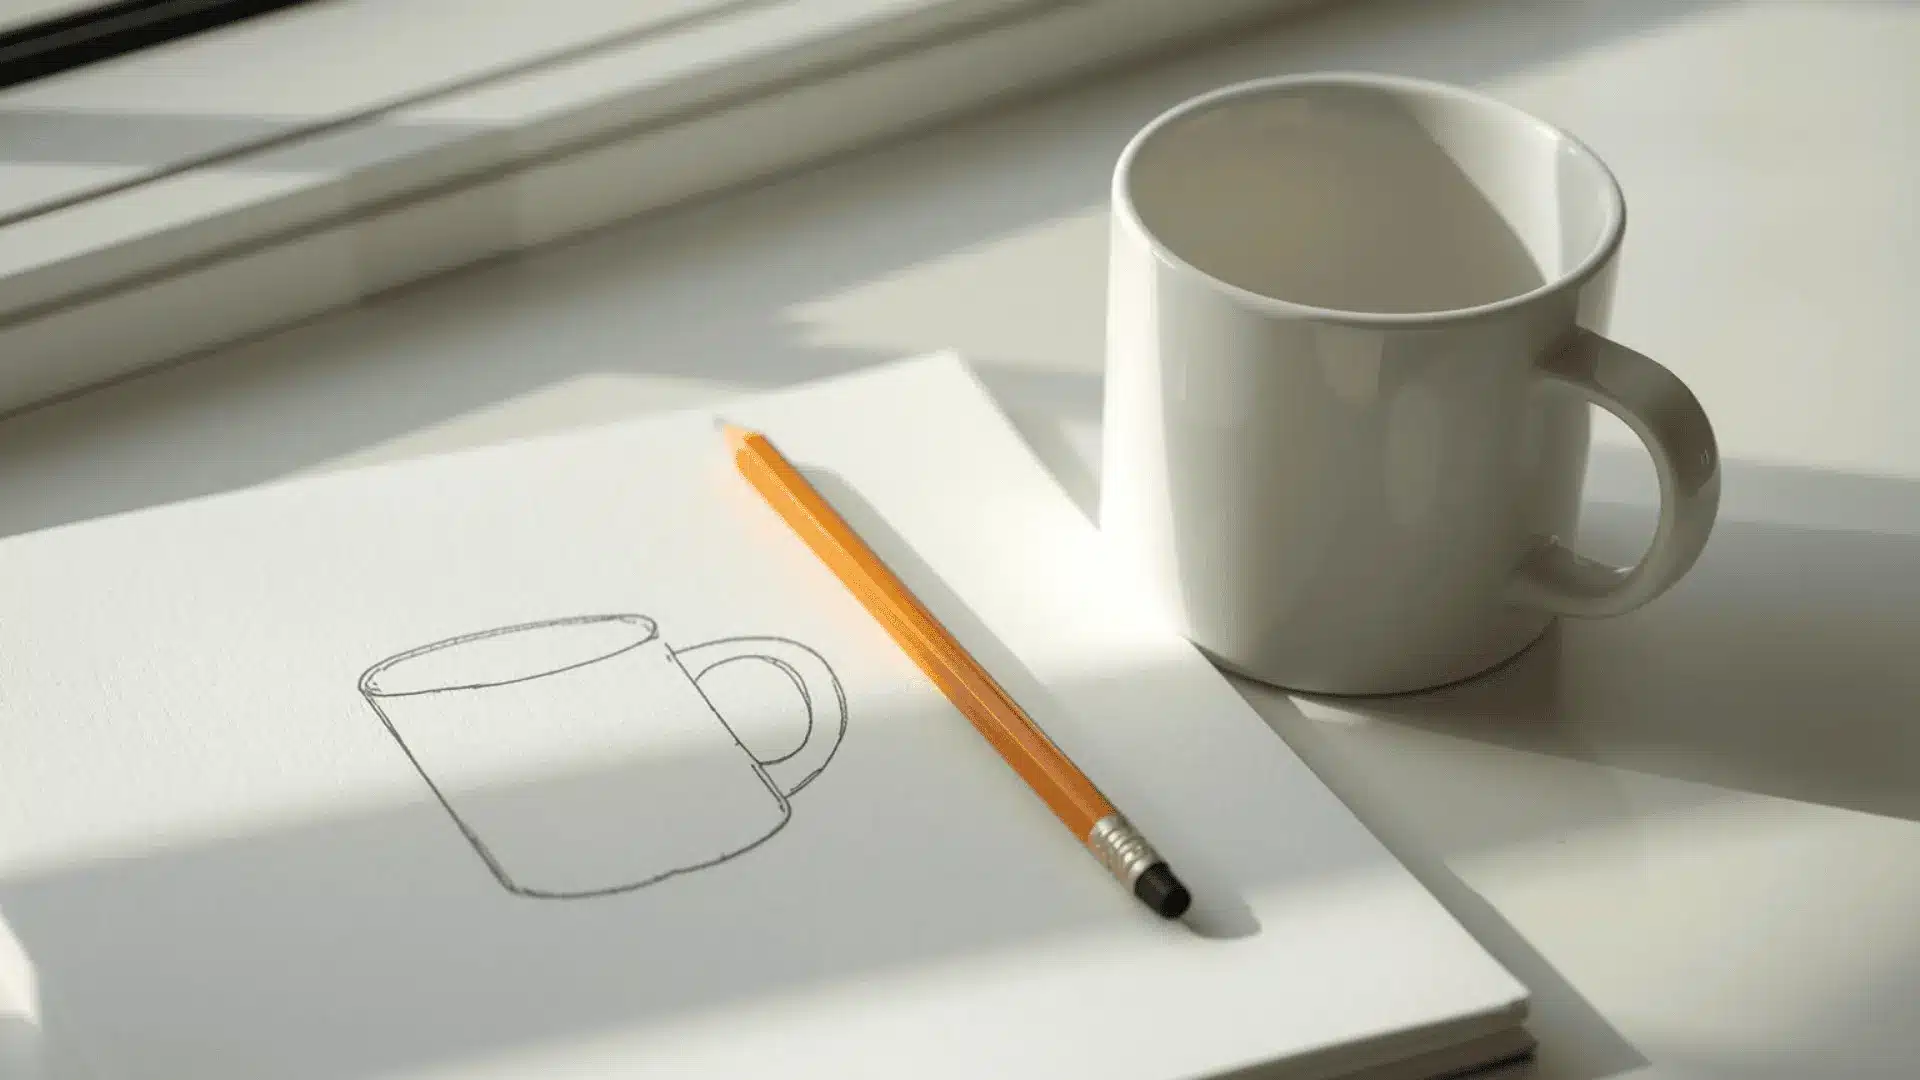
Contour drawing captures the outer edge of a subject in one continuous line. It sharpens observation by forcing focus on the subject rather than the drawing itself.
- Materials Needed: HB pencil, sketchbook
- How to Do: Pick a simple object. Draw only its outline without lifting the pencil. Look at the object more than the paper.
- Pro Tip: Move the pencil at the same pace as the eye moves along the edge of the object.
3. Blind Contour Drawing
Blind contour drawing means drawing without looking at the paper at all. It feels uncomfortable at first, but it builds a stronger connection between the eye and the hand.
- Materials Needed: HB pencil, sketchbook
- How to Do: Fix your eyes on the subject. Place the pencil on the paper and draw without looking down until finished.
- Pro Tip: Do not worry about the result. The goal is coordination, not accuracy.
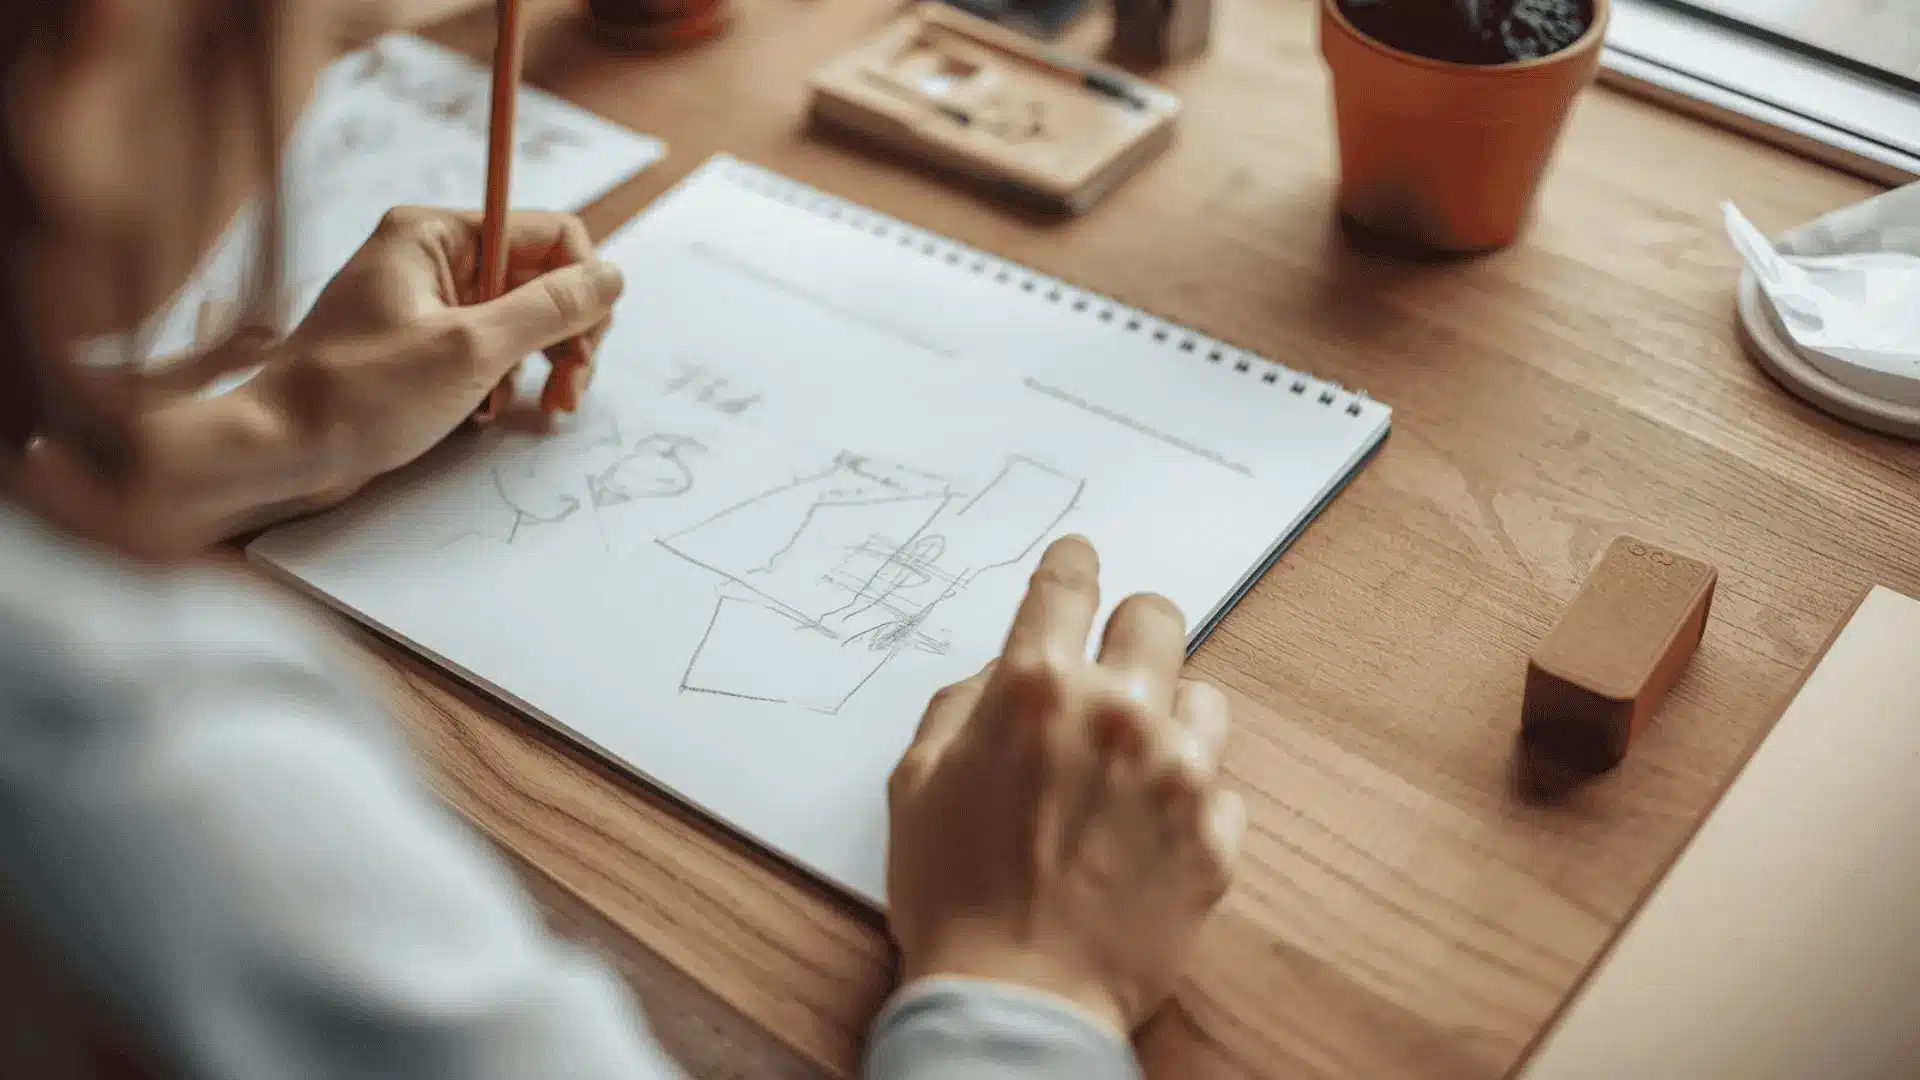
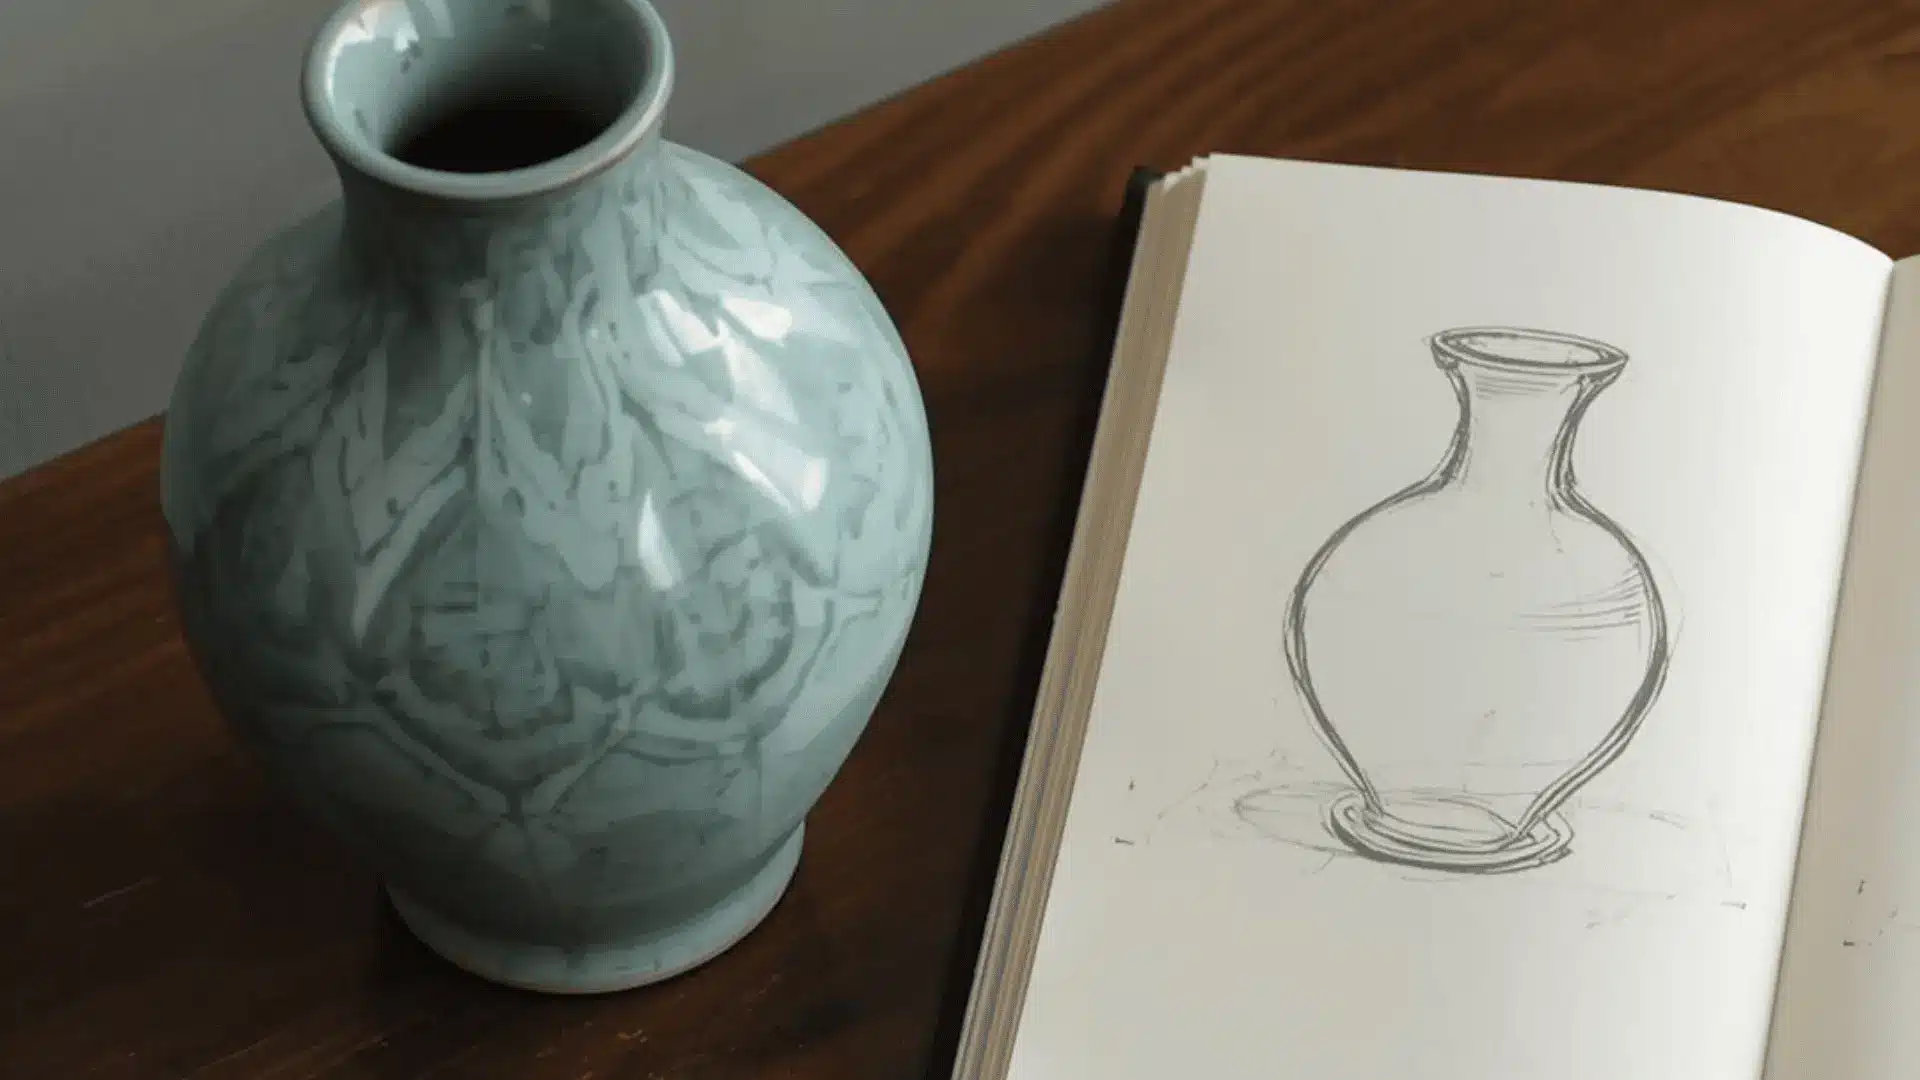
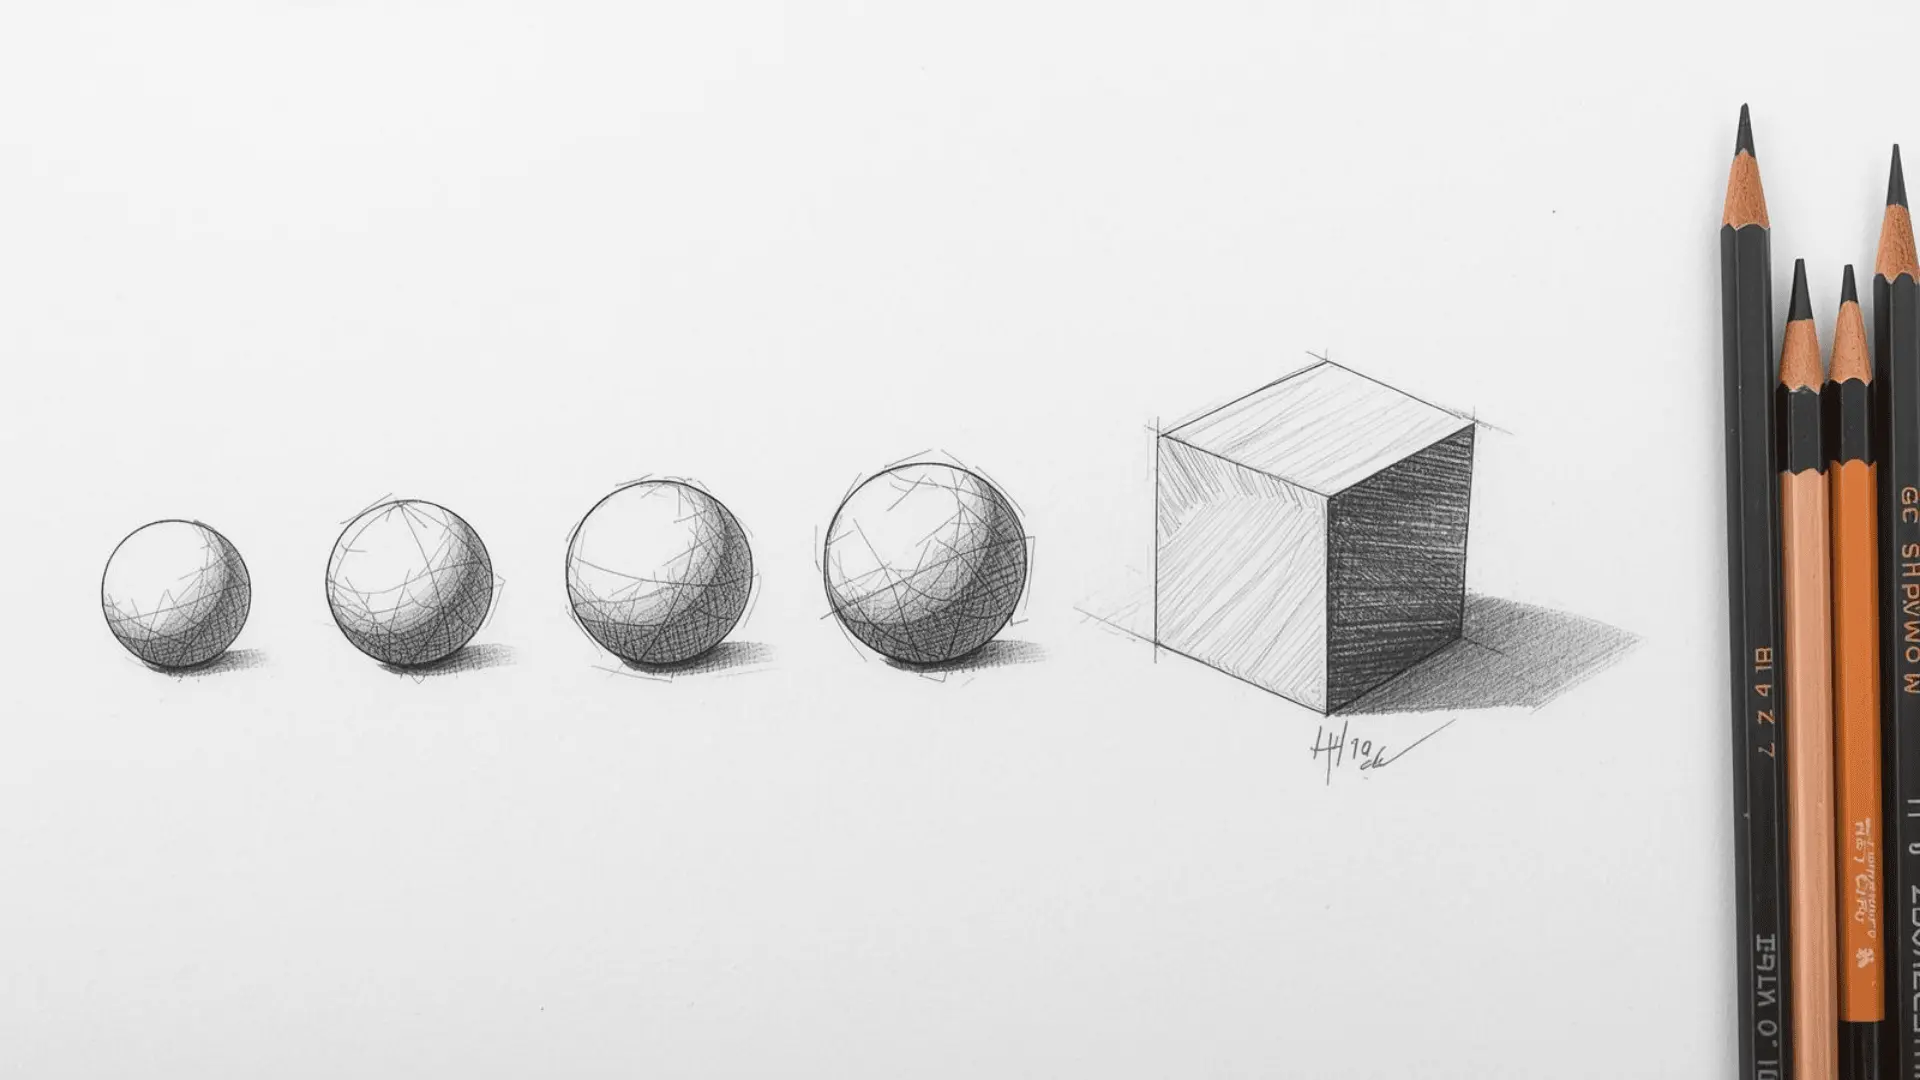
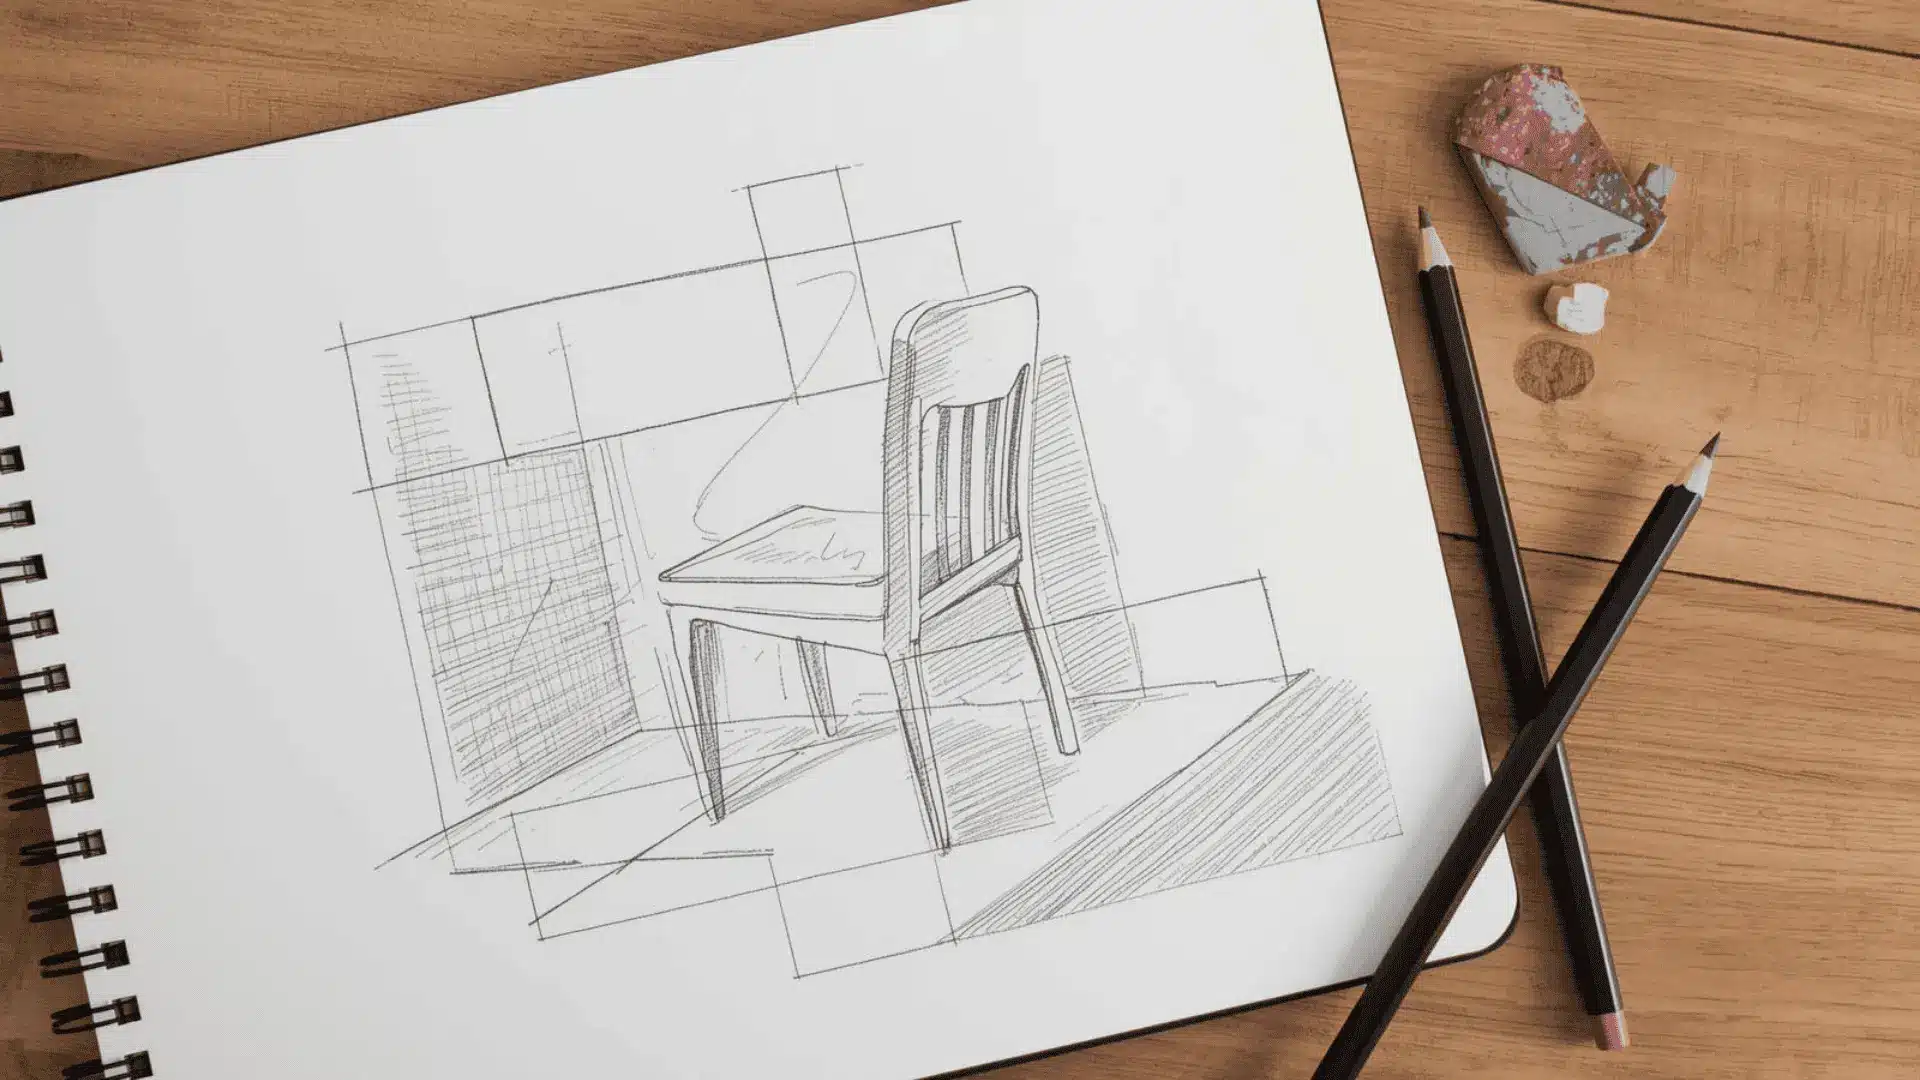
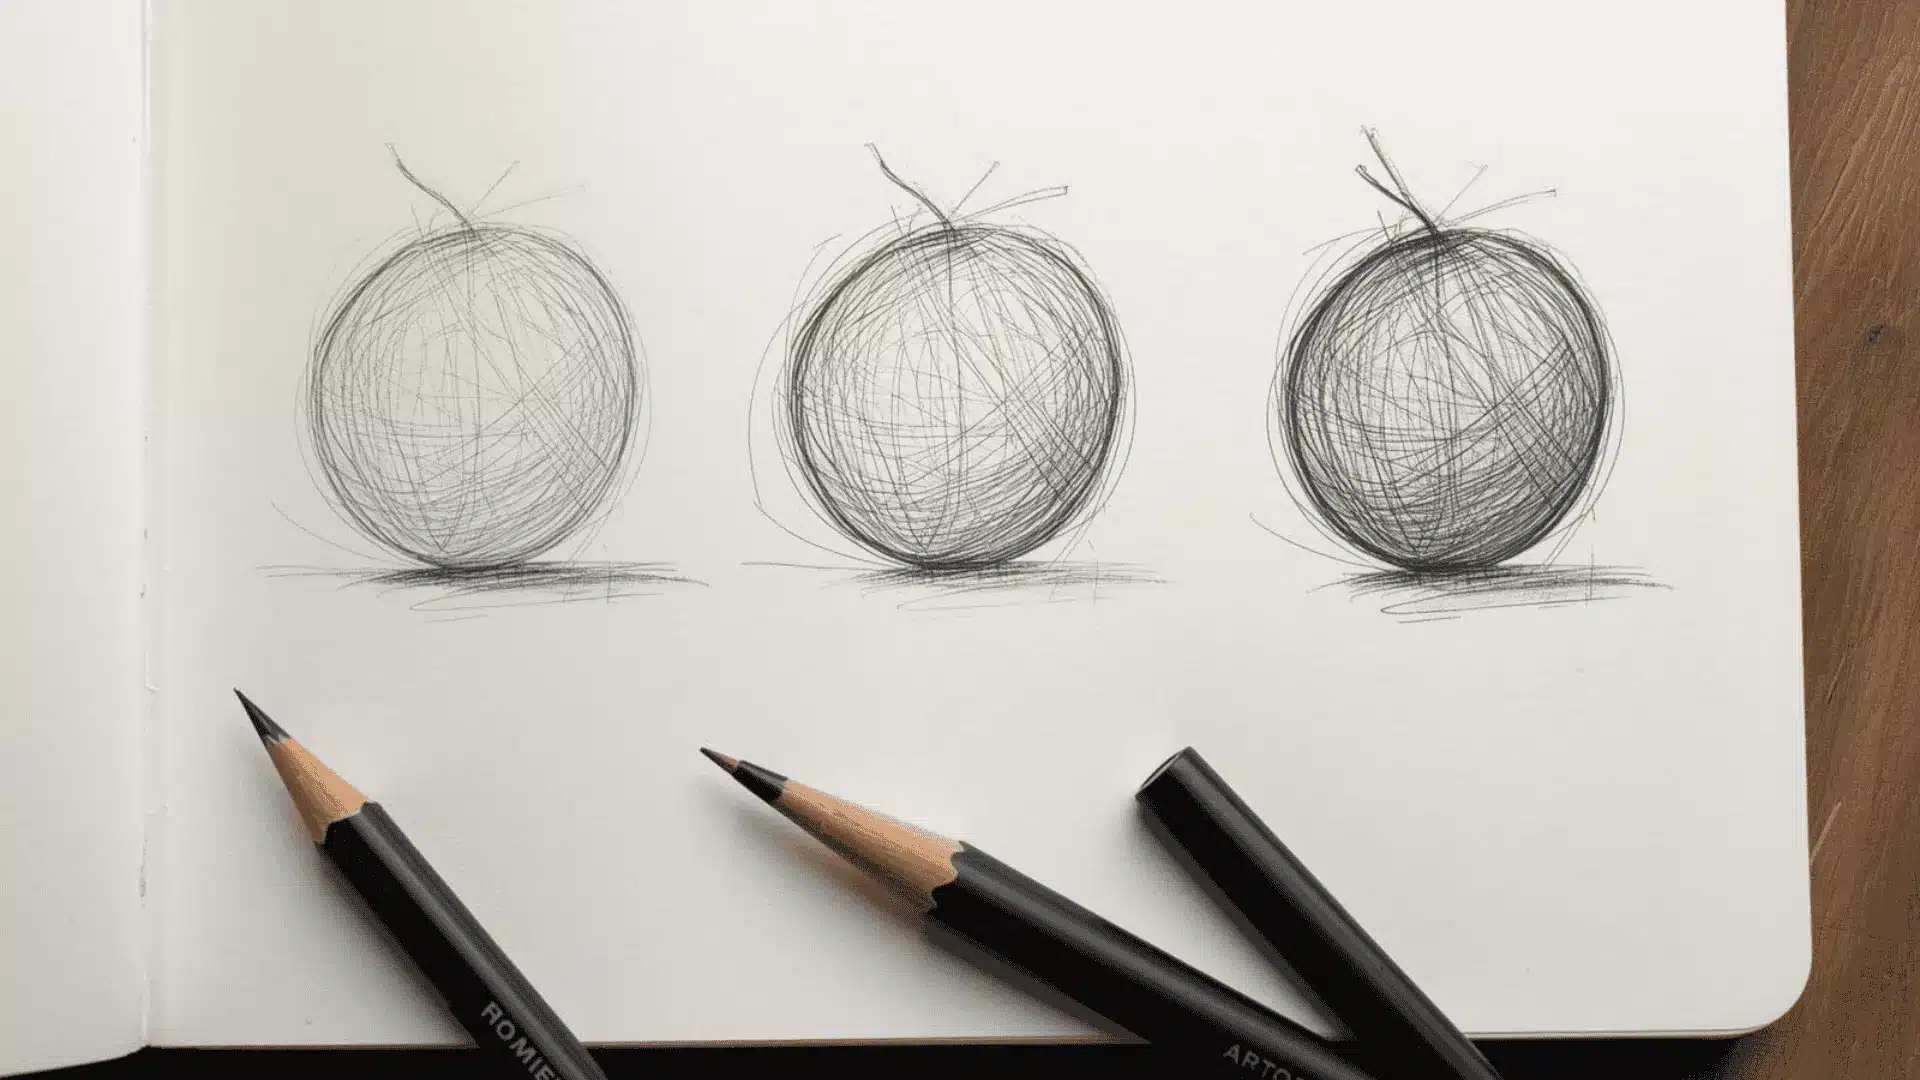
4. Shape Construction

Breaking complex subjects into simple shapes makes them easier to draw. Circles, squares, and triangles act as a loose framework before details are added.
- Materials Needed: HB pencil, sketchbook, eraser
- How to Do: Look at an object and identify the basic shapes within it. Sketch those shapes lightly first, then refine the form on top.
- Pro Tip: Keep the initial shapes very light. They are guides, not outlines.
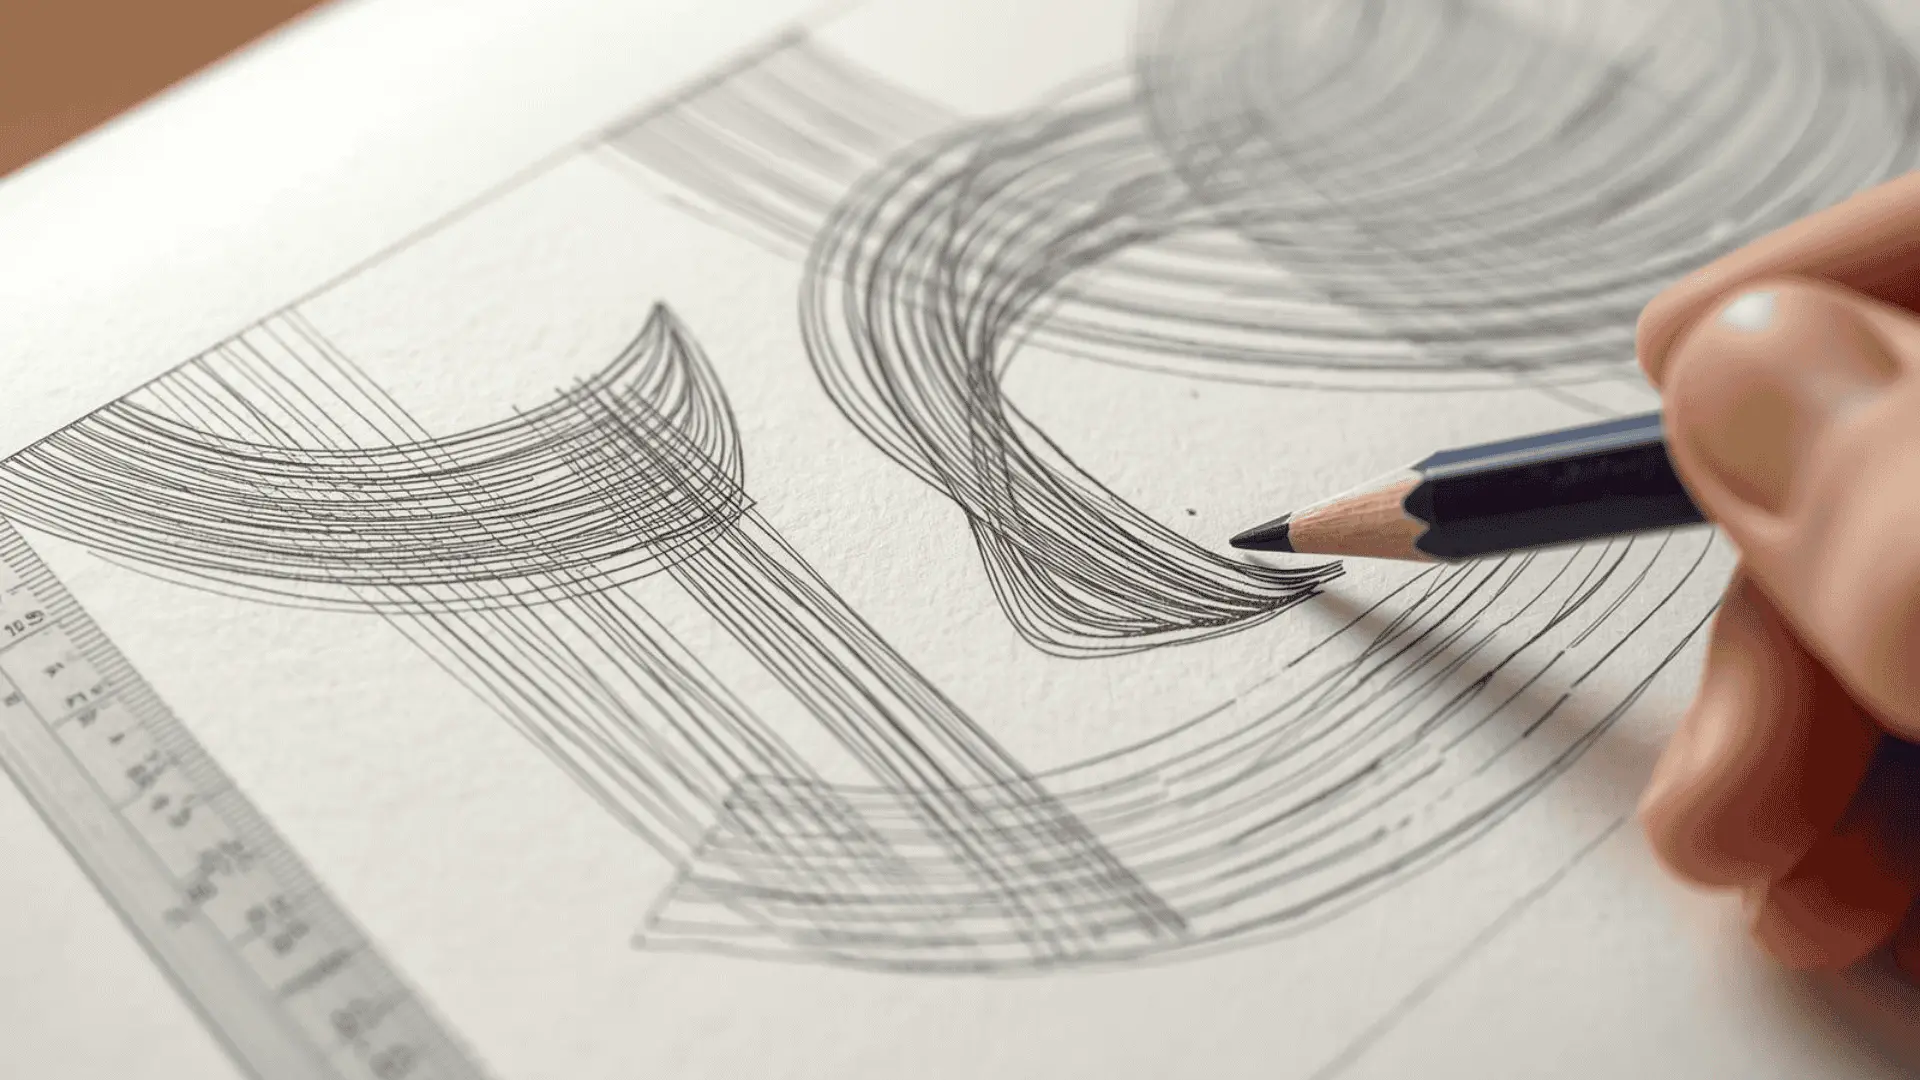
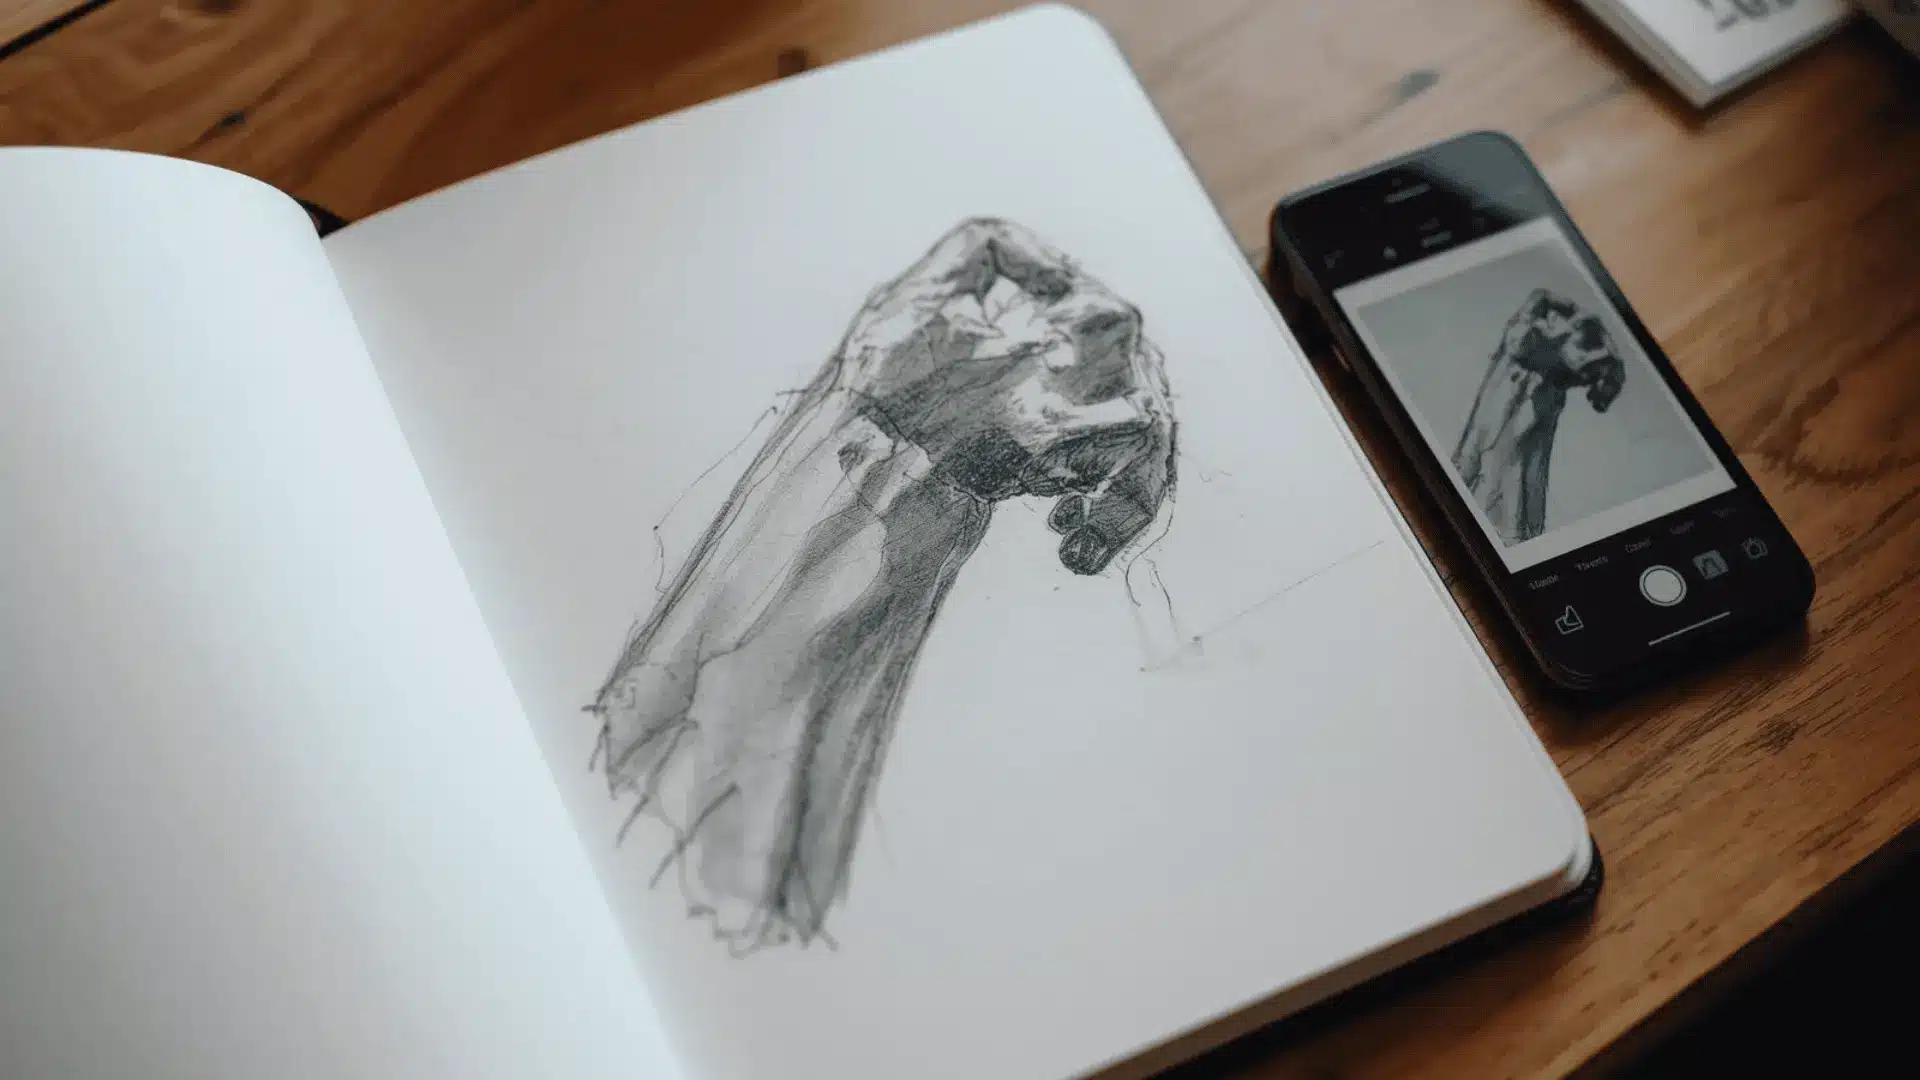
5. Gesture Drawing
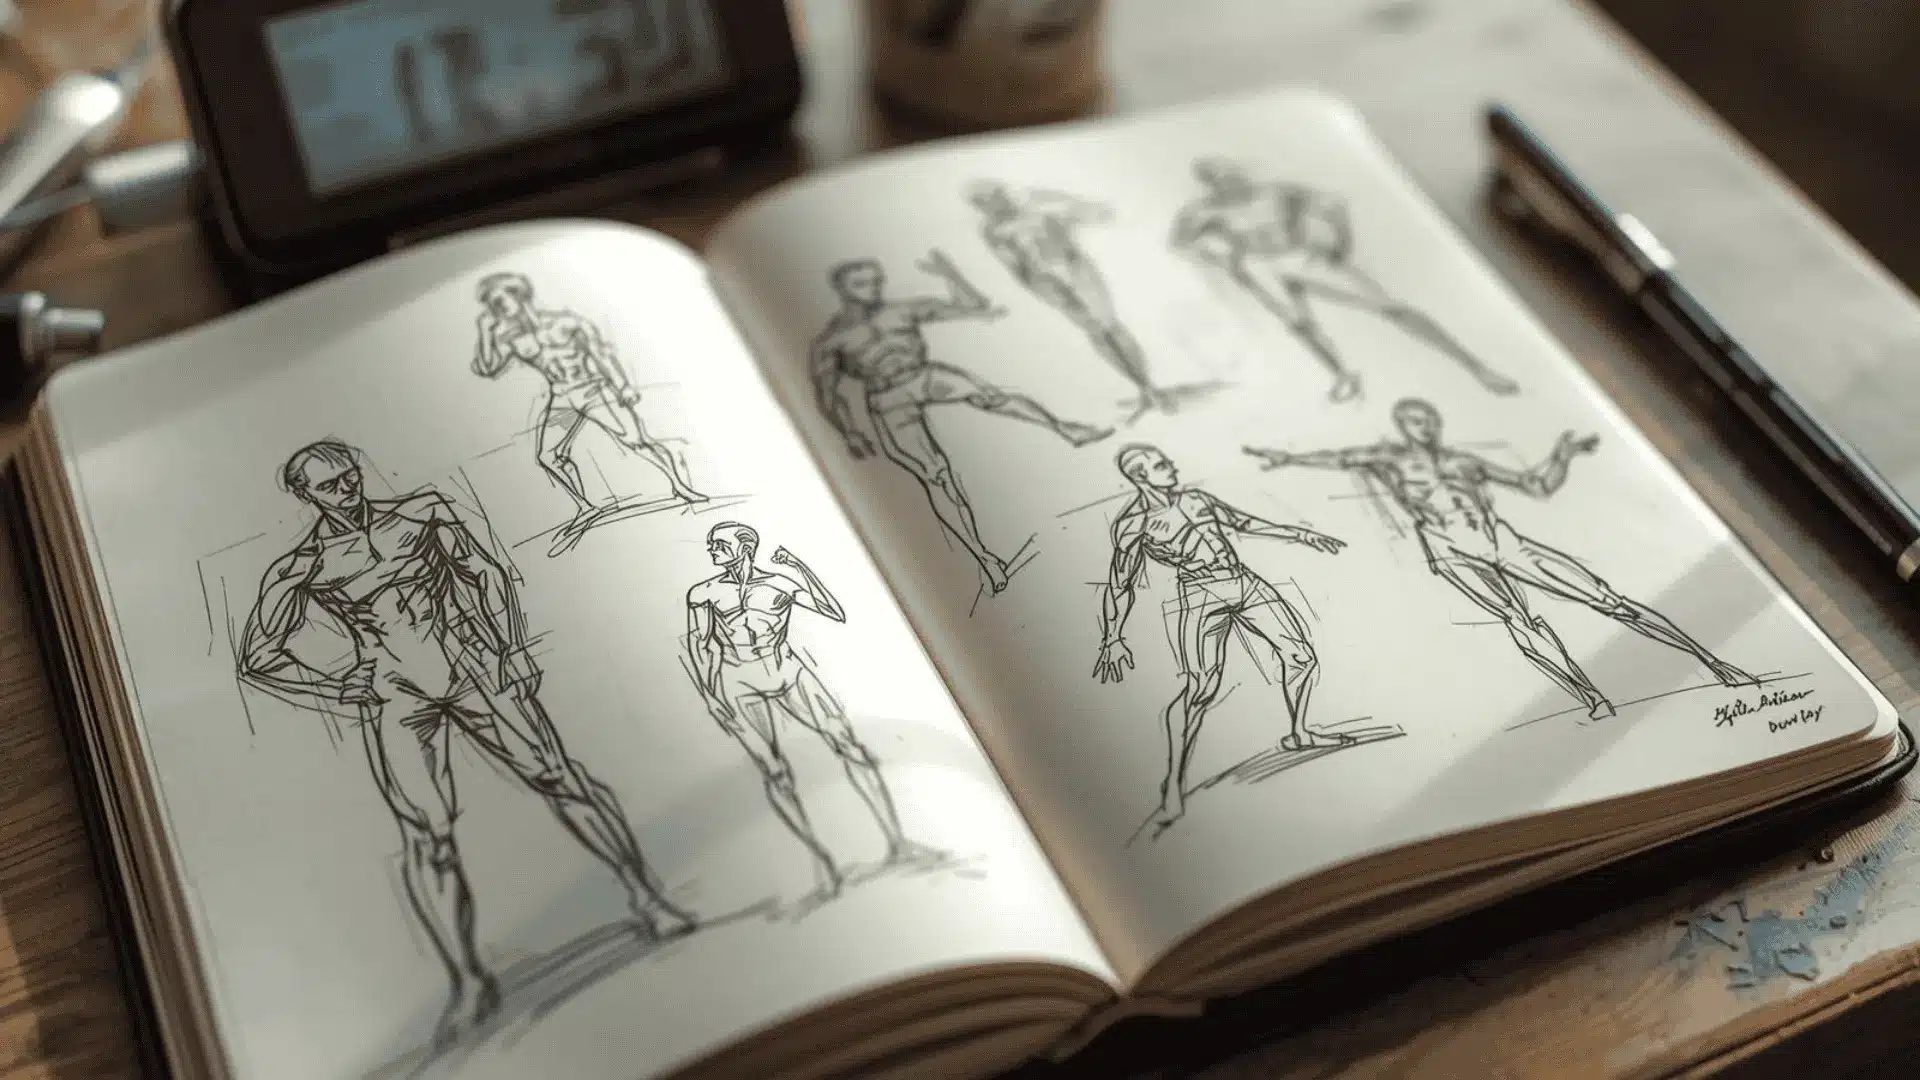
Gesture drawing captures the energy and movement of a subject in a short amount of time. It trains the eye to see overall form before getting into details.
- Materials Needed: HB or 2B pencil, sketchbook, timer
- How to Do: Set a timer for 30 to 60 seconds. Sketch the overall pose or form loosely. Focus on flow, not accuracy.
- Pro Tip: Use long, sweeping strokes from the shoulder rather than short strokes from the wrist.
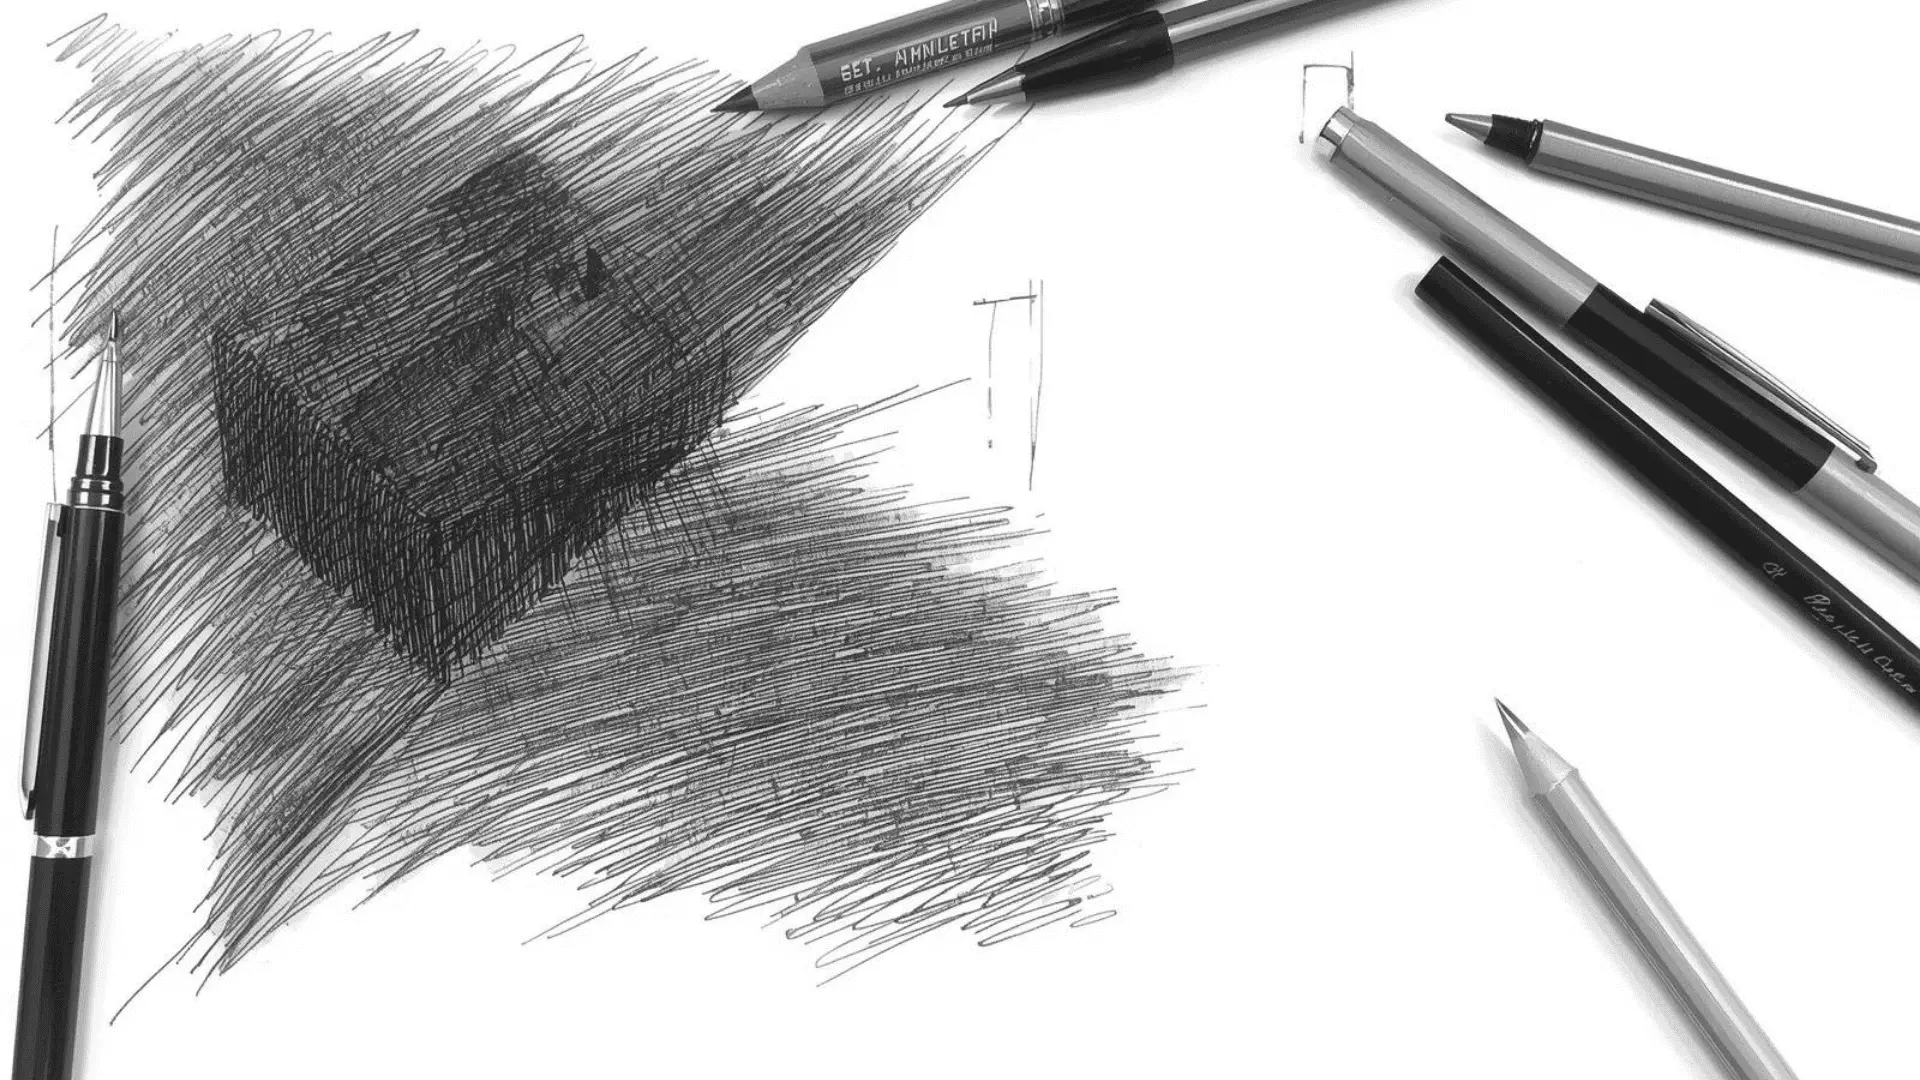
6. Hatching
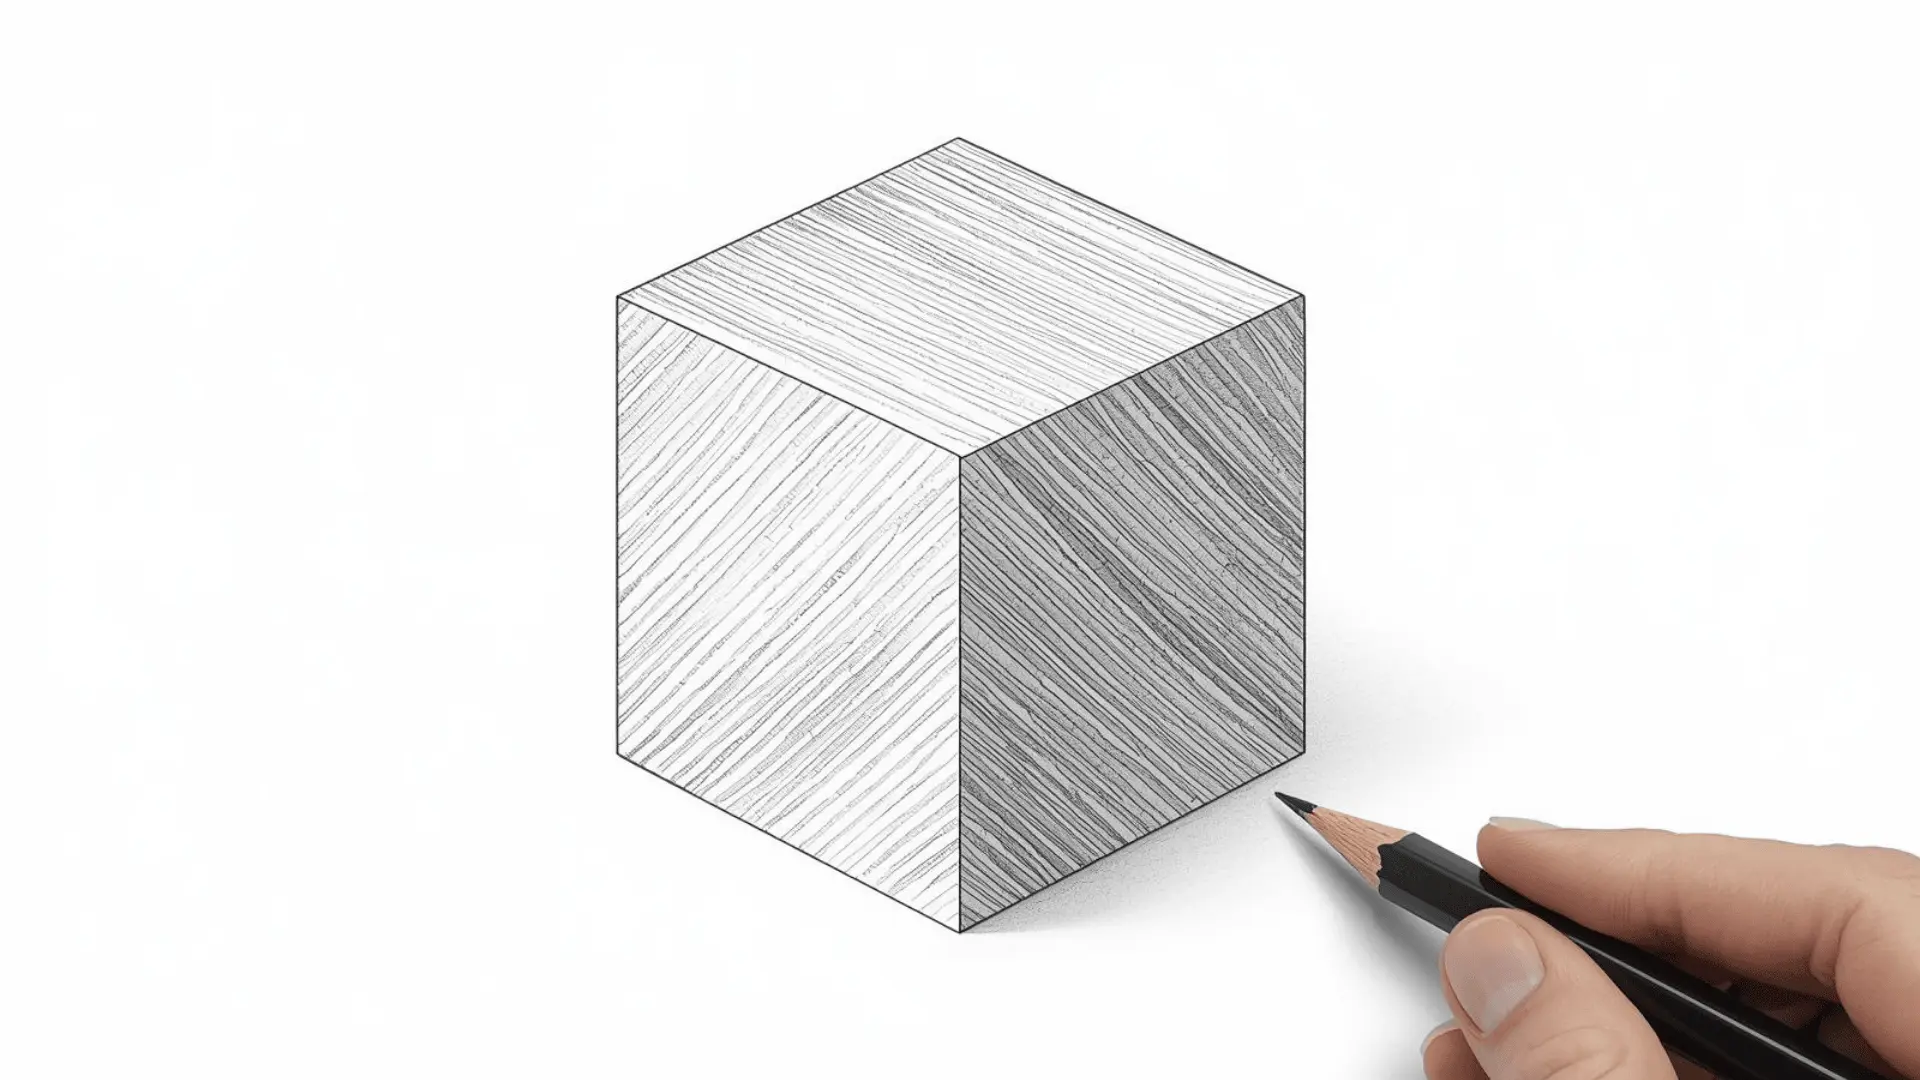
Hatching uses rows of parallel lines to build value and shadow. The closer the lines, the darker the tone. This is one of the most practical drawing techniques for beginners to learn early.
- Materials Needed: HB or 2B pencil, sketchbook
- How to Do: Draw evenly spaced parallel lines in one direction. To darken, add more lines closer together.
- Pro Tip: Keep all lines in the same direction within a single layer for a cleaner result.
7. Cross-Hatching

Cross-hatching lines in multiple directions to build deeper shadow and richer value. Each additional layer increases the darkness of the tone.
- Materials Needed: 2B or 4B pencil, sketchbook
- How to Do: Draw one set of parallel lines, then layer another set at a different angle on top. Add more layers to darken further.
- Pro Tip: Let each layer settle before adding the next. Rushing creates muddy, uneven results.
8. Stippling
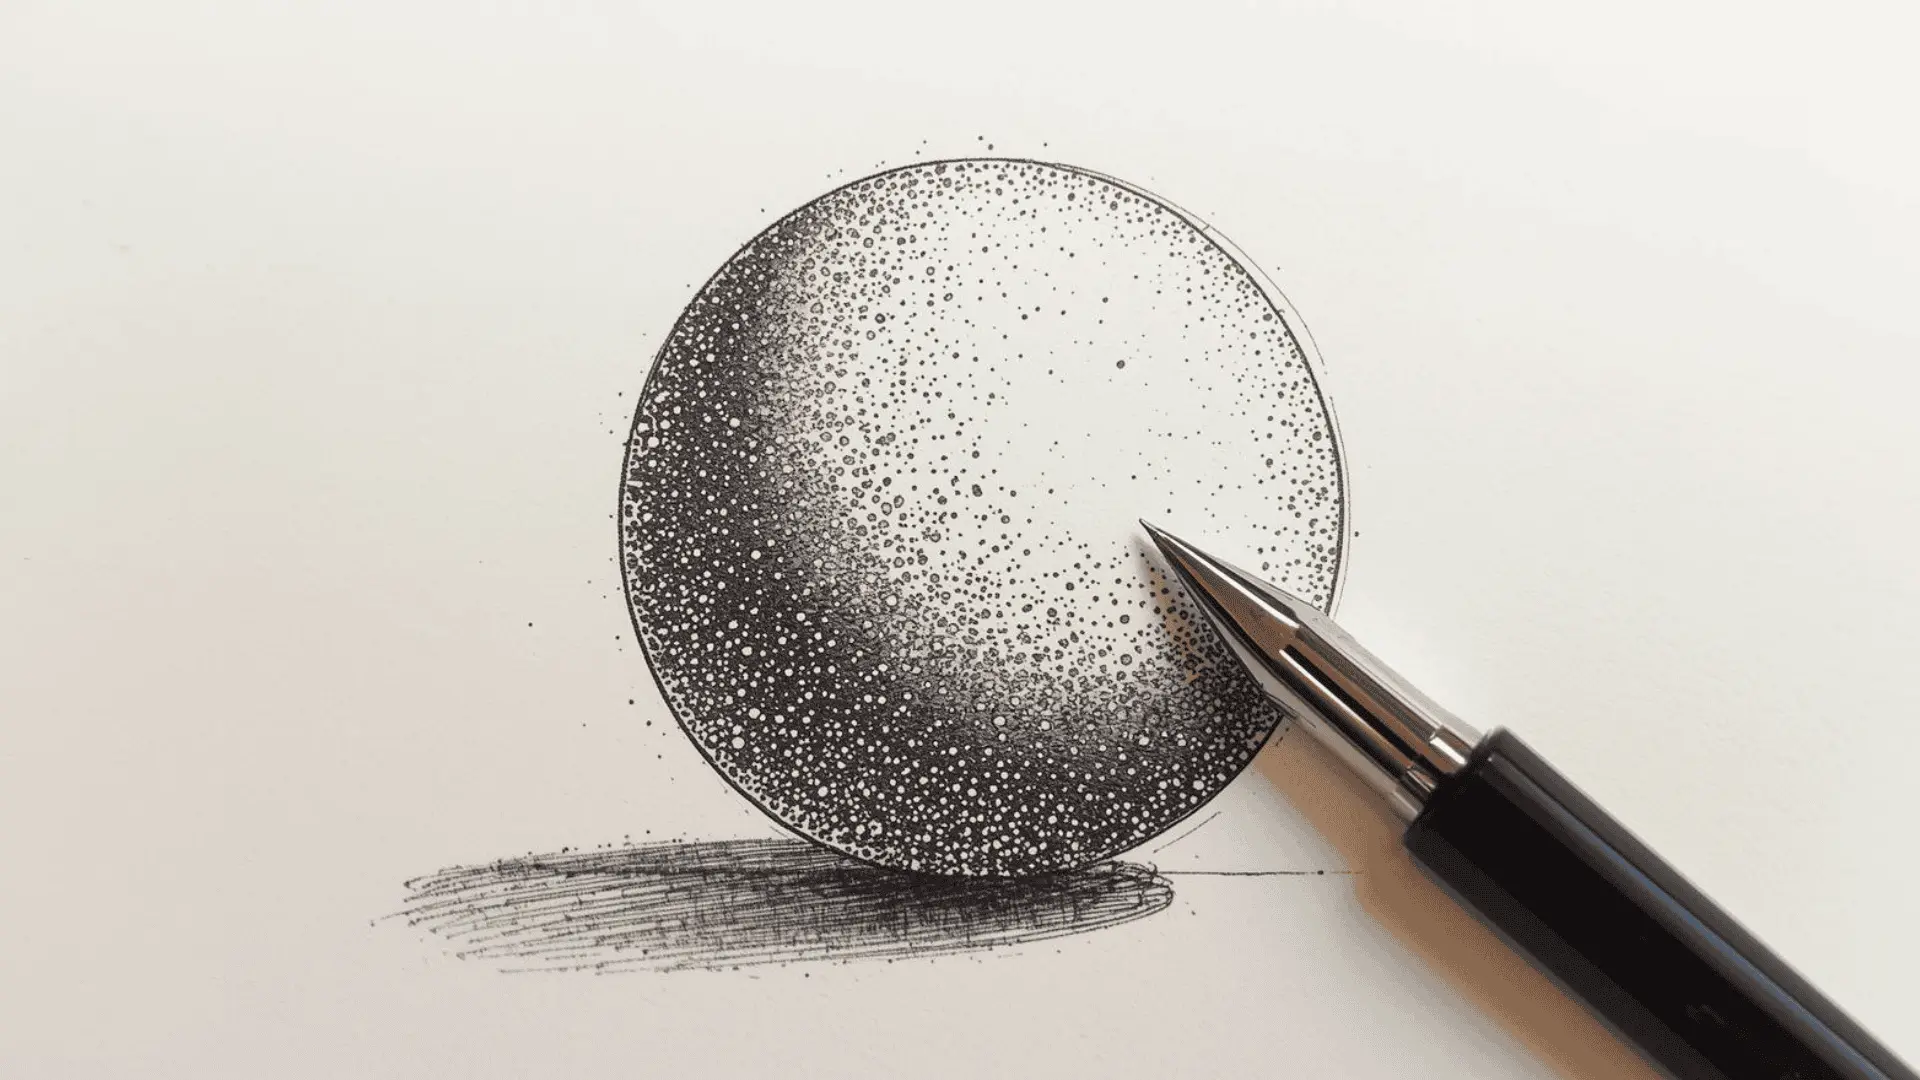
Stippling creates value and texture by using dots rather than lines. It is a slow technique that rewards patience with a precise, controlled finish.
- Materials Needed: Fine-tip pen or sharp HB pencil, smooth paper
- How to Do: Place dots close together for dark areas and spread them apart for lighter areas. Build tone gradually.
- Pro Tip: Work from dark to light by starting with the densest dot clusters first.
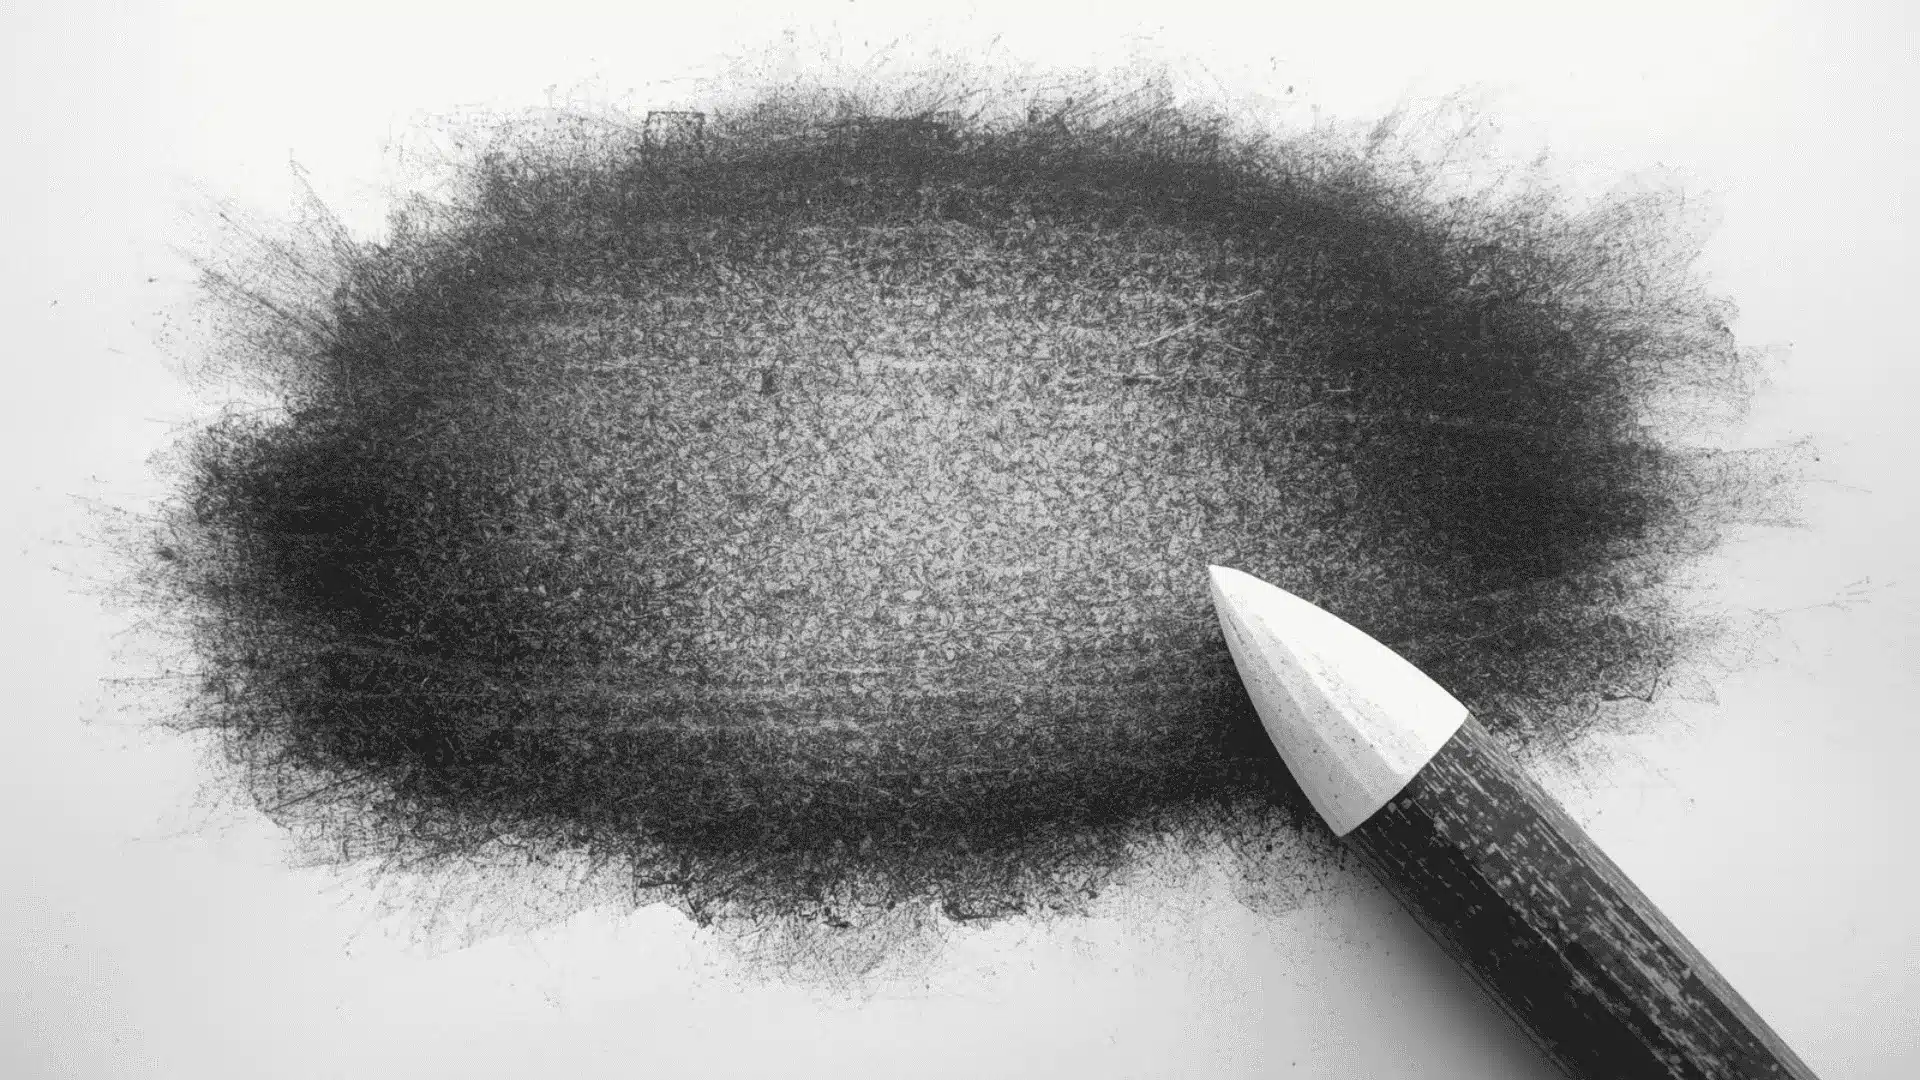
9. Blending
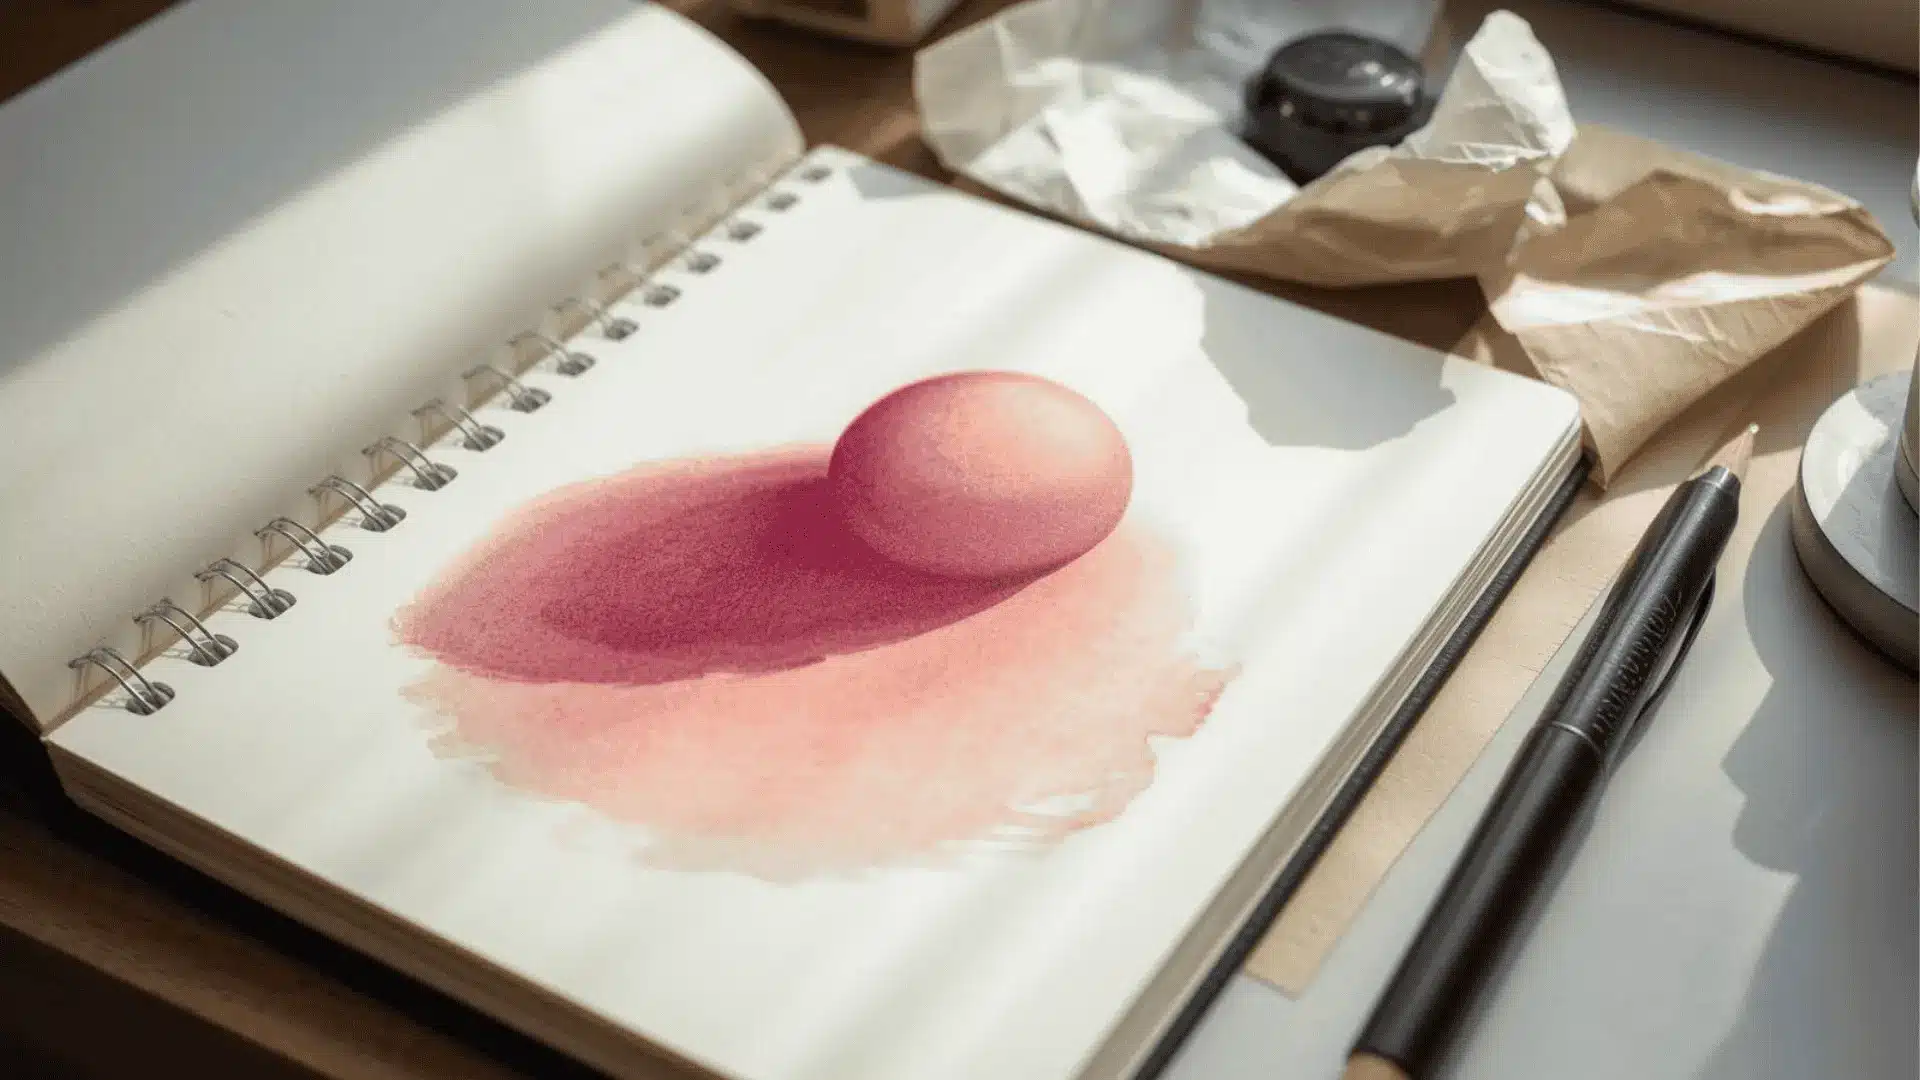
Blending softens pencil or charcoal strokes, creating smooth transitions between tones. It works best on surfaces that require a soft, gradual shift from light to dark.
- Materials Needed: 2B or 4B pencil, blending stump, tissue, kneaded eraser
- How to Do: Apply pencil strokes in the shadow areas. Use a blending stump or tissue to smooth the tone outward toward the light areas.
- Pro Tip: Blend in the direction of the surface. Blending against the form can flatten the shape.
Mastering drawing techniques for beginners starts with consistent practice and patience. Focus on building strong fundamentals like line control, shape construction, and simple shading before moving to advanced skills.
Intermediate Drawing Techniques
These drawing techniques move beyond the basics to build depth, structure, and realism. They require a steady hand and a good understanding of foundational skills before applying them.
10. Value Shading
Value shading uses the contrast between light and dark to add dimension to a drawing. Strong value control is what separates flat drawings from realistic ones.
- Materials Needed: HB, 2B, and 4B pencils, blending stump
- How to Do: Create a five-step value scale first. Then apply those values to a subject, identifying the lightest and darkest areas before shading.
- Pro Tip: Squint at the subject to simplify the tones. This makes it easier to see where the lightest and darkest areas fall.
11. Perspective Drawing (1-Point and 2-Point)
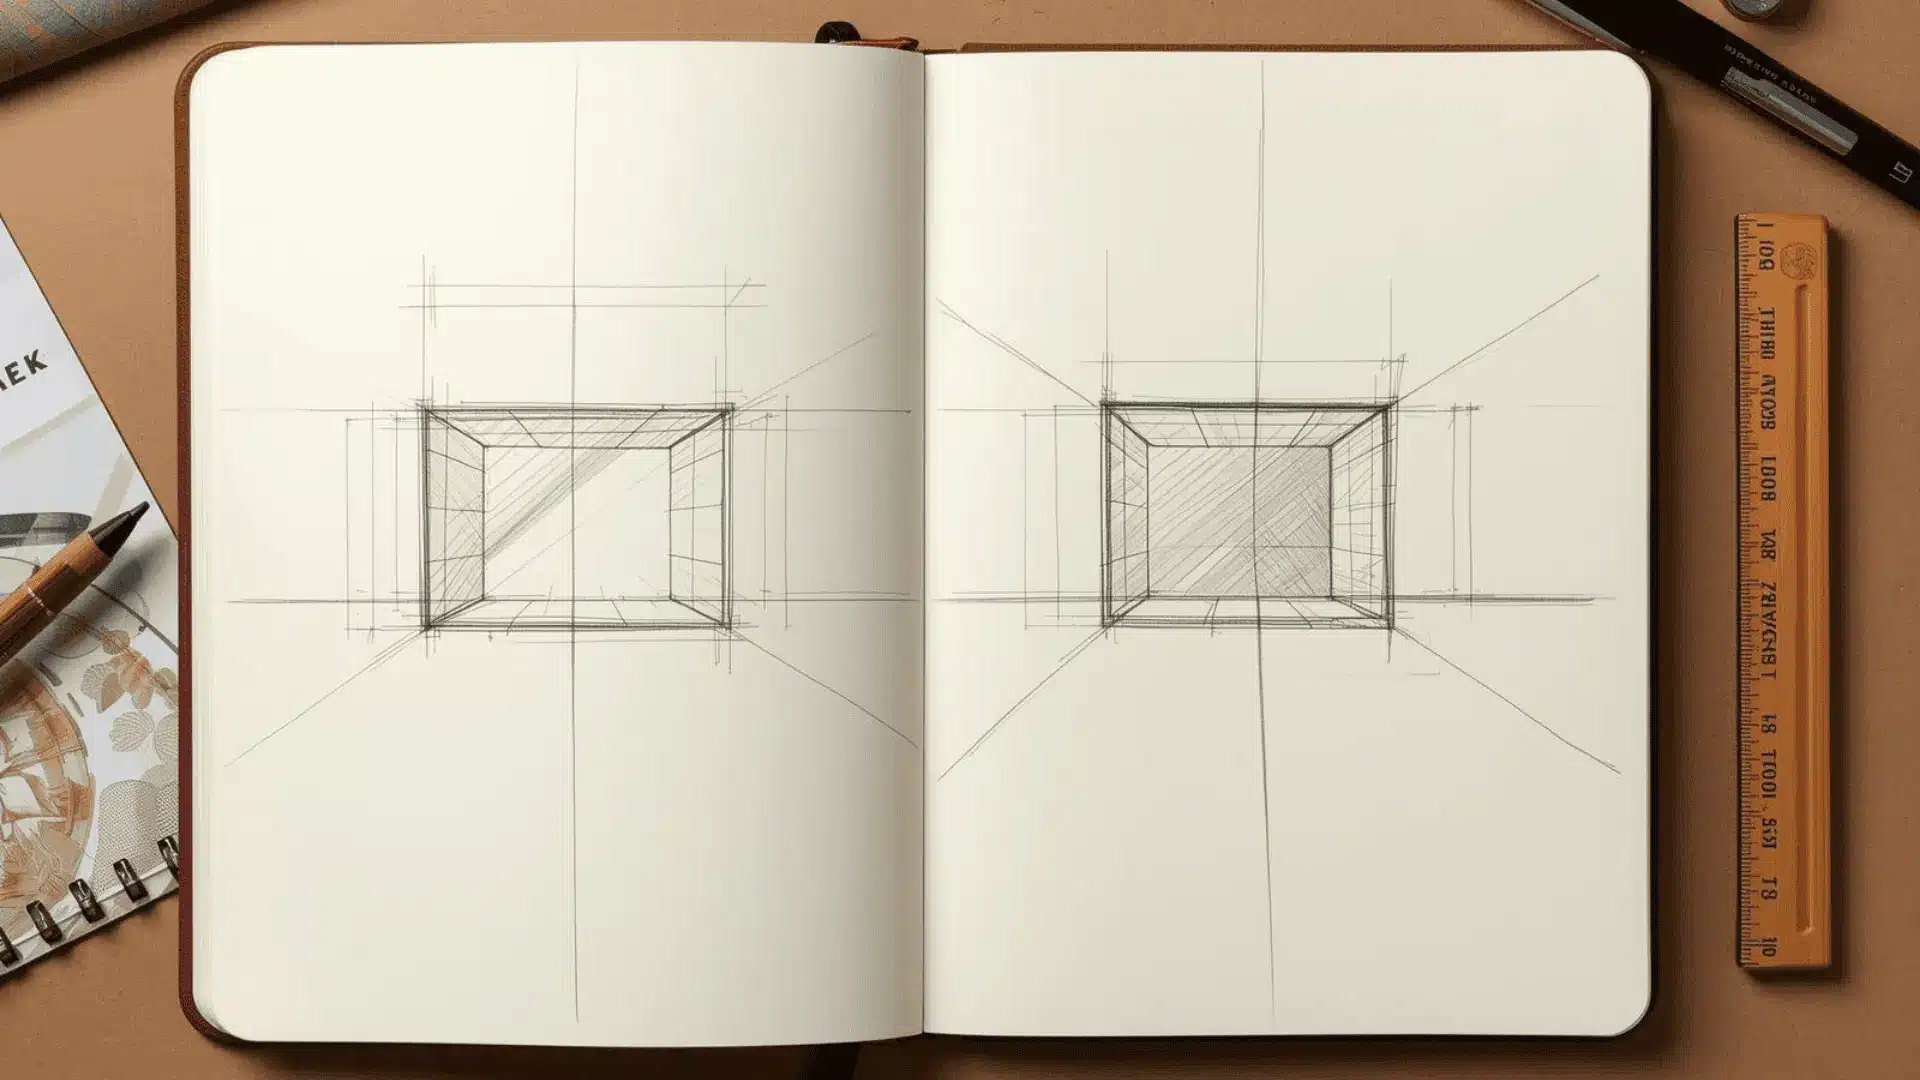
Perspective drawing creates the illusion of depth on a flat surface using vanishing points. It is the foundation for drawing buildings, rooms, and any structured environment.
- Materials Needed: HB pencil, ruler, sketchbook
- How to Do: Draw a horizon line. Place one or two vanishing points on it. Draw all edges of objects back to those points.
- Pro Tip: Start with simple box shapes before applying perspective to more complex subjects.
12. Foreshortening
Foreshortening makes an object or figure appear compressed because it is pointing toward the viewer. It is one of the more challenging drawing techniques, but it creates strong visual depth.
- Materials Needed: 2B pencils, sketchbook, reference image
- How to Do: Observe how the shapes change when viewed at an angle. Draw what is seen, not what is known about the object’s actual shape.
- Pro Tip: Use reference images when learning foreshortening. Relying on memory often leads to incorrect proportions.
13. Negative Space Drawing
Negative space drawing focuses on the empty space around an object rather than the object itself. It corrects proportion errors and trains the eye to measure shapes accurately.
- Materials Needed: HB pencil, sketchbook
- How To Do: Look at the space surrounding the subject. Draw those shapes instead of the subject. The object will appear naturally within them.
- Pro Tip: This technique works especially well for complex subjects like hands or chairs, where proportion is easy to misjudge.
14. Texture Rendering

Texture rendering recreates the surface quality of different materials in a drawing. Each material, wood, metal, fabric, or skin, has its own visual logic.
- Materials Needed: HB, 2B, 4B pencils, blending stump, fine-tip pen
- How to Do: Study the surface of the material closely. Identify the pattern of light, shadow, and marks that define it. Replicate that pattern consistently.
- Pro Tip: Practice each texture separately on scrap paper before applying it to a full drawing.
15. Proportional Measuring
Proportional measuring uses visual comparison to check the accuracy of a drawing. It prevents shapes and figures from looking stretched or misaligned.
- Materials Needed: HB pencil, sketchbook, reference subject
- How to Do: Hold the pencil at arm’s length. Use the tip and thumb to measure one part of the subject. Compare that measurement to other parts and transfer the ratio to the drawing.
- Pro Tip: Check measurements often throughout the drawing process, not just at the start.
16. Light and Shadow Mapping
Light and shadow mapping plan the full tonal structure of a drawing before shading begins. It identifies highlights, midtones, core shadows, reflected light, and cast shadows as separate zones.
- Materials Needed: HB pencil, sketchbook, single light source
- How to Do: Sketch the subject lightly. Then map out each tonal zone using light labels or blocked-in tones before refining.
- Pro Tip: Use a single, consistent light source when practicing. Multiple light sources significantly complicate the shadow logic.
17. Cross-Contour Lines
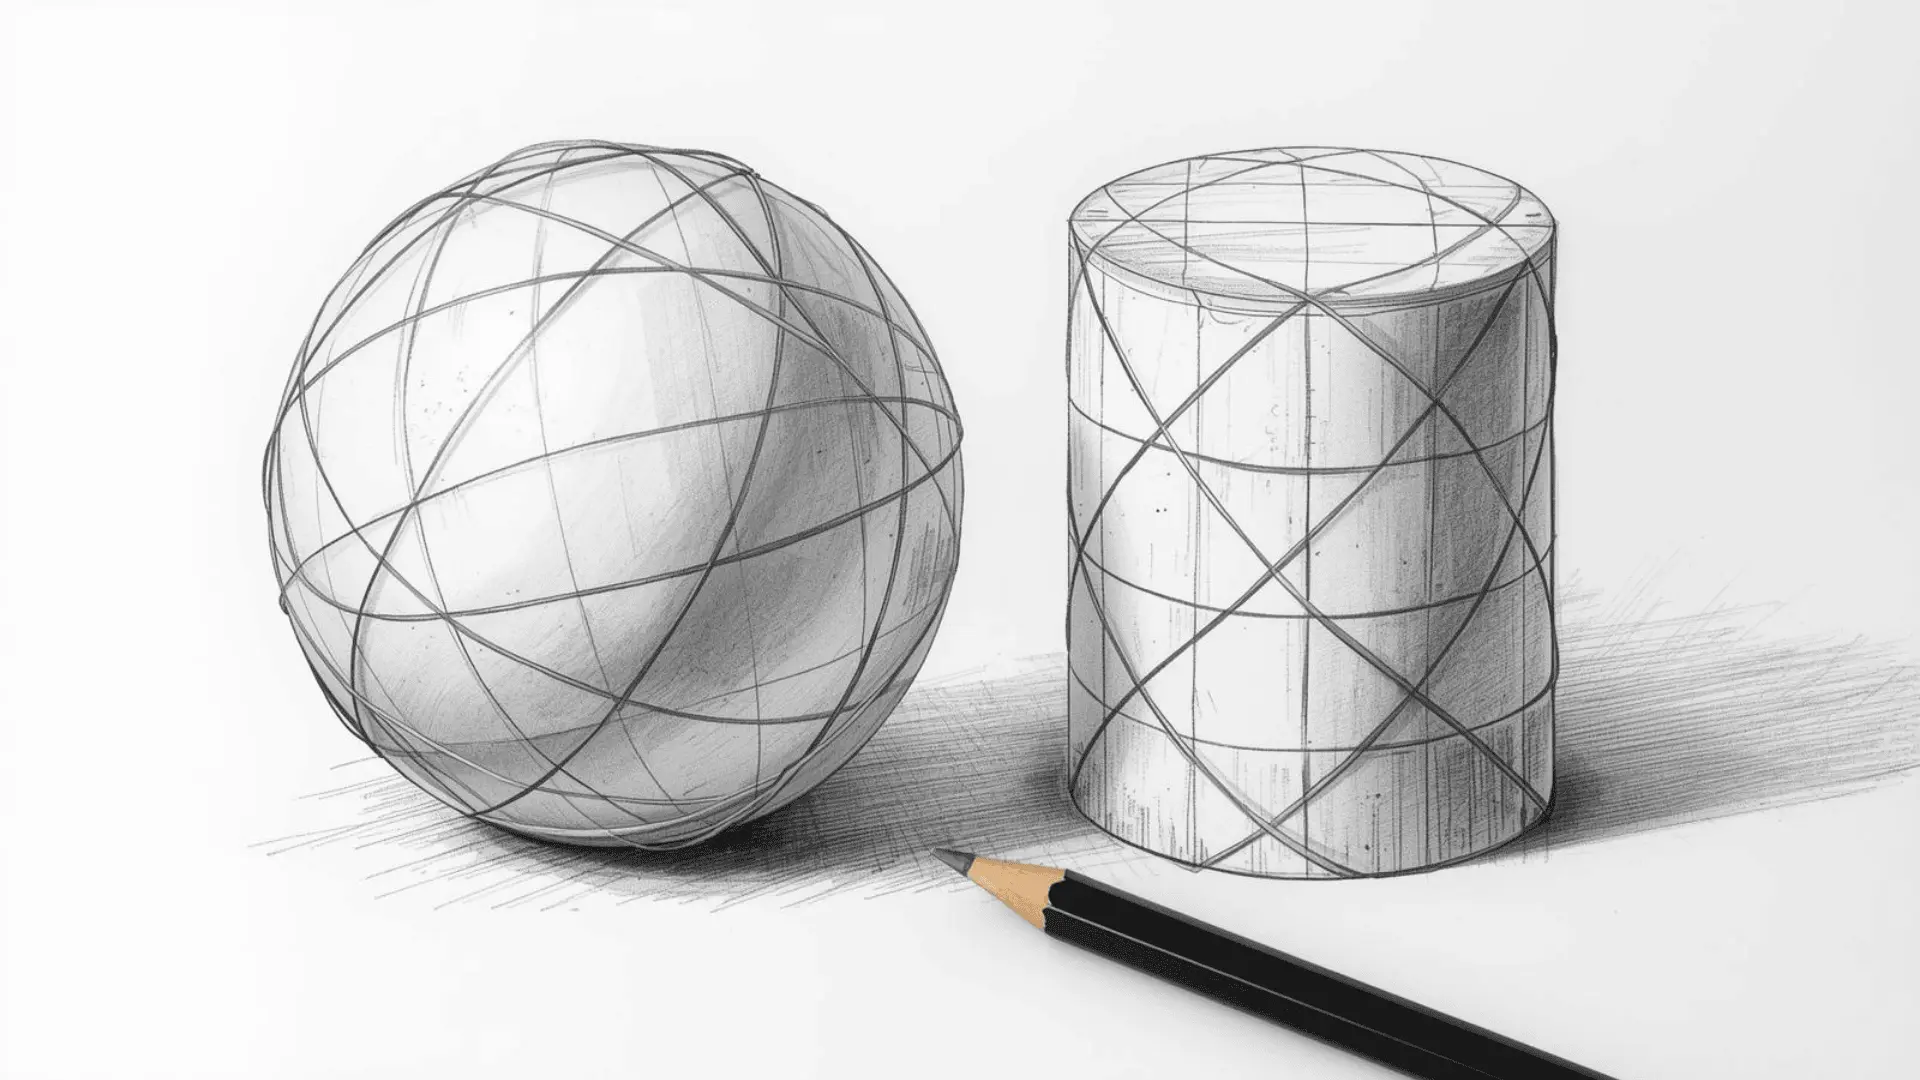
Cross-contour lines follow the surface of a three-dimensional form rather than running straight across it. They show the volume and curvature of an object in a way that flat lines cannot.
- Materials Needed: HB or 2B pencil, sketchbook
- How to Do: Draw lines that wrap around the object following its curves. Apply them across cylinders, spheres, or figures to show form.
- Pro Tip: Think of cross-contour lines like the lines on a globe. They bend based on the shape beneath them.
18. Layering

Layering builds a drawing gradually using light strokes before refining detail. It keeps the drawing flexible and reduces the risk of overworking any one area too early.
- Materials Needed: HB, 2B pencils, kneaded eraser
- How to Do: Start with the lightest possible strokes to block in shapes and values. Add detail and pressure in stages, working from general to specific.
- Pro Tip: Never press hard in the early stages. Light layers are easy to erase and adjust. Heavy early marks are not.
Intermediate drawing techniques help you add depth, structure, and realism to your artwork. By mastering perspective, proportion, and light logic, your drawings will begin to look more polished and professional.
Advanced Drawing Techniques
These drawing techniques require a solid grasp of the fundamentals. They focus on visual impact, realism, and expressive control at a higher level of skill.
19. Hyperrealism
Hyperrealism pushes drawing to a level of detail that closely resembles a photograph. It demands patience, sharp observation, and full control over value and texture.
- Materials Needed: HB through 8B pencils, smooth Bristol paper, blending stump, kneaded eraser
- How to Do: Work from a high-resolution reference. Build the drawing slowly in layers, matching every tonal shift and surface detail as precisely as possible.
- Pro Tip: Focus on one small section at a time. Trying to work on the entire drawing at once results in inconsistent detail.
20. Atmospheric Perspective
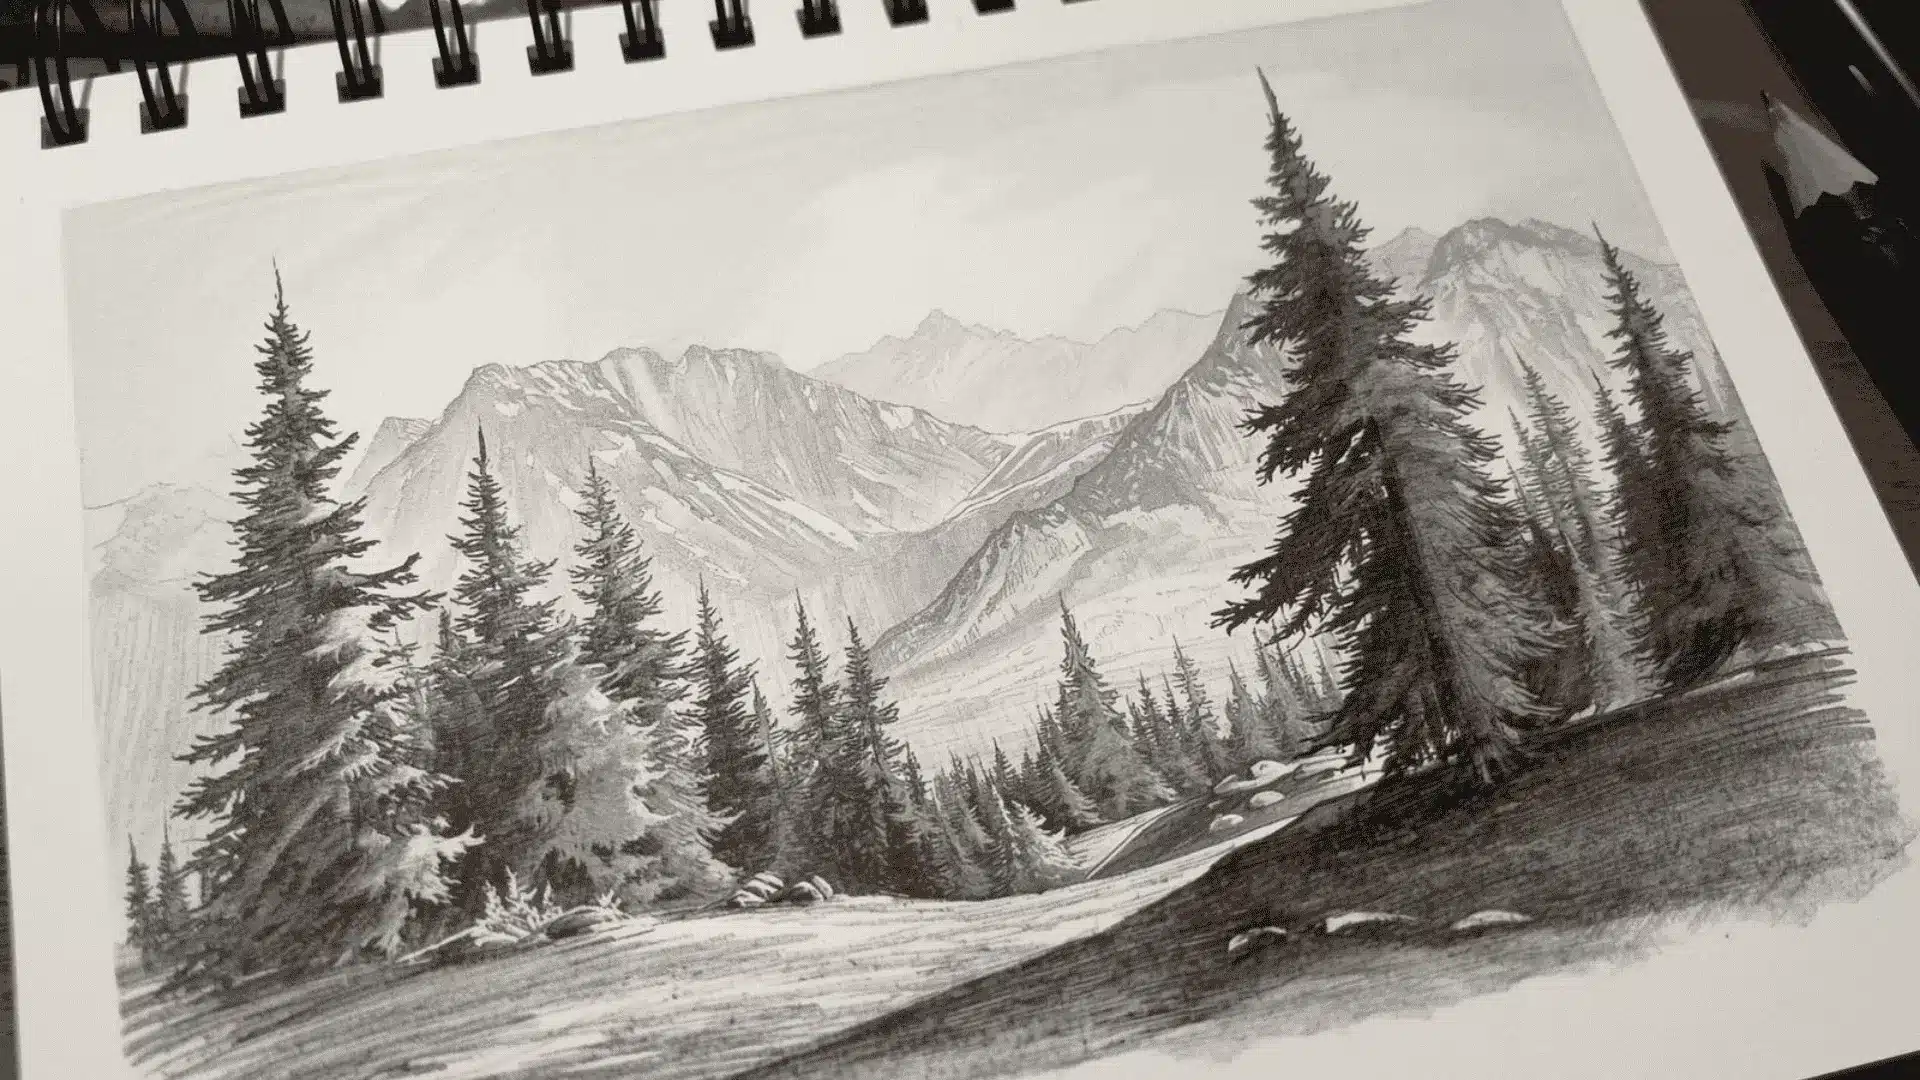
Atmospheric perspective creates depth in landscapes by reducing contrast and detail in distant areas. Objects in the background appear lighter and less defined than those in the foreground.
- Materials Needed: HB, 2B, 4B pencils, blending stump
- How to Do: Draw foreground elements with strong contrast and sharp edges. Lighten the value and soften the edges of everything further back in the scene.
- Pro Tip: The horizon should have the least contrast and the softest edges in the entire drawing.
21. Dynamic Composition
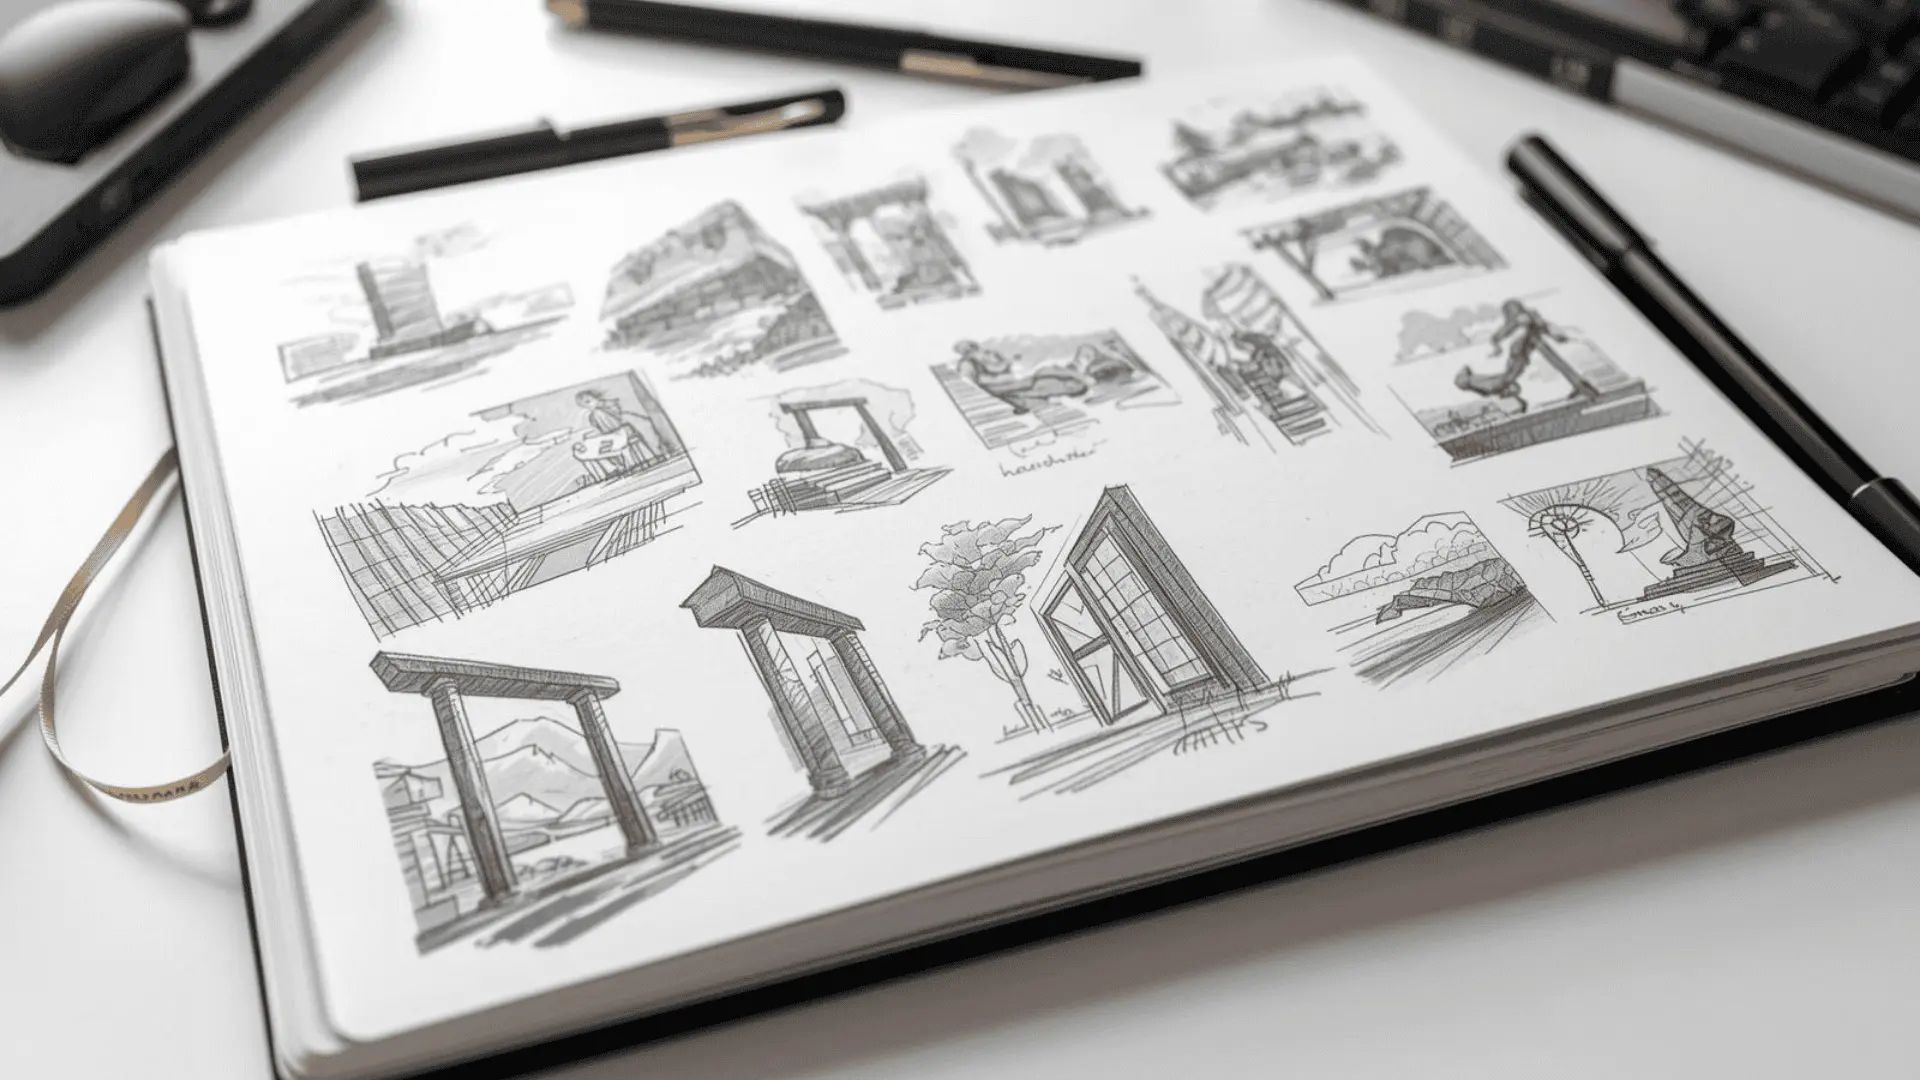
Dynamic composition arranges the elements of a drawing to guide the viewer’s eye and create visual movement. It turns a collection of objects into a deliberate, engaging image.
- Materials Needed: HB pencil, sketchbook, ruler (optional)
- How to Do: Plan the placement of elements using compositional guides like the rule of thirds or leading lines. Thumbnail several options before committing to one.
- Pro Tip: Avoid placing the main subject in the exact center of the page. Off-center placement creates more visual tension and interest.
22. Advanced Figure Construction
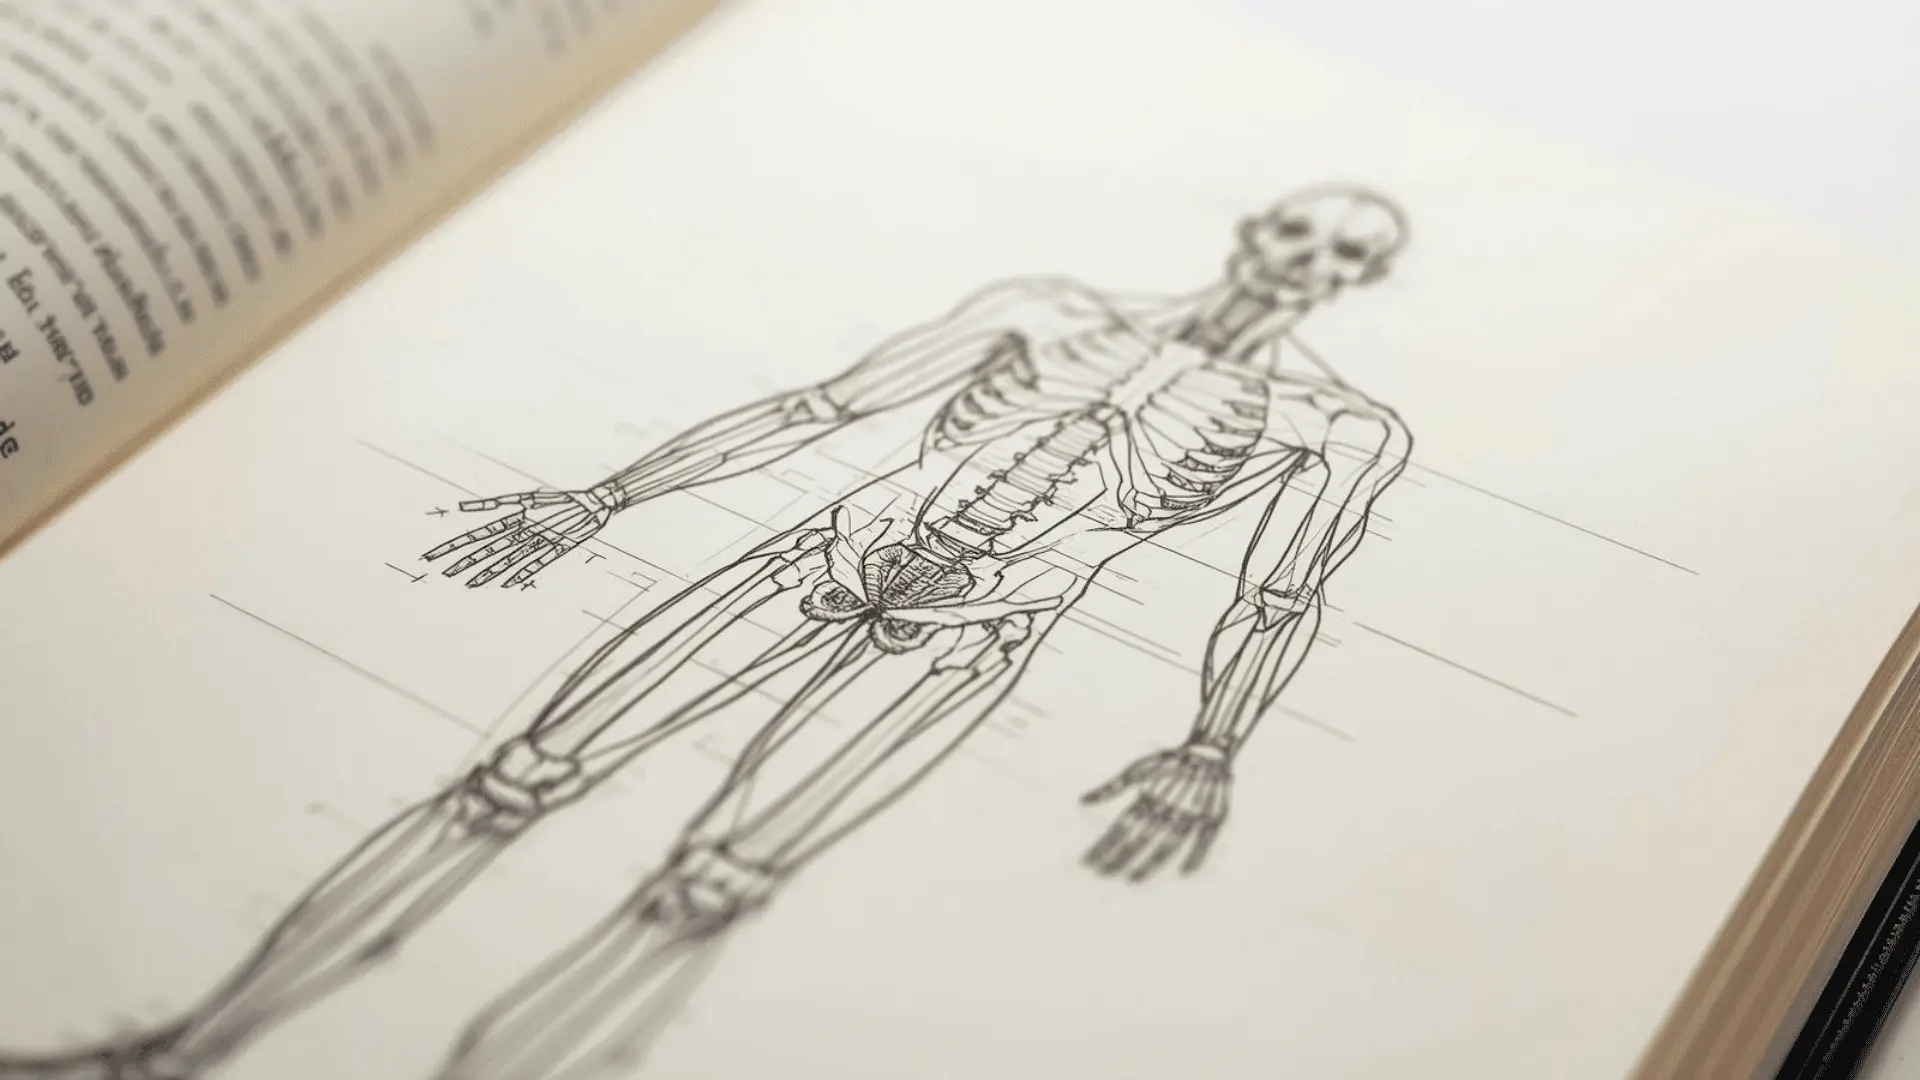
Advanced figure construction draws on knowledge of anatomy and skeletal structure to create accurate human figures. It goes beyond gesture to include muscle placement, joint logic, and weight distribution.
- Materials Needed: 2B pencils, sketchbook, anatomy reference
- How to Do: Start with a gesture line for the spine. Add simplified skeletal landmarks, then block in muscle groups. Refine the figure on top of this structure.
- Pro Tip: Study anatomy separately from drawing practice. Understanding the body on paper makes it easier to translate onto the page.
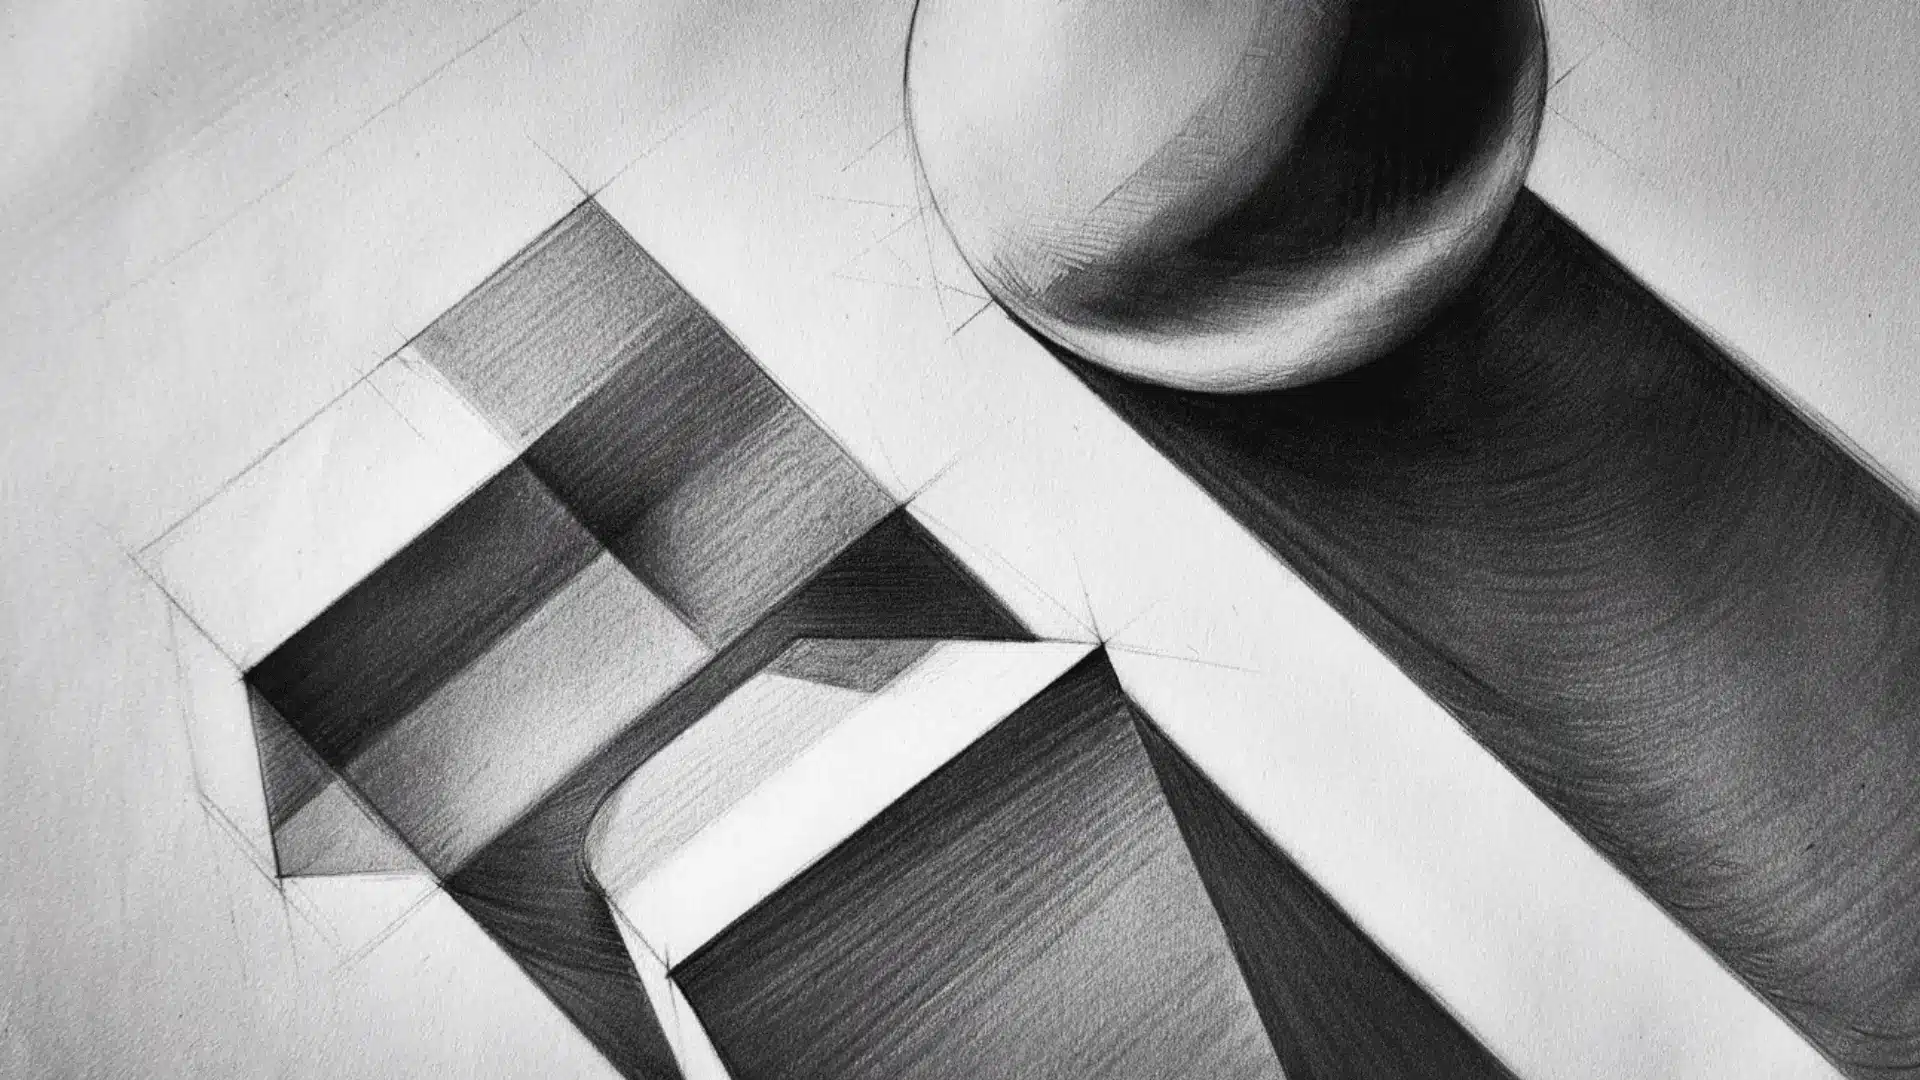
23. Chiaroscuro
Chiaroscuro uses strong contrast between light and dark to create a powerful visual effect. It is a classical technique that gives drawings a three-dimensional presence.
- Materials Needed: 4B or 6B pencil, charcoal, blending stump, white paper
- How to Do: Keep the light areas almost untouched. Push the shadow areas very dark. Reduce the midtone range to intensify the contrast between the two extremes.
- Pro Tip: Work on toned paper to make both the highlights and deep shadows easier to control.
24. Subtractive Drawing
Subtractive drawing creates highlights by removing medium from the surface rather than adding light tones. It works particularly well with charcoal or soft graphite.
- Materials Needed: Charcoal or 6B pencil, kneaded eraser, blending stump, toned or white paper
- How to Do: Cover the paper with an even layer of charcoal or graphite. Use a kneaded eraser to lift out the light areas and highlights.
- Pro Tip: Shape the kneaded eraser into a fine point to pull out precise, small highlights with more control.
25. Mixed Media Drawing
Mixed media drawing combines two or more materials in one piece, such as graphite with ink, charcoal with pastel, or traditional with digital tools. It expands the range of available textures and effects.
- Materials Needed: Varies by combination. Common pairings: graphite and fine-tip pen, charcoal and white pastel, ink and watercolor pencil.
- How to Do: Plan which materials will handle which parts of the drawing. Layer them in a logical order, usually from lightest to darkest or driest to wettest.
- Pro Tip: Test every material combination on scrap paper first. Some materials react poorly when layered on top of each other.
26. Expressive Line Variation
Expressive line variation uses intentional changes in line weight, energy, and continuity to create emotional impact. Thick, thin, broken, and fluid lines each communicate something different.
- Materials Needed: HB and 4B pencils, fine-tip and brush pen, sketchbook
- How to Do: Draw the same subject multiple times using different line qualities. Compare how each version feels and what it communicates.
- Pro Tip: Let the subject guide the line quality. A leaf calls for thin, light lines. A boulder calls for thick, grounded ones.
27. Experimental Mark-Making
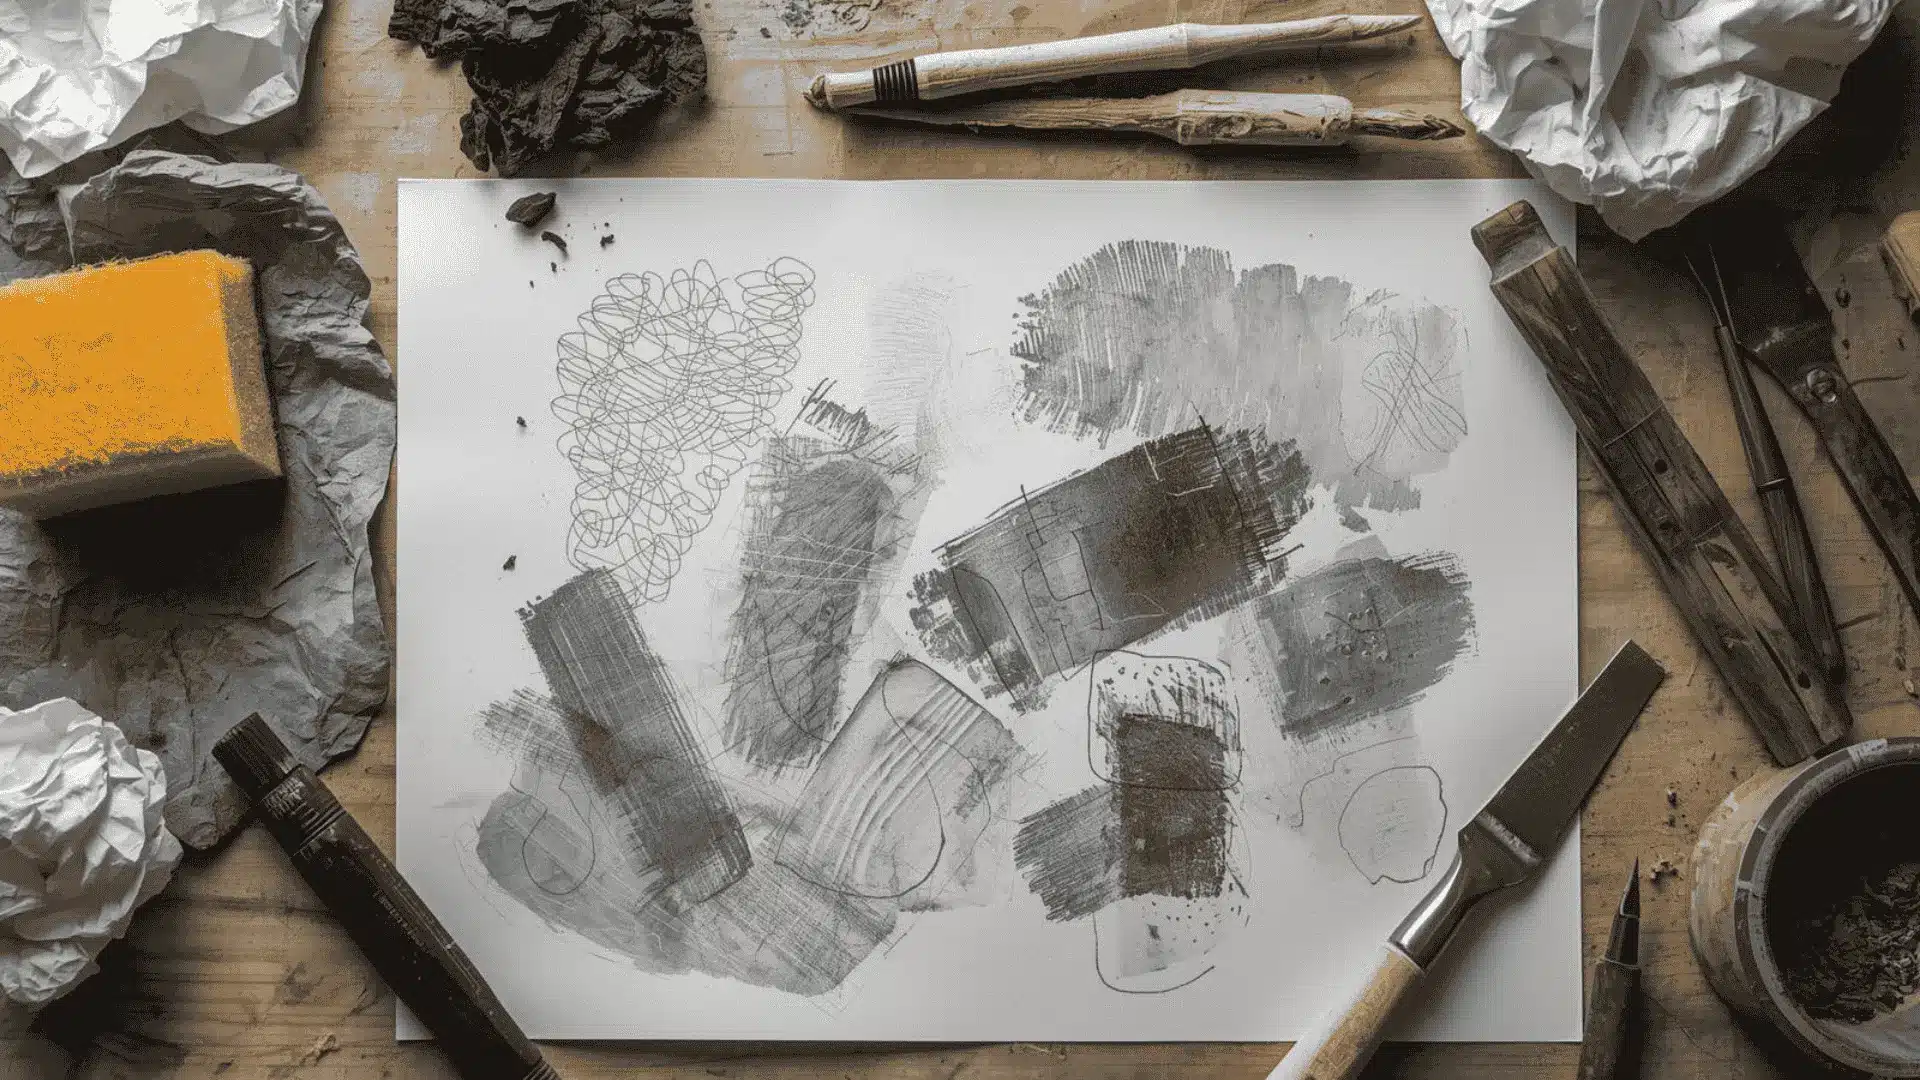
Experimental mark-making moves away from traditional drawing tools and methods to try unconventional textures and effects. It encourages creative problem-solving and loosens rigid drawing habits.
- Materials Needed: Any mark-making tool: sticks, sponges, palette knives, crumpled paper, or other unconventional materials
- How to Do: Try different tools and surfaces without a fixed goal. Observe what each mark produces and consider how it could be used intentionally in a drawing.
- Pro Tip: Keep a mark-making reference sheet. Record every tool and the mark it creates for use in future drawings.
Advanced drawing techniques allow you to create powerful, refined artwork with depth, precision, and strong visual impact. By mastering complex lighting, anatomy, composition, and realism, you improve your drawings to a professional level.
What Is Value in Drawing
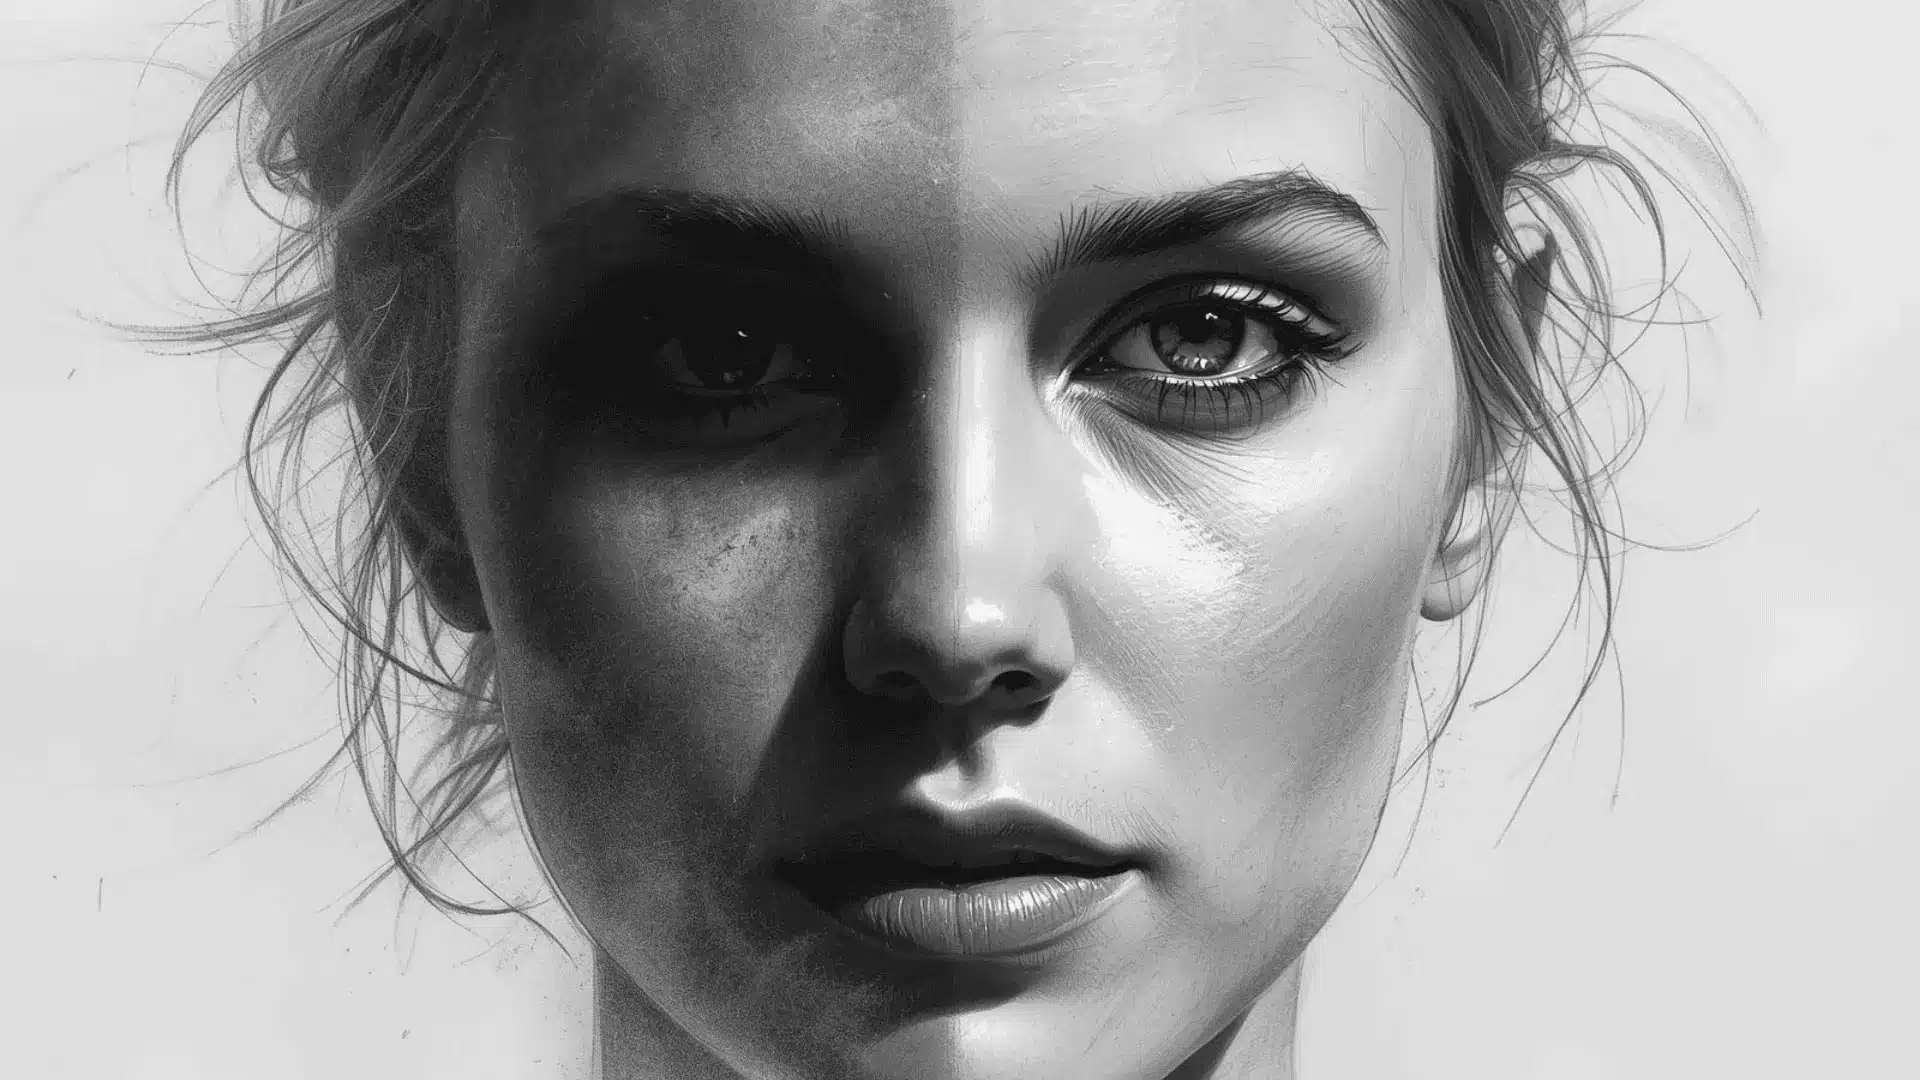
Value refers to how light or dark something is. Every surface in a drawing falls somewhere on a scale between pure white and pure black. Learning to see and control that range is one of the most important drawing techniques to develop.
Value does more work than detail. A drawing with strong light-to-dark contrast reads as realistic, even with minimal line work. Details without value often look flat.
To practice, create a five-step value scale on a scrap piece of paper. Start with the lightest tone on one end and build to the darkest on the other. I repeat this exercise regularly. It trains the eye to separate tones clearly before applying them to any drawing.
Drawing Styles to Learn After Mastering These Techniques
Once the core drawing techniques feel comfortable, the next step is finding a personal style. These drawing styles provide a clear direction for taking skills further.
| Drawing Style to Explore | What Makes It Different | Quick Detail |
|---|---|---|
| Realistic Still Life | Accurate everyday objects | True values, clean edges |
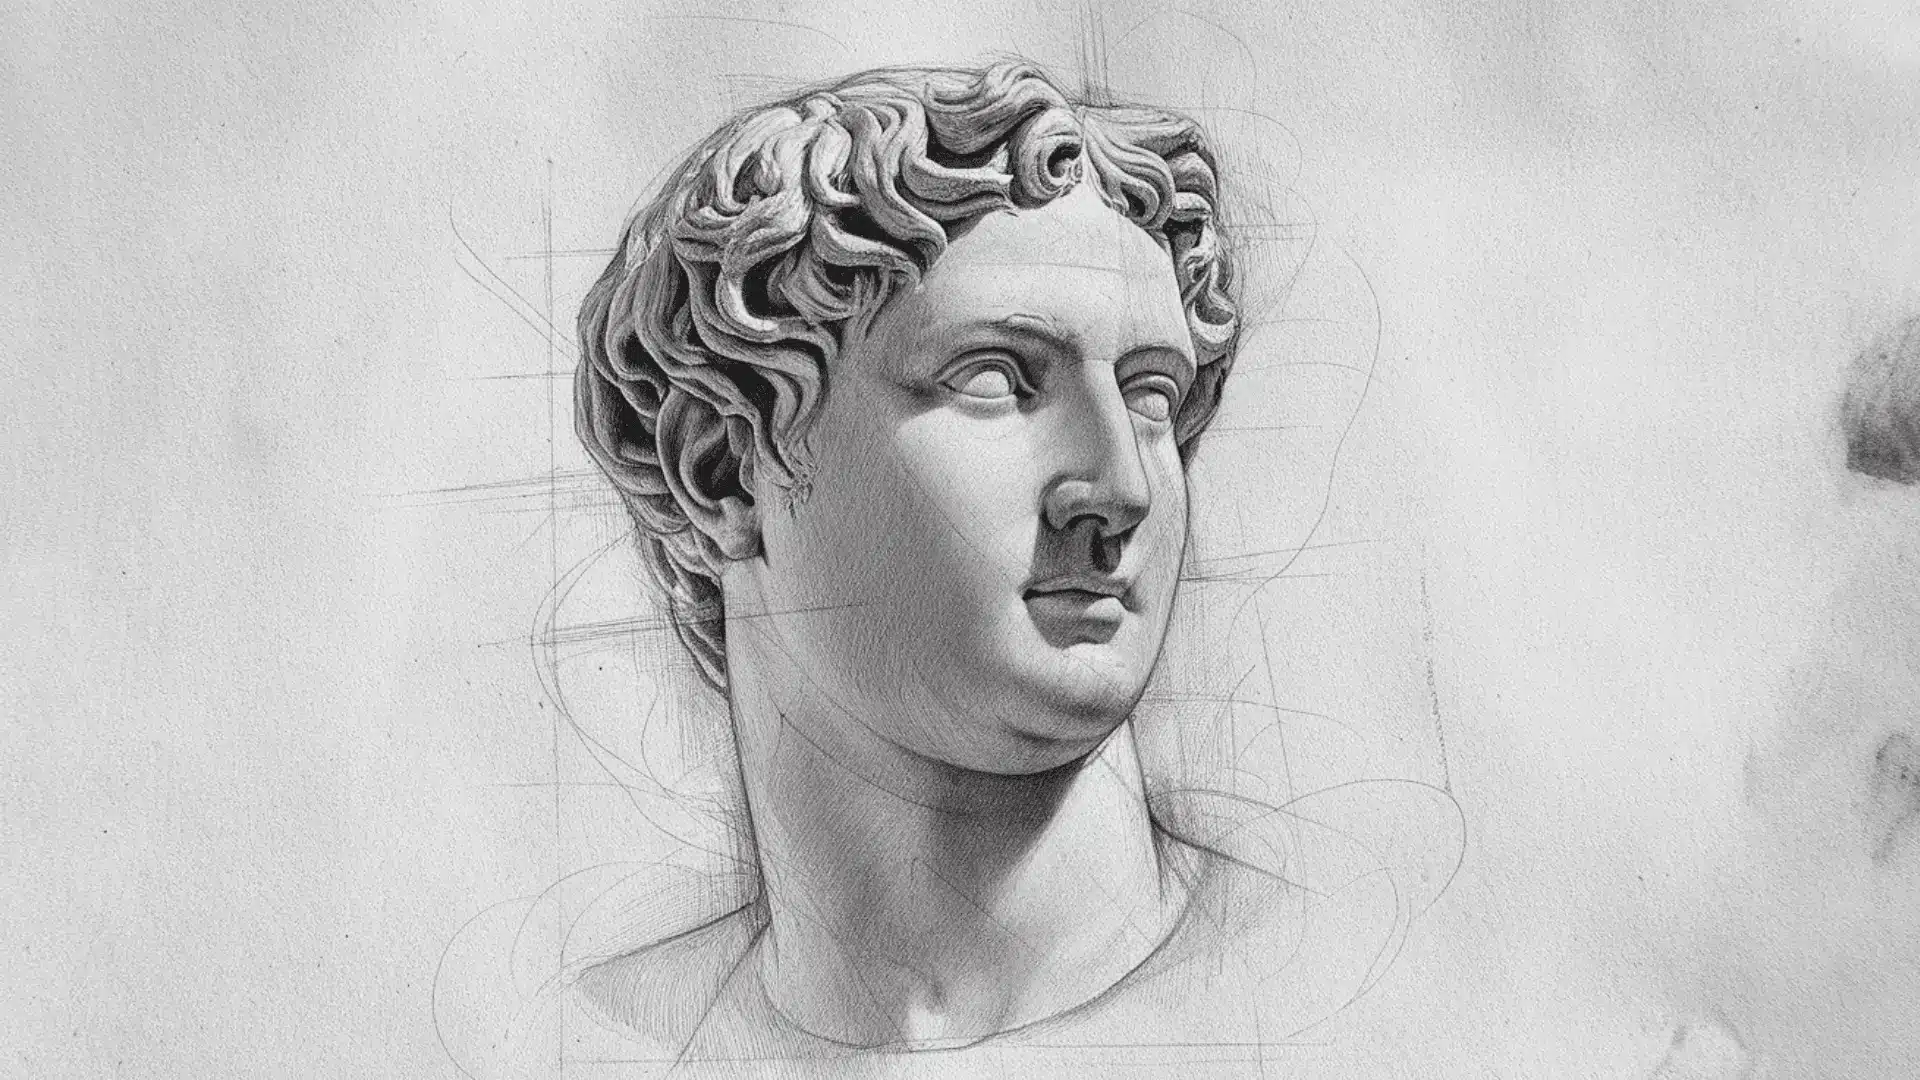
| Portrait Sketching | Likeness + facial structure | Planes, soft shading |
| Figure Sketching | Full-body poses + balance | Simple forms first |
| Urban Sketching | Real places, drawn fast | Loose lines, simplify |
| Botanical Illustration | Precise plant details | Fine edges, patterns |
| Landscape Drawing | Depth in scenery | Big shapes, depth cues |
| Minimal Line Art | Few lines, strong shapes | Less marks, more impact |
| Cartooning | Simplified, exaggerated | Bold shapes, fun |
| Comic / Manga / Anime | Stylized storytelling | Expressions, motion lines |
| Character Design | Create original characters | Strong silhouettes |
| Concept Art | Ideas for worlds/props | Fast iterations |
| Architectural Drawing | Buildings + interiors | Straight lines, accuracy |
| Children’s Book Illustration | Simple, readable scenes | Clear shapes, warm feel |
How to Practice Drawing Techniques Effectively
Practicing the right way matters as much as practicing often. These habits help build real skill and make every drawing session count toward steady, visible progress.
- Set a Consistent Schedule: Practicing at the same time each day builds a habit faster than long, irregular sessions once a week.
- Focus on One Technique at a Time: Trying to learn everything at once slows progress. I pick one drawing technique and stay with it until it feels natural.
- Start Every Session With a Warm-Up: Five minutes of line practice before starting any drawing technique prepares the hand and steadies control.
- Use Reference Materials: Drawing from real objects or reference images produces better results than drawing from memory, especially for beginners.
- Repeat the Same Exercise Multiple Times: Doing one exercise three to five times in a row builds muscle memory faster than switching between different techniques.
- Review and Compare Past Work: Looking back at older drawings shows what has improved and what still needs more focused attention.
Common Drawing Mistakes and How to Fix Them
Most drawing mistakes come down to a few repeated habits. Knowing what to look for makes it easier to correct issues early and keep improving with every practice session.
| Common Drawing Mistake | Simple Fix |
|---|---|
| Muddy shading (too much blending) | Blend lightly, keep some pencil texture, then re-darken shadows with pencil. |
| Outlines are too dark everywhere (no line weight control) | Use lighter lines overall, and add thicker lines only in shadow areas or closer edges. |
| Values not dark enough (weak contrast) | Push your darkest darks (use 4B or firmer layers) and keep highlights clean. |
| Random light source (shadows don’t match) | Pick one light direction first, then keep highlights and shadows consistent everywhere. |
| Over-detailing too early (no block-in) | Block in big shapes first, check proportions, then add details at the end. |
Free Resources to Learn Drawing Techniques
Good learning materials do not have to cost anything. These free resources cover a wide range of drawing techniques and work well for beginners starting from scratch.
- Free Drawing Tutorials on YouTube: Many channels offer structured, beginner-friendly video lessons on shading, figure drawing, and line techniques at no cost.
- Online Gesture Practice Tools: Free websites offer timed gesture drawing sessions using figure, animal, and object references to build speed and observation skills.
- Free Structured Drawing Courses Online: Some free courses teach foundational drawing techniques through step-by-step exercises focused on lines, form, and spatial reasoning.
- Art Reference and Tutorial Boards: Visual platforms like image-sharing sites are useful for finding step-by-step breakdowns and reference material across different drawing styles.
- Museum and Art Archive Websites: Many major art institutions offer free access to master artworks online, which helps in studying light, shadow, and composition up close.
- Drawing Communities and Forums: Online art communities post daily reference images and feedback threads that support consistent drawing practice for all skill levels.
The Bottom Line
Drawing improves with every session, not every year. The drawing techniques covered in this guide, from hatching and blending to contour drawing and value scales, all work together.
Each one builds a specific skill. Together, they give a clear picture of how to approach any subject with more confidence.
For drawing beginners, the biggest shift happens when practice becomes consistent. Short daily sessions beat long, irregular ones every time.
Start with one technique. Get comfortable with it. Then move to the next. The tools are simple. The steps are clear. The only thing left is to begin.
Which drawing technique are you going to try first? Drop it in the comments below and bookmark this page to come back to as your skills grow.