Every fall, I look forward to planting tulips because I know the reward is coming in spring. Learning how to plant tulip bulbs in pots completely changed the way I garden.
I no longer need large flower beds to enjoy bright, cheerful blooms. With just a few containers on my patio and balcony, I can create a colorful spring display that feels fresh and welcoming.
Over time, I have realized that knowing when to plant tulip bulbs and how to plant them correctly makes all the difference.
The right timing and simple techniques lead to stronger stems, deeper roots, and vibrant flowers. After years of trial and error, I have developed a reliable method that works beautifully each season.
Why Grow Tulips In Pots
Growing tulips in pots is a simple way to enjoy spring color, especially when space is limited.
Containers can be moved easily, so they can be placed where the light is best as the season changes.
They also give more control over soil and drainage, which helps prevent bulbs from sitting in a soggy mix. Pots make it easy to decorate patios, balconies, and entryways with fresh blooms, even without a garden bed.
Grouping a few tulip shades in one container creates a fuller look without needing a large area. Even one large pot can brighten a porch and feel intentional.
How To Choose Tulip Bulbs
Choosing the right tulip bulbs saves time and avoids disappointment. I use this checklist to get stronger, longer blooms.
| Checklist Item | What To Look For | Why It Helps |
|---|---|---|
| Bulb Feel | Firm and heavy | Soft bulbs often rot or fail |
| Bulb Condition | No mold, cuts, bruises, or deep cracks | Damage leads to weak growth |
| Variety Match | Short for wind, tall for shelter | Prevents bending and breakage |
| Bloom Timing | Early, mid, late mix | Extends flowering time |
When I start with healthy bulbs and smart variety choices, my pots stay fuller, bloom longer, and look better.
When To Plant Tulip Bulbs In Pots
Timing is the most important factor when planting tulip bulbs in pots. Fall planting supports strong spring blooms.
- Plant in fall, usually late September through November, once daytime temperatures cool and the soil is no longer warm.
- Tulips need about 10 to 14 weeks of cold exposure (vernalization) to form proper spring flowers.
- Plant before the ground freezes solid so roots have time to establish.
- In mild climates, planting can extend into December if bulbs still receive enough cold.
- If winters are too warm, refrigerate bulbs for several weeks before planting to mimic winter conditions.
The key is simple: tulips must experience steady cold before spring arrives.
Where To Plant Tulips
Even in pots, placement makes a big difference. Put containers wherever there was space, but a few small changes greatly improved my blooms.
Aim for a bright spot that gets strong spring sun, like a patio edge, balcony corner, or front step that warms up by mid-morning.
If wind is an issue, tuck pots near a wall, railing, or sheltered corner so tall stems do not get knocked around.
Also, avoid areas where rainwater collects, because consistently wet conditions increase the risk of bulb rot, even with drainage holes.
Finally, place pots where they will actually enjoy them every day, near entryways, along steps, or beside outdoor seating.
Step-By-Step Guide To Planting Tulip Bulbs In Pots

Planting tulip bulbs in pots is simple when I follow a clear routine. These five steps help me grow strong roots and healthy spring blooms every year.
Step 1: Prepare The Pot
I begin by choosing a container with proper drainage holes. This prevents water from collecting at the bottom and causing bulb rot.
I fill the pot about halfway with well-draining potting mix and gently press it down without compacting it. Keeping the soil loose allows roots to grow easily and helps create a stable base for the bulbs.
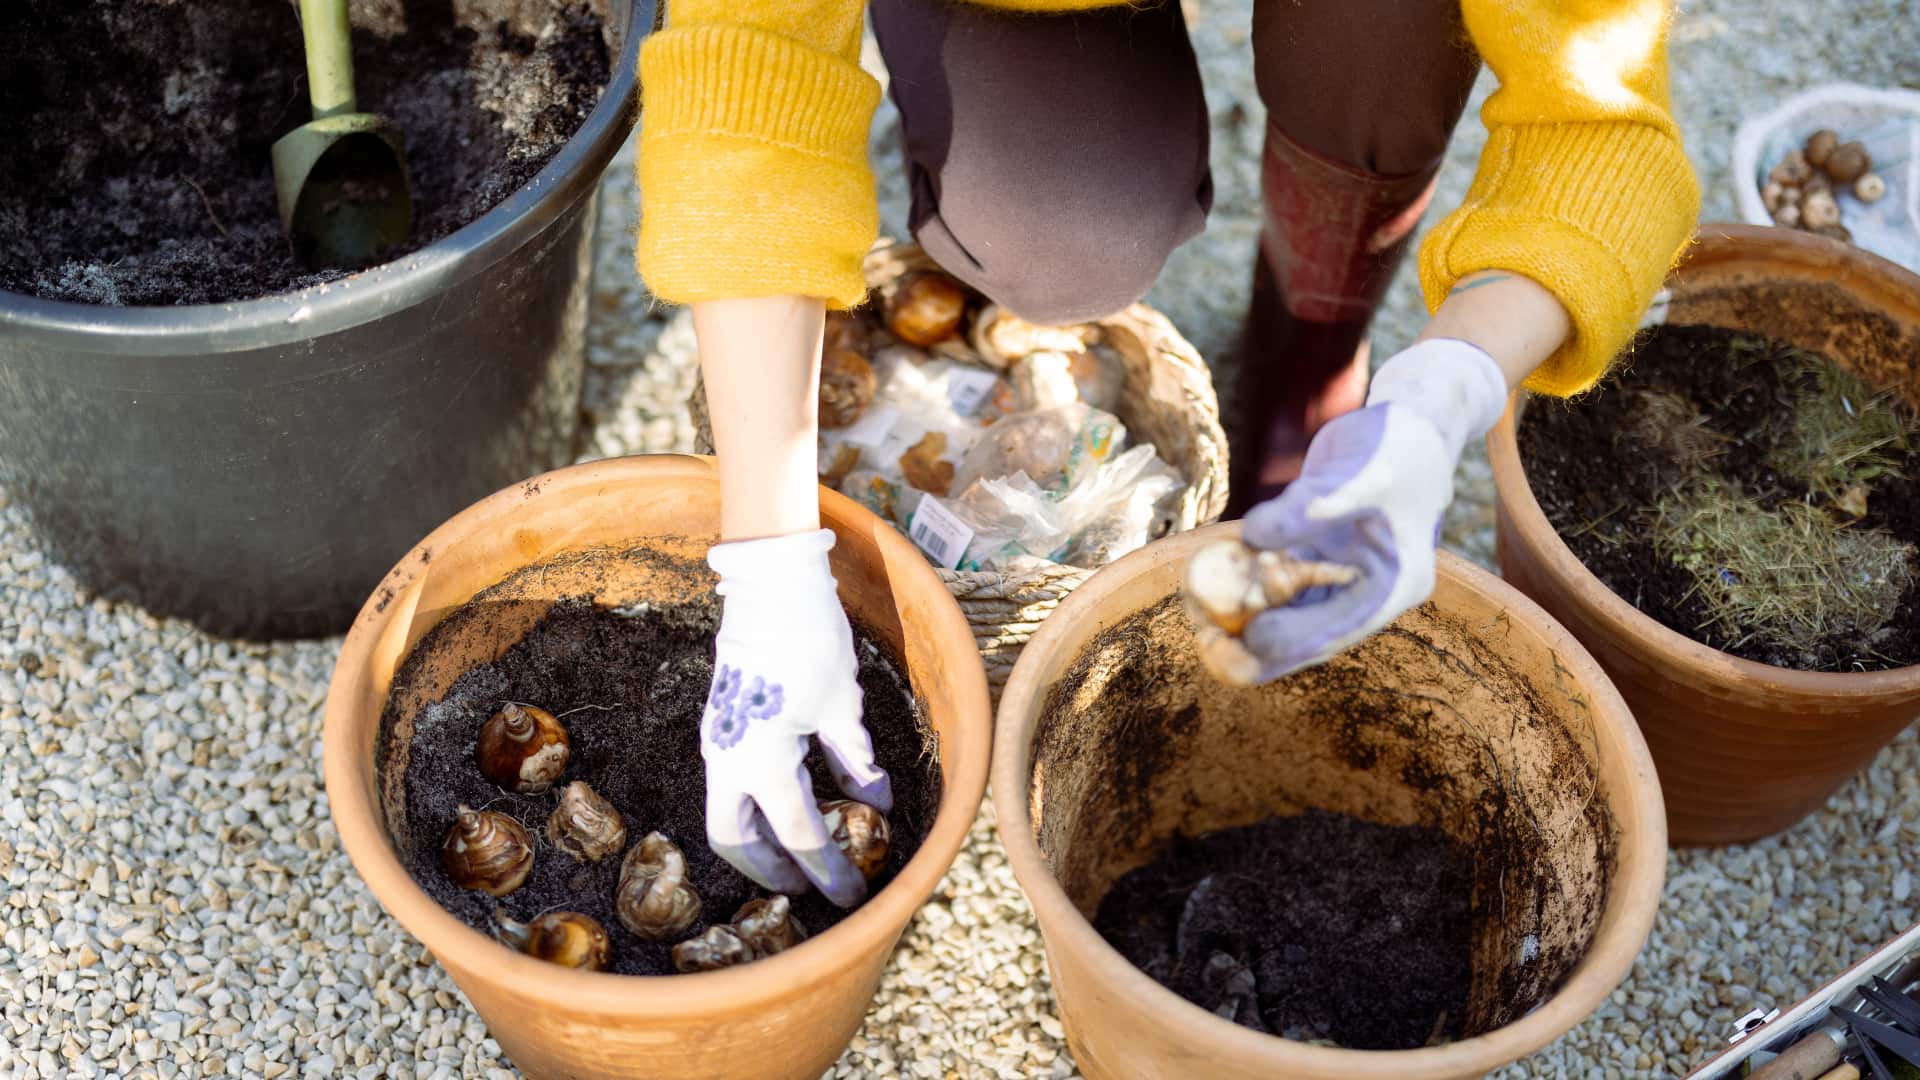
Step 2: Arrange The Tulip Bulbs
Next, I place the tulip bulbs pointy side up and flat side down on top of the soil layer. I position them close together for a fuller spring display, but make sure they don’t touch.
Grouping bulbs tightly creates a strong visual impact while still allowing enough room for roots to develop underneath.
Step 3: Cover And Plant At Proper Depth
I add more potting mix over the bulbs until they are planted about 6 to 8 inches deep, which is roughly three times the bulb’s height.
I leave about an inch of space at the top of the pot for watering. Proper depth protects bulbs from temperature swings and helps keep stems upright once they grow.
Step 4: Water After Planting
Once planted, I water the container lightly but thoroughly to settle the soil around the bulbs. This first watering removes air pockets and supports early root growth before winter sets in.
After this step, I avoid frequent watering since tulips do not require much moisture during their dormant period.
Step 5: Provide Winter Protection
During winter, I keep the soil slightly moist but never soggy. If temperatures drop very low, I move the pots closer to the house or wrap them to insulate them.
Tulips need cold exposure to bloom, but repeated freezing and thawing can damage roots, so steady protection during harsh weather is important.
For a more detailed, step-by-step tutorial on how to plant tulips, check out this helpful video by Gardening With Alan Titchmarsh.
Choosing The Right Pot And Soil
Selecting the right pot and soil is one of the most important steps when planting tulip bulbs in containers.
| Element | What I Use | Why It Matters |
|---|---|---|
| Pot Depth | A container at least 8 to 12 inches deep | Tulip roots grow downward and need enough space to develop properly. |
| Pot Width | A wide container, when possible | Allows me to plant several bulbs close together for a fuller bloom display. |
| Drainage | Pots with proper drainage holes | Prevents standing water, which can cause bulbs to rot quickly. |
| Potting Mix | High-quality, well-draining potting soil | Keeps soil loose and prevents water from sitting around the bulbs. |
| Added Grit | Coarse sand or grit mixed into soil | Improves drainage, especially during wet or cold winter conditions. |
Using the right pot and soil combination helps my tulips grow strong roots and healthy spring blooms.
Watering And Feeding Tulips In Pots
Tulips do best with steady, light moisture, not constant wet soil. Right after planting, water once until it drains out the bottom to settle the mix and support root growth.
In winter, no watering is needed if rainfall reaches the pot. If the container stays sheltered and the soil is dry a few inches down, give a small drink every couple of weeks.
When shoots appear, water a bit more regularly, keeping the soil lightly moist.
During bloom, avoid soaking the pot; cut back after the flowers fade, tapering off once the leaves yellow.
For feeding, keep it simple. Apply a light dose of bulb fertilizer or a balanced slow-release fertilizer in early spring when shoots are a few inches tall, then water gently.
How Many Tulip Bulbs Per Pot?
The number of bulbs I plant depends on pot size, depth, and the look I want to achieve.
- In a 12-inch wide pot, I usually plant 5 to 9 tulip bulbs comfortably.
- An 8-inch pot typically holds around 3 to 5 bulbs without overcrowding.
- Larger, deeper containers can support 10 or more bulbs for a fuller display.
- I place bulbs close together, but make sure they don’t touch.
- Tight spacing creates a strong visual impact while still allowing healthy root growth below.
Proper spacing ensures bold blooms in spring while giving each bulb enough room to grow well.
After Blooming And Next Year’s Care
Proper care after flowering helps maintain bulb health and can improve the chances of future blooms. Once petals fade, remove spent flowers so the plant does not waste energy on seed production.
Leave the leaves in place until they turn yellow and dry naturally, since the foliage helps the bulb store nutrients for next season. Avoid cutting green leaves too early because they support recovery.
Many container-grown tulips do not reliably rebloom, so fresh bulbs are often planted each fall. If saving bulbs, wait until foliage fully dies back, then lift and store them in a cool, dry place until planting time again.
How To Protect Tulips From Deer And Pests
Tulips in pots face fewer pests than beds, but deer, digging animals, and insects can still cause problems.
- Squirrels and Rodents: Cover pots with mesh or wire right after planting until the soil settles and freezes.
- Deer Browsing: Place pots closer to the house, behind railings, or in a protected patio spot when possible.
- Deer Spray Backup: Apply deer deterrent spray when shoots appear in early spring and reapply after rain.
- Slugs and Snails: Check at dusk, hand-remove them, and keep the soil surface free of wet debris.
- Aphids in Spring: Rinse aphids off with a gentle spray early in the day and avoid harsh treatments.
With simple barriers, smart placement, and quick checks, my potted tulips stay intact and bloom without pest stress.
Common Mistakes To Avoid
Over time, I have learned that avoiding a few simple mistakes makes a big difference in how well my tulips grow and bloom.
| Mistake | What Happens | How I Avoid It |
|---|---|---|
| Planting Too Early Or In Warm Soil | Bulbs may sprout too soon before winter, which can damage growth. | I wait until soil temperatures cool consistently before planting. |
| Overwatering And Poor Drainage | Soggy soil causes bulbs to rot during dormancy. | I use pots with drainage holes and well-draining potting mix. |
| Crowding Bulbs Or Using Small Pots | Limited root space leads to weak stems and smaller blooms. | I choose deep, wide containers and space bulbs properly. |
By avoiding these common problems, my tulip bulbs grow stronger and bloom more reliably each spring.
Conclusion
Learning how to plant tulip bulbs in pots has completely changed the way I prepare for spring. Instead of waiting for warmer weather, I take simple steps in fall that guarantee bright blooms months later.
Focus on proper timing, good drainage, and healthy bulbs; my containers reward me every year. If you have been thinking about trying it, now is the time.
Gather your supplies, choose your favorite varieties, and put into practice what you’ve learned about how to plant tulip bulbs in pots. Start this fall, and enjoy the colorful results next spring.
Frequently Asked Questions
Do Tulips In Pots Need Fertilizer?
Tulips do not need heavy feeding at planting time. I sometimes add a small amount of bulb fertilizer in early spring, when shoots appear, to promote stronger blooms and healthy growth.
Can Tulip Pots Stay Outside All Winter?
Yes, I leave mine outside so they receive natural cold exposure. In very harsh climates, I provide insulation or move them near a protected wall.
Why Are My Potted Tulips Not Blooming?
The most common reason is not enough cold exposure. Poor drainage, overcrowding, or weak bulbs can also reduce spring flowering.
Can I Mix Tulips With Other Flowers In The Same Pot?
Yes, I often combine tulips with early-spring bulbs like crocuses or low-growing flowers. Just make sure all plants have similar sunlight and drainage needs.