
No products in the cart.
DIY / Upcycle
How To Change An Old Cork Board Into A Masterpiece
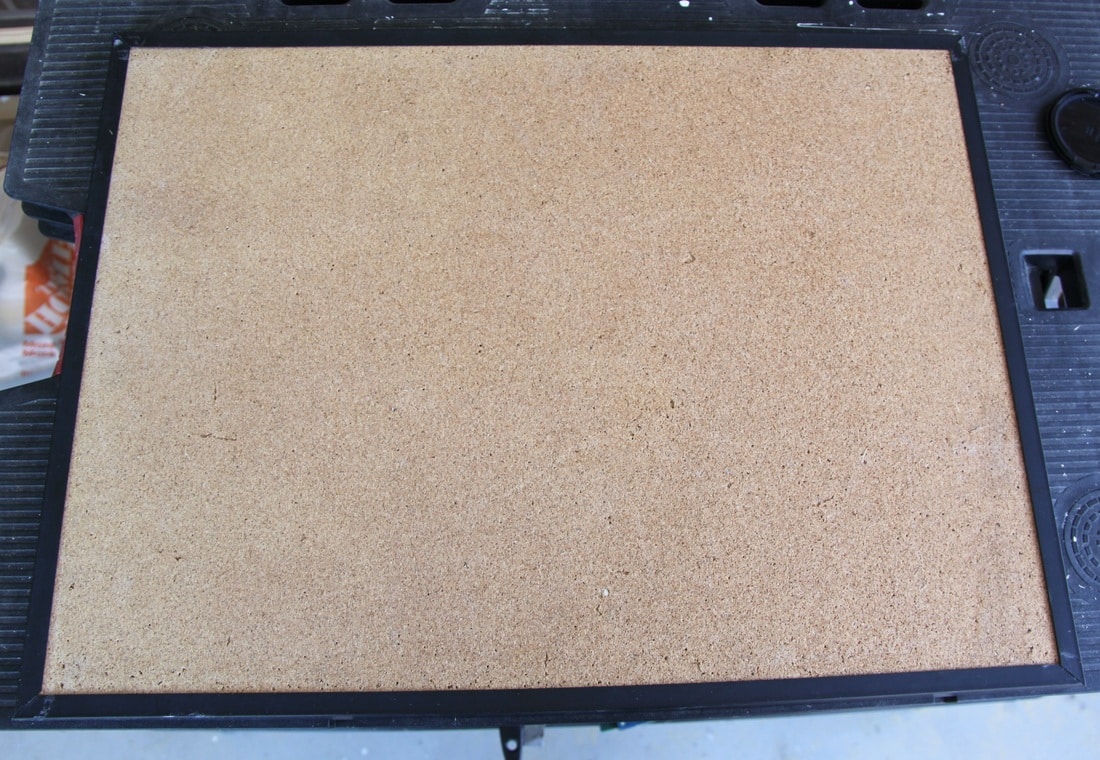
At the bottom of my daughter’s closet, I found an old corkboard.
The ugliness of it amazed me – I’m not sure, how it found its way into my home. But even more surprising, was that it survived many of my de-cluttering fits (I am a big believer in “throw/give away what I don’t use or like anymore”). I was working on my command center project at the time, so I was happy I found it.
Putting aside how ugly it was, I knew that with my creativity and the handiness of my husband, we could transform it into a nice, decorative piece.
Putting aside how ugly it was, I knew that with my creativity and the handiness of my husband, we could transform it into a nice, decorative piece.
Still learning the art of blogging
I have to admit, that I’m still trying to learn the art of blogging – and many times during the process of a project, I realize that I forgot to take photos while doing it. I apologize for that, as this is what it happened in this case. 🙁
Transformation step by step:
We started this transformation by removing the old frame and replacing it with a new one. This particular frame was custom-made by my husband. If he hadn’t been up to it, I probably would have ended up finding something in a thrift store and refreshing it with a coat of white paint.
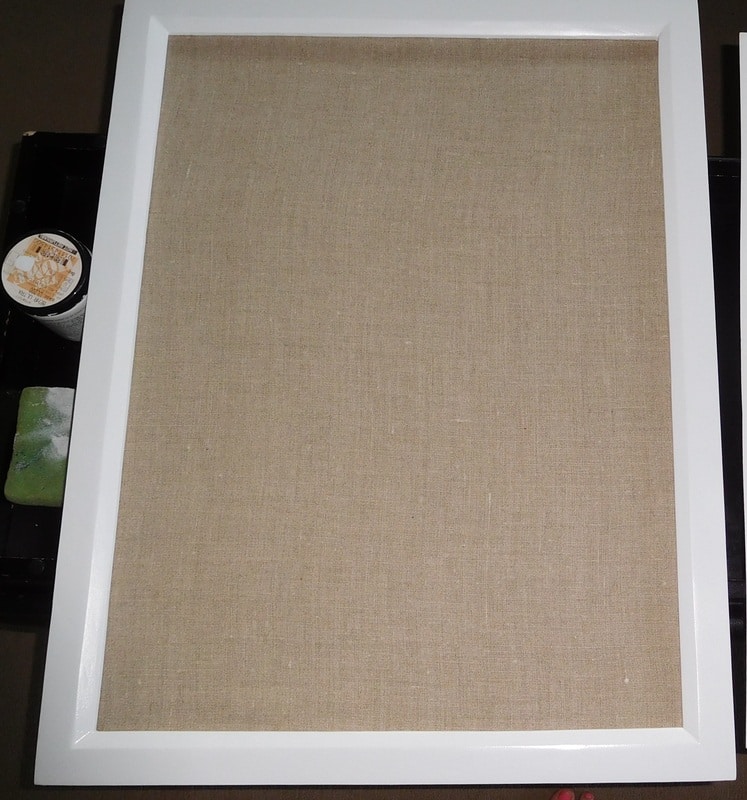
Before we placed a new frame on the corkboard, we covered its old pin holes by dressing it up in fabric. By dressing it up I mean – wrapping it very snugly in a cloth. To secure the fabric in place, we used a hot glue gun. Remembering that hot glue easily goes through the fabric, I placed glue on the back of the board.
Now that we could put a new frame on it the pin board already looked much better.
Now that we could put a new frame on it the pin board already looked much better.
As an extra touch, I have decided to stencil a world map on it. This procedure started with the creation of a map stencil.
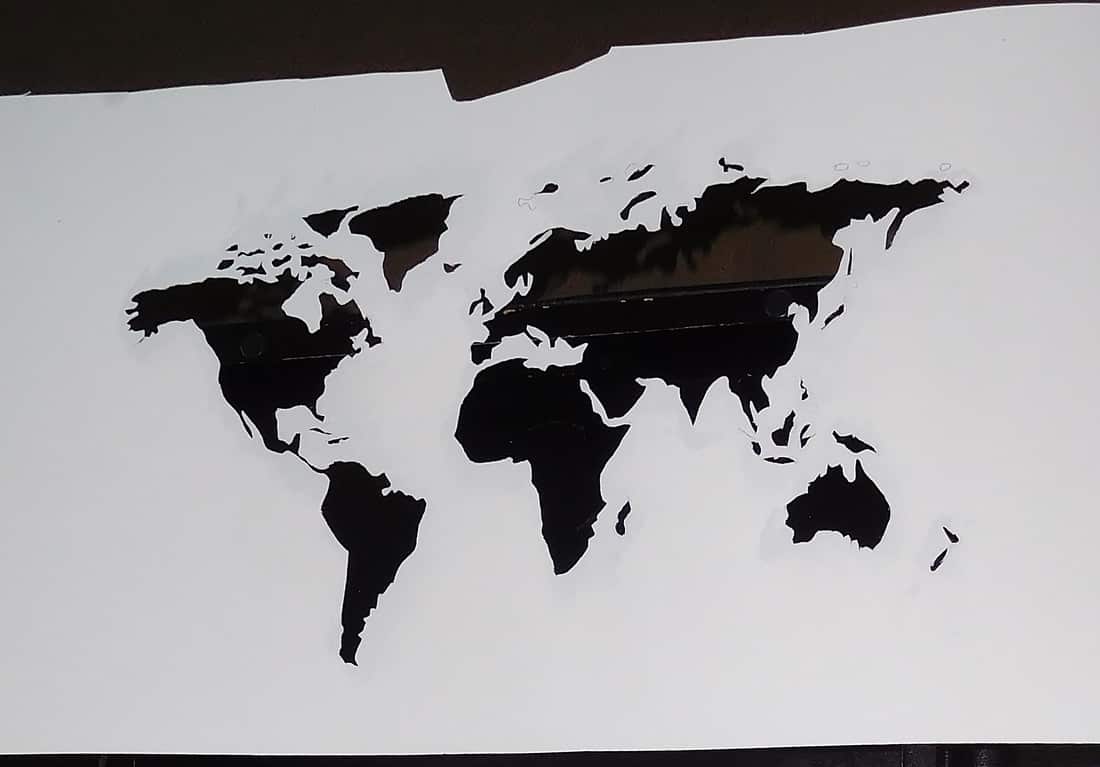
After placing the stencil securely on the board, it was time to apply paint. I opted to reuse a wall paint that we had at home, but you could use any paint – as long as it’s not too watery.
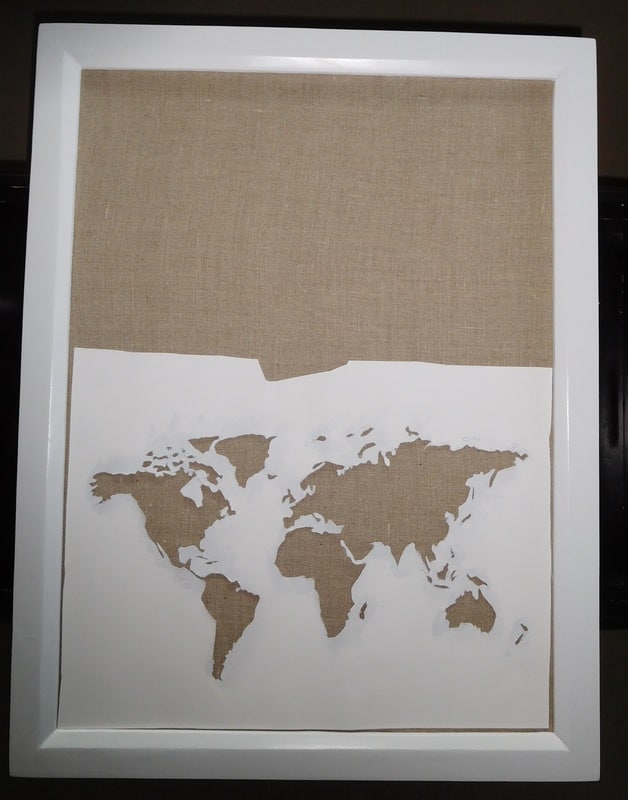
I applied the paint by dabbing it with a kitchen sponge. As you can see there is NO need for fancy tools.
I applied the paint by dabbing it with a kitchen sponge. As you can see there is NO need for fancy tools.
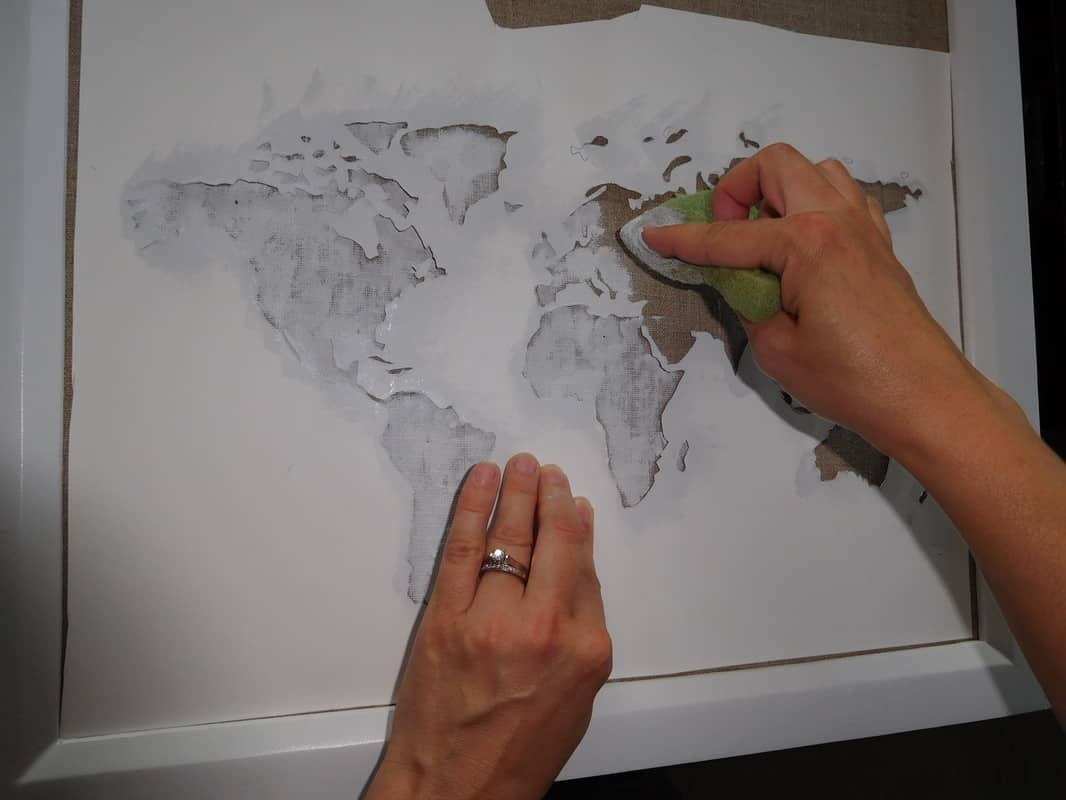
When I was happy with the color, I removed the stencil.
I let it dry overnight after that I was able to move on to the next step which was attaching the string.
I screwed in two eye hooks on each side of the board and simply tied the string to it.
I screwed in two eye hooks on each side of the board and simply tied the string to it.
My pin board was ready.
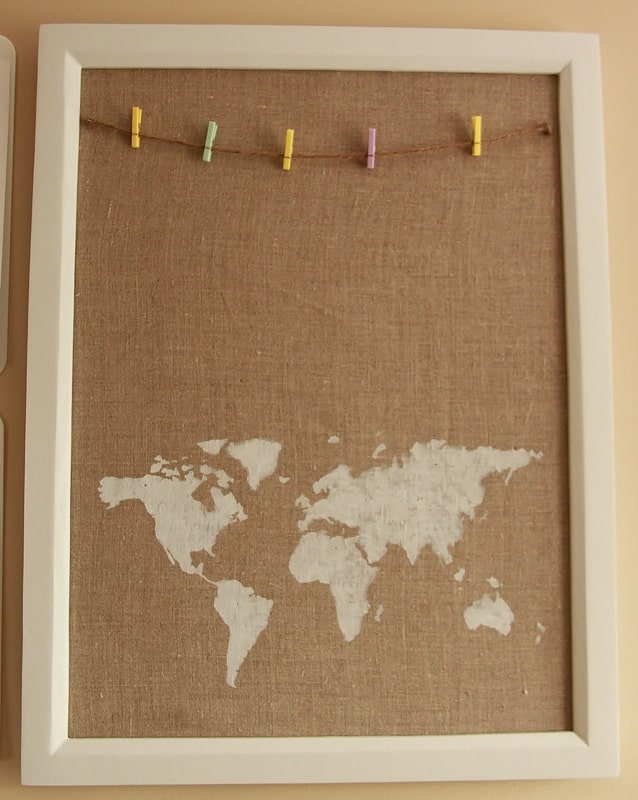
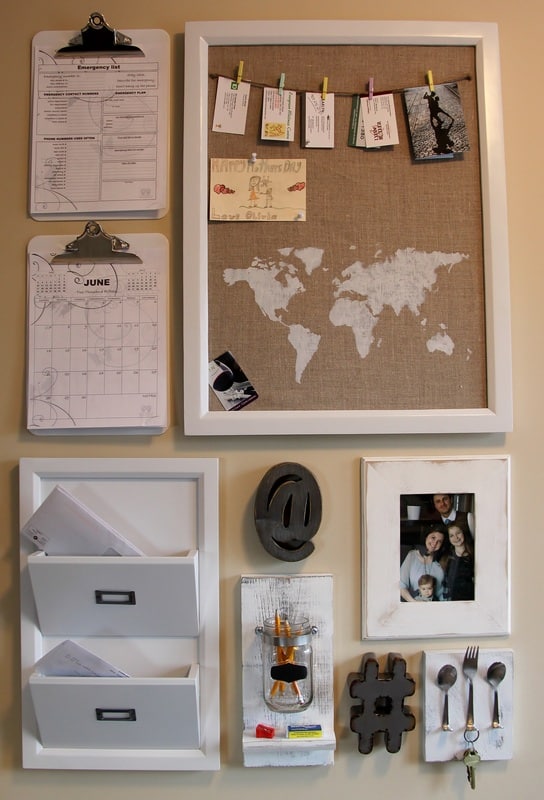
It turned out better than I could ever have imagined and it ended up being the perfect centerpiece in my “Home Command Centre”

Thank you for this, I’m definitely going to give it a try. The pinboard is just so lovely!
Good luck Jessica, I hope that yours pinboard turns out even better than mine 🙂
I’ve learn a few good stuff here. Certainly price bookmarking for revisiting. I wonder how much attempt you put to create the sort of excellent informative web site
Hi! I just want to give you a big thumbs up for the great info
you’ve got here on this post. I will be coming back to your web site for more soon.